Why Mockups Outsell Flat Screenshots
The data is consistent: printable listings with mockup-style photos get 40-80% more clicks and 25-50% higher conversion rates than flat PDF screenshots.
**Why mockups work psychologically:**
- They show the product in use, helping buyers visualize the end result
- They communicate physical quality (paper, printing, real-world context)
- They look professional, signaling a trustworthy seller
- They stand out visually against flat screenshot competitors
**What a flat screenshot communicates:** "Here is a digital file."
**What a mockup communicates:** "Here is what your child's learning experience looks like."
That emotional difference drives purchase decisions. Parents are not buying a PDF — they are buying an educational experience. Your listing photos should sell the experience.
**A/B testing evidence:** Sellers who switch from screenshots to mockups consistently report 30-50% sales increases within 30 days, with no other listing changes. The photo alone accounts for the difference.
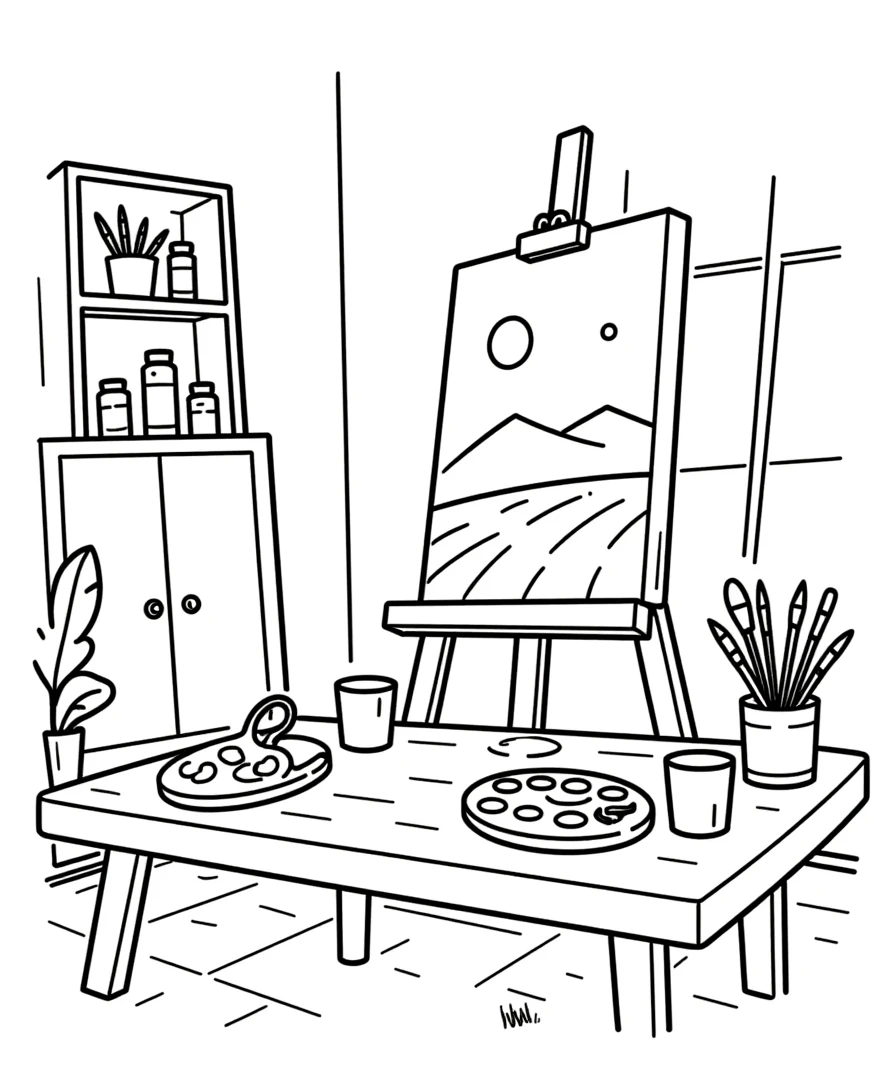
Method 1: Digital Mockups in Canva (Free, 5-10 Minutes)
The fastest method requires no camera, no printing, and no design skills.
**Step-by-step in Canva:**
1. Open Canva and search "printable mockup" or "worksheet mockup" in templates
2. Choose a template showing paper on a desk, table, or flat lay scene
3. Upload a screenshot of your worksheet as an image
4. Place it into the mockup template's frame or image placeholder
5. Adjust size and position until it looks naturally placed
6. Add text overlays: product name, page count, age range
7. Export at maximum resolution (2700 x 2025 for Etsy thumbnails)
**Best Canva mockup templates for printables:**
- Flat lay with desk and stationery (most popular style)
- Angled paper stack showing multiple pages
- iPad/tablet display for digital preview context
- Simple white desk with single printed page
**Pro tips:**
- Use the same mockup template for all your listings (brand consistency)
- Add a slight drop shadow to the worksheet image for realism
- Include 2-3 colored pencils, crayons, or an eraser in the scene
- Keep text overlays readable at thumbnail size (20pt+ font, bold)
Time per product: 5-10 minutes once you have your template set up. First template setup takes 15-20 minutes.
Method 2: Physical Photo Flat Lays (Higher Quality, 20-30 Minutes)
For the highest-quality listing photos, print your worksheets and photograph them on a real surface.
**Setup you need:**
- A printer (any home printer works — color preferred)
- A flat surface: wooden table, marble countertop, or craft paper backdrop
- Natural light (photograph near a window between 10 AM and 3 PM)
- A smartphone camera (modern phones produce listing-quality images)
- Props: colored pencils, crayons, eraser, ruler, small toys matching your theme
**Flat lay composition:**
1. Print 3-5 worksheet pages
2. Arrange them fanned out at a slight angle on your surface
3. Place props around the edges (not covering the worksheets)
4. Position yourself directly above, looking straight down
5. Use your phone's grid lines to keep the composition centered
6. Take 5-10 photos with slight variations
7. Choose the best one and edit in your phone's built-in editor (brightness +10, contrast +5)
**Common flat lay mistakes:**
- Shadows across the worksheets (move closer to the window or use two light sources)
- Cluttered background with too many props (less is more)
- Worksheets not readable in the photo (angle the pages so text is visible)
- Inconsistent lighting between listing images (photograph all products in one session)
Physical photos take more time but produce the most authentic, eye-catching listing images. Use this method for your top 10-20 listings.
Every Worksheet Includes an Answer Key

Optimizing All 10 Etsy Image Slots
Etsy gives you 10 image slots. Using 7-10 of them increases your listing's conversion rate compared to using fewer.
**Recommended image order:**
**Image 1 (thumbnail — most critical):** Mockup showing 3-4 worksheets fanned out with large text stating page count and theme. This image appears in search results and must communicate your product at thumbnail size.
**Image 2:** Single worksheet close-up showing content quality. Zoom in enough that the buyer can see the activity type, image quality, and layout.
**Image 3:** Answer key preview. Showing an answer key signals product completeness.
**Image 4:** "What's Included" infographic — checklist of every item in the bundle.
**Image 5:** Different worksheet from the bundle showing variety in the pack.
**Image 6:** Lifestyle mockup — worksheet on a desk with a child's hand holding a pencil (stock photo background or real photo).
**Image 7:** Size and format information — show paper size (Letter/A4), file format (PDF), and printing orientation.
**Images 8-10:** Additional worksheet previews, customer review screenshot, or "How to Print" instructions.
**Image specifications:**
- Minimum 2000 pixels on the longest side (Etsy recommends 2700 x 2025)
- 72 DPI is fine for screen viewing (unlike print products which need 300 DPI)
- File type: JPEG or PNG
- Keep file size under 5 MB for fast loading
Creating Photos That Work at Thumbnail Size
The thumbnail test is the ultimate quality check: if your listing image is not clear at 250 x 200 pixels, it will not generate clicks.
**Thumbnail-friendly design rules:**
1. **Use bold text, not fine text.** Your product name should be readable at thumbnail size. Use 24pt+ bold font on your listing image.
2. **High contrast backgrounds.** Light worksheets on dark backgrounds (or vice versa) stand out in search results. Avoid white worksheet on white background.
3. **One focal point per image.** Do not try to show everything in one photo. The thumbnail should communicate one thing clearly: "this is a math worksheet bundle."
4. **Colored borders or frames.** A 20-pixel colored border around your listing image creates visual separation in search results where most competitors have borderless images.
5. **Avoid text-heavy thumbnails.** Include your product name and page count, not a paragraph of features. Save detailed information for images 2-10.
**Testing your thumbnails:**
- Shrink your image to 250 pixels wide on your monitor
- Can you identify the product type?
- Can you read the title text?
- Does it look professional next to competitor thumbnails?
- If any answer is no, simplify the design
The sellers with the best thumbnail discipline consistently outrank competitors with better products but worse photos. In e-commerce, the photo is the product until the buyer opens the file.