Tutorial
1
Step 1: Creating Your KDP Account
Navigate to kdp.amazon.com and click "Sign up." You can use an existing Amazon account or create a new one specifically for publishing.
Account information required:
- Full legal name (as it appears on tax documents)
- Address (must match your tax filing address)
- Phone number
- Email address (use a dedicated business email if possible)
Tax information: KDP requires tax details before you can receive royalties. US publishers enter their Social Security Number (SSN) or Employer Identification Number (EIN). International publishers complete a tax interview that determines withholding rates based on tax treaty status between their country and the US.
Bank account: Add a bank account for royalty deposits. KDP pays monthly, approximately 60 days after the end of each reporting month. You can add separate bank accounts for different currency payments (USD, EUR, GBP, etc.).
Publisher/imprint name: This is optional but recommended. Your publisher name appears on the book's Amazon listing. Choose a professional-sounding name rather than publishing under your personal name. Examples: "BrightPath Learning Press," "PuzzlePeak Publishing," "Summit Activity Books."
Account verification: KDP may require identity verification for new accounts. This typically involves uploading a government-issued ID and a bank statement or utility bill. Verification takes 1 to 3 business days.
Once your account is set up and verified, you can publish unlimited books with no additional fees. There is no cost to create an account or to publish books on KDP.
2
Step 2: Starting a New Paperback Project
From your KDP Bookshelf, click "Create" and select "Paperback." This opens the book setup wizard with three tabs: Book Details, Book Content, and Book Pricing.
The Book Details tab is the first screen. Here is every field and what to enter:
Language: Select the primary language of your book. For English worksheet books, select "English." This affects which Amazon marketplace your book appears on by default.
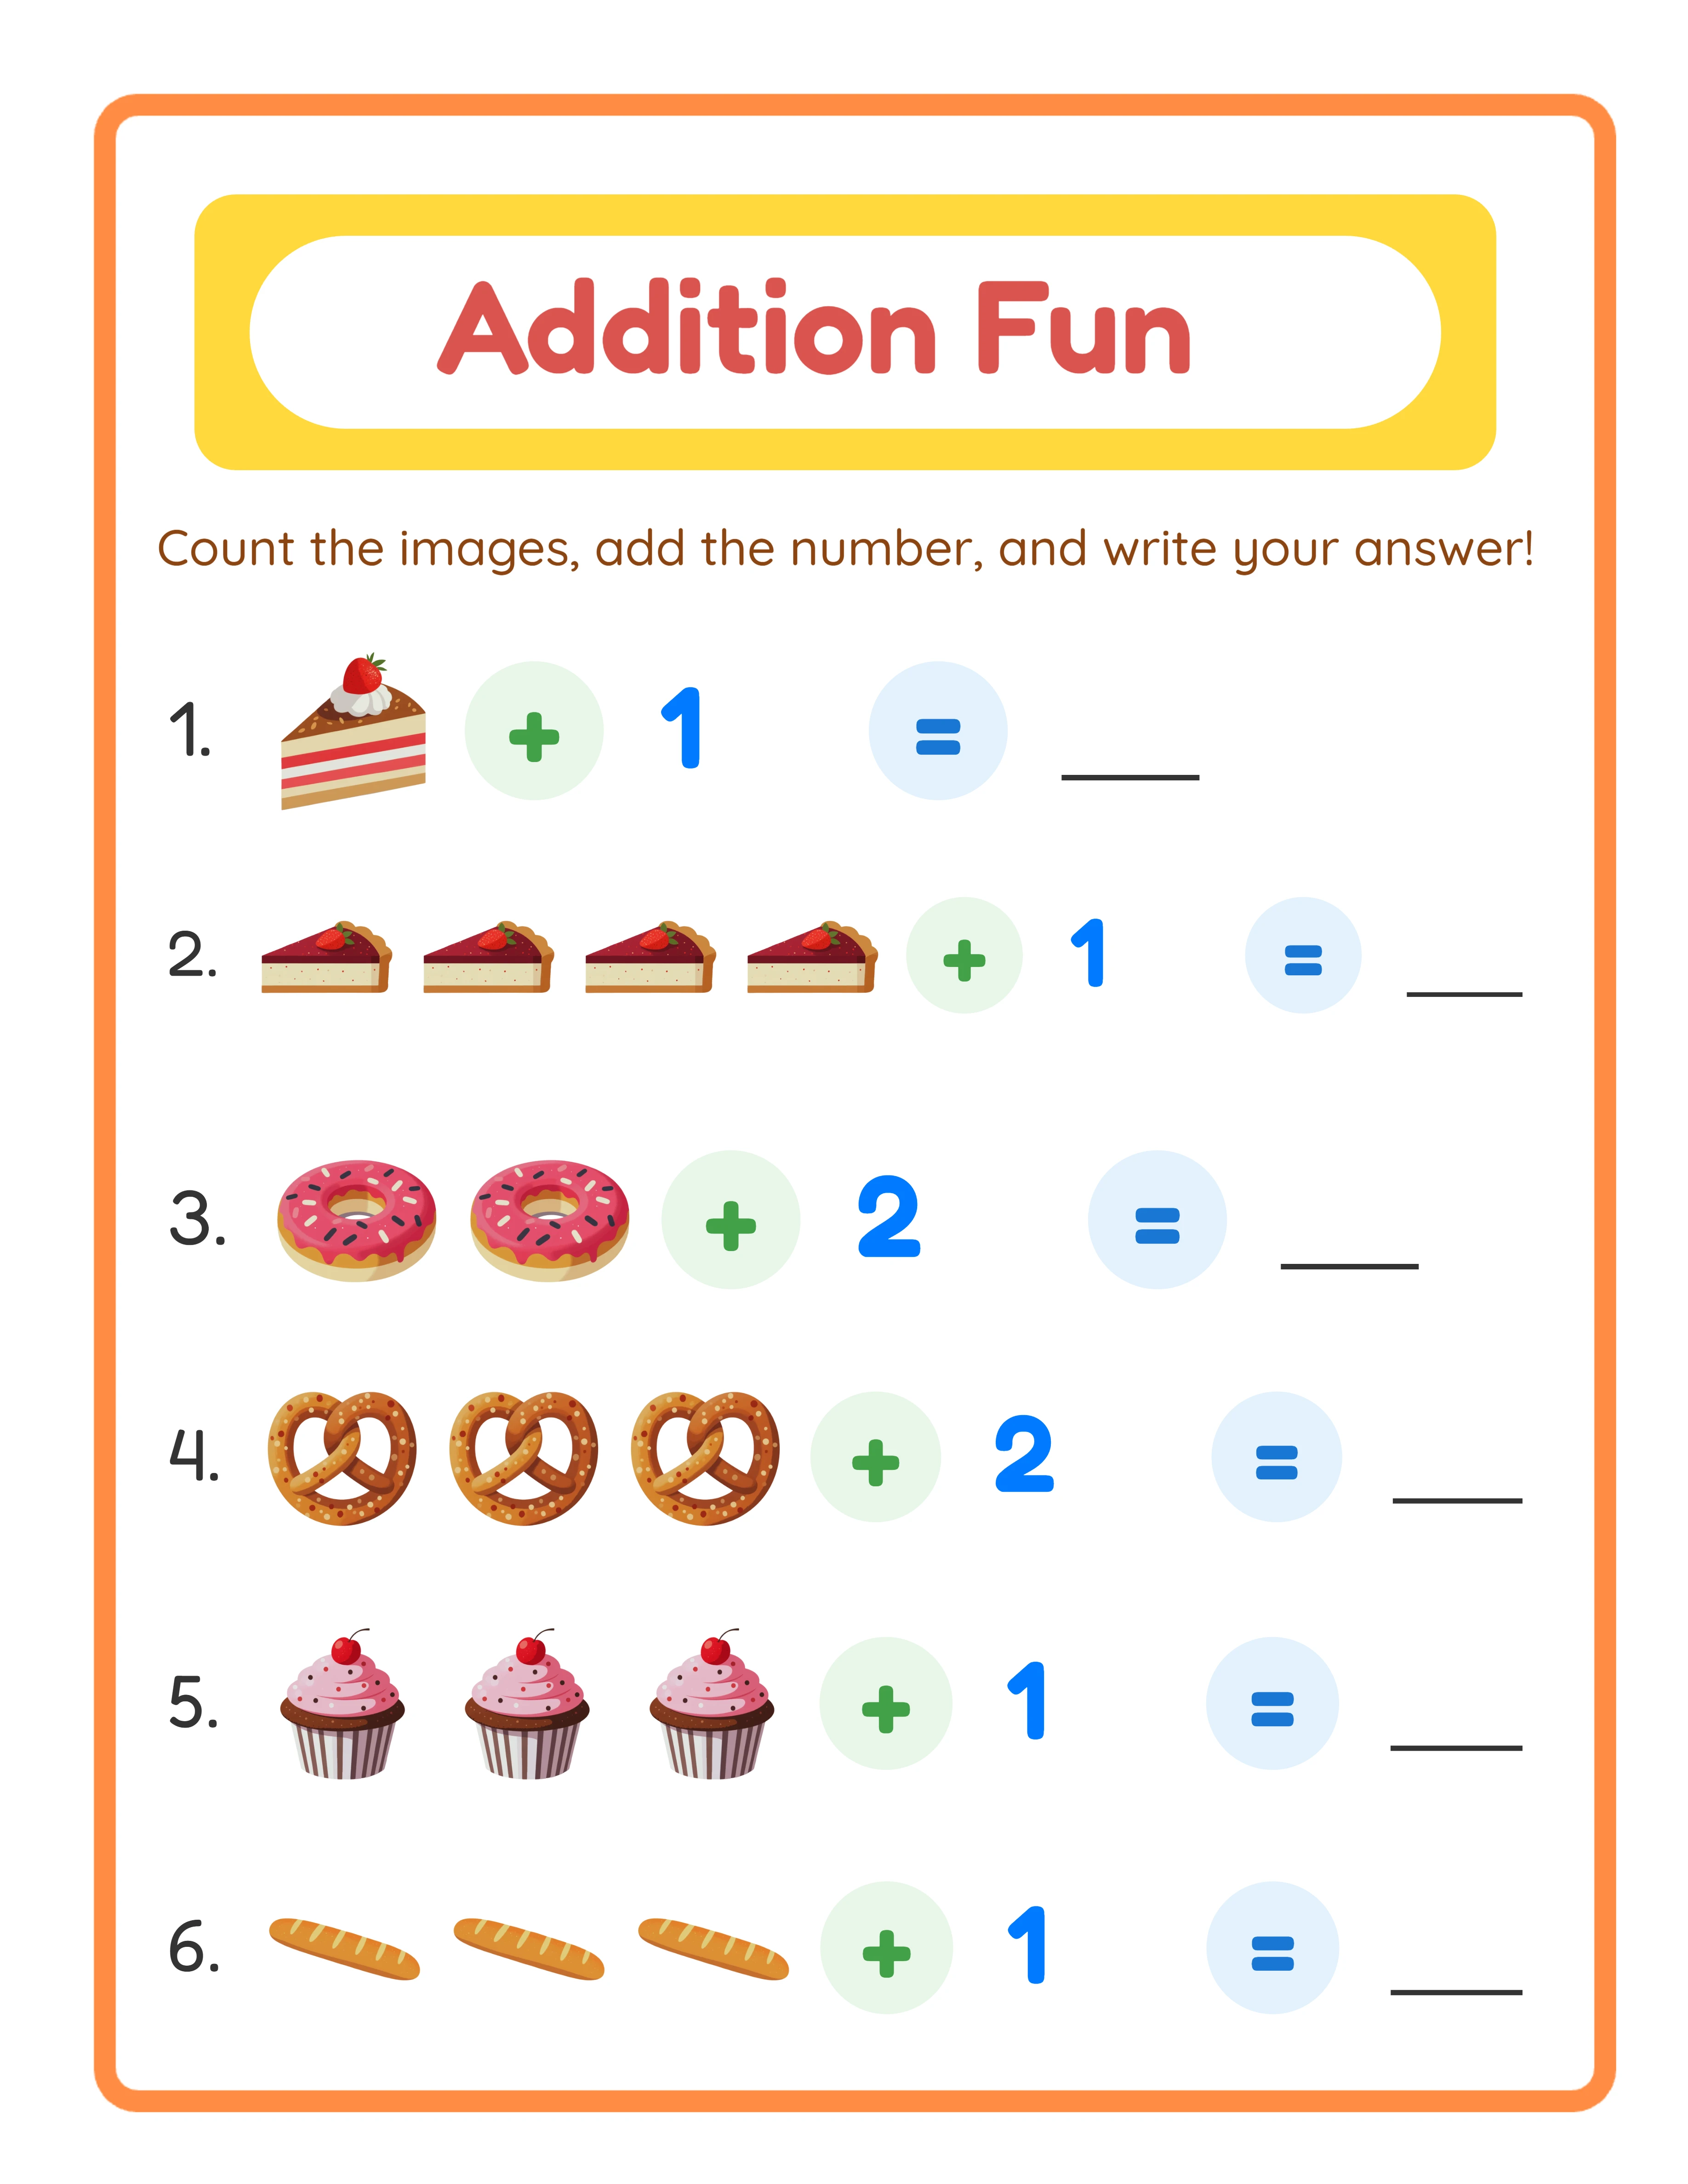
Book title: Enter your full title. Keep it descriptive and keyword-rich. Example: "Addition Worksheets for Kids Ages 5-8: 100 Math Practice Pages with Answer Keys"
Subtitle (optional): Add details the title does not cover. Example: "Single Digit, Double Digit & Triple Digit Addition -- Progressive Difficulty"
Series (optional): If this book is part of a series, enter the series name and volume number. Example: Series: "Math Mastery Workbooks" / Volume: 1. Series information helps Amazon group your books and recommend them together.
Edition number (optional): Enter "1" for first editions. Update this when you publish revised versions.
Author: Enter your author or pen name. This appears on the Amazon listing and the book cover should match. You can use a pen name -- it does not need to match your legal name.
Contributors (optional): Add illustrators, editors, or other contributors if applicable.
Description: This is your book's sales copy on Amazon. You get up to 4,000 characters. Use HTML formatting for readability:
- <b>Bold</b> for headings and key features
- <br> for line breaks
- <ul><li>Bullet points</li></ul> for feature lists
Write the description to convert browsers into buyers. Lead with the key benefit, list what is included, specify the target audience, and mention answer keys.
3
Step 3: Keywords, Categories, and Publishing Rights
Still on the Book Details tab, complete these critical fields:
Keywords: KDP provides 7 keyword fields, each up to 50 characters. These keywords help Amazon's search algorithm match your book to buyer queries. They supplement your title -- do not repeat words already in your title.
Keyword strategy for worksheet books:
- Include age/grade terms: "first grade math practice," "ages 5-8 workbook"
- Include format terms: "activity book," "practice pages," "with answers"
- Include use-case terms: "homeschool math," "summer learning," "homework help"
- Include gift terms: "gift for kids who love puzzles"
- Include audience terms: "for parents," "for teachers," "for tutors"
Example 7 keywords for an addition workbook:
1. math practice first grade second grade
2. addition subtraction workbook elementary
3. homeschool math curriculum supplement
4. summer learning kids math activities
5. homework help addition problems answers
6. gift kids who love math numbers
7. kindergarten math readiness practice book
Categories: Click "Set categories" to browse Amazon's category tree. Select two categories. Choose one specific (e.g., "Education > Mathematics > Arithmetic") and one broader (e.g., "Children's Books > Activities"). Specific categories are easier to rank in. Broad categories provide more traffic.
Publishing rights: Select "I own the copyright and I hold necessary publishing rights." This is the correct selection for original worksheet content you created.
Adult content: Select "No" for worksheet and educational books.
Click "Save and Continue" to proceed to the Book Content tab.
4
Step 4: Uploading Your Manuscript
The Book Content tab is where you upload your interior PDF and cover, and configure print settings.
ISBN: Choose "Get a free KDP ISBN" unless you have purchased your own. KDP's free ISBN uses the Amazon imprint. Your own ISBN (from Bowker in the US) is required only if you want expanded distribution to non-Amazon retailers or want your own publisher imprint.
Publication date: Leave blank for immediate publication after review, or set a future date for scheduled releases.
Print options:
Interior & paper type: Select "Black & white interior with white paper" for most worksheet books. Color interiors cost significantly more to print (approximately $0.07 per page vs $0.012). Only select color if your worksheets require it.
Trim size: Select your book's dimensions. 8.5 x 11 inches is standard for worksheet books. See the formatting guide for trim size recommendations by book type.
Bleed settings: Select "No bleed" for most worksheet books. Only use bleed if your content extends to the page edges.
Paperback cover finish: Choose "Matte" or "Glossy." Matte is the standard choice for educational books. Glossy works better for highly visual covers (coloring books, activity books with colorful covers).
Manuscript upload: Click "Upload paperback manuscript" and select your compiled PDF file. KDP processes the file and runs automated quality checks. This takes 1 to 10 minutes depending on file size. Common issues:
- File too large (max 650 MB)
- Inconsistent page dimensions
- Images below 300 DPI (warning, not rejection)
- Fonts not embedded
If processing succeeds, you will see a green checkmark. If it fails, KDP displays specific error messages that tell you exactly what to fix.
5
Step 5: Uploading Your Cover
Below the manuscript upload, you will find the cover upload section.
Cover options:
1. Upload a cover you designed (recommended)
2. Use KDP's Cover Creator tool (basic, limited templates)
For professional results, upload your own cover. KDP accepts PDF or JPEG files. The exact dimensions depend on your trim size, page count, and paper type. Use KDP's cover calculator (link provided on the upload page) to get exact dimensions for your specific book.
Cover upload process:
1. Click "Upload a cover you already have"
2. Select your cover file (JPEG recommended for simplicity)
3. KDP validates dimensions and resolution
4. Preview the cover layout to verify spine alignment and barcode placement
Common cover issues:
- Dimensions do not match: Your cover must be exactly the dimensions specified by the cover calculator. Even 0.01 inch off causes a warning.
- Resolution too low: Cover must be at least 300 DPI. For a 17.5 x 11.25 inch cover, this means approximately 5,250 x 3,375 pixels.
- Text in barcode zone: KDP places a barcode on the back cover. Your design must leave a clear 2 x 1.2 inch area in the lower right of the back cover.
- Spine text on thin books: Books under 79 pages (white paper) cannot have spine text.
After uploading both manuscript and cover, click "Launch Previewer" to see your book exactly as it will print. Scroll through every page. Check margins, alignment, and print quality. This preview catches issues your PDF viewer might miss.
Click "Save and Continue" when satisfied.
6
Step 6: Pricing and Distribution
The Book Pricing tab determines where your book sells, how much it costs, and how much you earn.
KDP Select enrollment: This option is for Kindle eBooks only and does not apply to paperback books. Skip this section.
Territories: Select "All territories (worldwide rights)" unless you have specific geographic restrictions. This makes your book available on all Amazon marketplaces.
Pricing:
Set your list price for each Amazon marketplace. You must set at least the primary marketplace price. KDP shows your printing cost and estimated royalty for each price point.
Pricing by marketplace:
- Amazon.com (US): Set your primary USD price. $5.99 to $9.99 is the typical range for worksheet books.
- Amazon.co.uk (UK): Set GBP price. Typically 70% to 80% of the USD price.
- Amazon.de (Germany): Set EUR price. Similar to UK pricing.
- Amazon.fr, .es, .it: Set EUR prices for each.
- Amazon.co.jp (Japan): Set JPY price.
- Amazon.ca (Canada): Set CAD price.
- Amazon.com.au (Australia): Set AUD price.
Royalty calculation:
For US sales with pricing between $2.99 and $250.00:
Royalty = (List price x 60%) - Printing cost
Example for a 150-page, 8.5 x 11, B&W book at $7.99:
- Gross royalty: $7.99 x 0.60 = $4.79
- Printing cost: $0.85 + (150 x $0.012) = $2.65
- Net royalty: $4.79 - $2.65 = $2.14 per sale
KDP displays this calculation in real time as you adjust the price. Use it to find the optimal price point where per-sale royalty and expected sales volume maximize total revenue.
Expanded distribution: Check this option to make your book available through bookstores, libraries, and online retailers beyond Amazon. The royalty rate for expanded distribution is 40% instead of 60%. The broader reach can be worth the lower margin for established titles.
7
Step 7: Review, Publish, and Post-Publication
Before publishing, review everything one final time.
Review checklist:
- Book title and subtitle are correct and keyword-rich
- Description is formatted with HTML and reads persuasively
- Keywords cover your target search terms without repeating title words
- Categories are appropriate and strategic
- Manuscript preview shows correct formatting on every page
- Cover preview shows proper spine alignment and barcode placement
- Pricing is set for all target marketplaces
- Royalty calculations match your expectations
Click "Publish Your Paperback Book" to submit. KDP reviews your submission, which typically takes 24 to 72 hours. During review, KDP checks for content policy compliance, formatting issues, and cover quality.
Post-publication steps:
1. Verify your listing: Once published, search for your book on Amazon to verify it appears correctly. Check the title, description, price, and "Look Inside" preview.
2. Order an author copy: KDP lets you order copies at printing cost (no royalty markup). Order one copy to verify print quality. Check margins, image sharpness, color accuracy, and binding quality.
3. Fix issues: If you find problems in your author copy, upload a corrected manuscript. Changes go live within 24 to 48 hours.
4. Set up Amazon Author Central: Create an Author Central profile at author.amazon.com. Add an author bio, photo, and link all your books to your author page. This builds credibility and helps buyers find your other titles.
5. Monitor sales: KDP's dashboard shows sales data with a 1 to 2 day delay. Track units sold, royalty earned, and which marketplaces are performing. Use this data to inform your next publishing decisions.
6. Start your next book: The first book is the hardest because you are learning the platform. Your second book will take half the time. Build momentum by publishing consistently -- aim for 2 to 4 books per month as you establish your catalog.