Tutorial
1
Understanding KDP Interior Template Anatomy
A KDP interior template has five distinct zones on each page, plus standardized sections at the beginning and end of the book.
Page zones:
1. Header area: The top strip of the page, above the main content. Typically contains the book title, section name, or chapter identifier. Height: 0.5 to 0.75 inches.
2. Content area: The main body where your worksheet sits. This is the largest zone and must accommodate the worksheet export without any part being clipped by margins.
3. Footer area: The bottom strip below the main content. Contains page numbers and optionally a copyright line or website URL. Height: 0.3 to 0.5 inches.
4. Gutter margin: The inside margin closest to the spine. Must be wide enough that content is readable when the book is bound.
5. Outer margin: The outside, top, and bottom margins beyond the header, content, and footer areas.
Book sections:
- Front matter: Title page, copyright page, table of contents, instructions, dedication (optional)
- Body: The worksheet pages organized by section, difficulty, or theme
- Back matter: Answer key section, catalog of other books, author/publisher page, blank notes pages (optional)
Each section has specific formatting conventions. Front matter pages are typically not numbered or use Roman numerals. Body pages use Arabic numerals. Back matter continues the body page numbering.
2
Designing Your Page Layout Grid
Your page layout grid defines exactly where every element sits on the page. Once established, this grid remains consistent throughout the entire book.
For an 8.5 x 11 inch worksheet book with no bleed, here is an optimal layout grid:
Margins:
- Inside (gutter): 1.0 inch
- Outside: 0.5 inch
- Top: 0.75 inch (includes header space)
- Bottom: 0.5 inch (includes footer space)
Content area: 7.0 inches wide x 9.75 inches tall
Header placement: Centered or right-aligned within the content area, 0.25 inches below the top margin. Use 9 to 10 point font, light gray or medium gray color. The header should be present but not visually dominant.
Footer placement: Centered within the content area, 0.15 inches above the bottom margin. Page numbers in 9 to 10 point font.
Worksheet placement within content area: Your worksheet export should be sized to fit within a sub-area of the content zone, leaving room for the header above and footer below. If your content area is 7.0 x 9.75 inches, the effective worksheet zone is approximately 7.0 x 9.0 inches after accounting for header and footer spacing.
Alignment: Center worksheets horizontally within the content area. This ensures even left-right spacing regardless of the worksheet's exact width. If your worksheet export is 6.5 inches wide in a 7.0 inch content area, it will have 0.25 inches of padding on each side.
Consistency is paramount. If one page has the worksheet centered and another has it left-aligned, the book looks amateurish. Define your grid once and apply it to every page.
3
Creating Professional Headers and Footers
Headers and footers serve navigation and branding purposes. They help readers find specific pages and reinforce your brand identity.
Header design options for worksheet books:
Option 1 -- Book title only: Display the book title (or abbreviated title) on every page. Simple and effective. Example: "Animal Math Worksheets" in 9 point italic, right-aligned.
Option 2 -- Section headers: Display the current section name. In a multi-topic worksheet book, headers like "Addition," "Subtraction," "Multiplication" help readers navigate to the right section. More useful than the book title for longer books.
Option 3 -- Alternating headers: Left pages show the book title, right pages show the section name. This is the most professional approach and matches traditional book formatting. KDP prints odd pages on the right and even pages on the left.
Option 4 -- No headers: For shorter books (under 60 pages), headers add clutter without navigation value. Skip them for brief worksheet collections.
Footer design:
Page numbers are essential. Center them in the footer for simplicity, or place them on the outside edge (left on even pages, right on odd pages) for a more polished look.
Optional copyright line: A small "Copyright 2026 [Your Publisher Name]" in 7 point gray text discourages unauthorized copying without distracting from the content.
Optional website URL: If you sell worksheets on your own site, a discreet URL in the footer drives repeat business. Keep it small and unobtrusive.
Formatting rules:
- Header and footer fonts should match but be smaller than body content
- Use a thin horizontal rule (0.5 point) to separate headers from content
- Never use decorative fonts in headers or footers -- they reduce readability
- Maintain at least 0.2 inches of space between the header/footer rule and the content area
4
Page Numbering Systems
Proper page numbering is critical for worksheet books, especially those with answer keys that reference specific puzzle numbers.
Front matter numbering: Traditionally, front matter pages use lowercase Roman numerals (i, ii, iii, iv) or are not numbered at all. For KDP worksheet books, the simplest approach is to leave front matter pages unnumbered. This keeps the numbering system clean and avoids confusion.
Body numbering: Start Arabic numerals (1, 2, 3...) on the first worksheet page. If your front matter is 4 pages, the first worksheet is physical page 5 but numbered as page 1. This convention matches how buyers think about the content -- "Puzzle 1 is on page 1."
Answer key cross-referencing: If your book has answer keys, they must reference the correct puzzle page numbers. Use a clear format like "Answer Key -- Puzzle 1 (Page 1)" or "Answers for Pages 1-10." Verify all cross-references before upload.
Page number placement:
- Centered: Simple and works for any book layout. Place at the bottom center of the content area.
- Outside edge: More professional. Left side on even pages (verso), right side on odd pages (recto). This requires different templates for left and right pages.
- Top outside corner: Common in reference books. Works well for worksheet books that readers flip through frequently.
Pages that should NOT have page numbers:
- Title page
- Copyright page
- Full-page section dividers
- Blank pages
Sequential puzzle numbering: In addition to page numbers, number each worksheet sequentially. "Worksheet 1," "Worksheet 2," etc. at the top of each page within the header area. This is separate from the page number and helps readers track their progress.
5
Front Matter: Title Page, Copyright, and Table of Contents
Front matter sets the professional tone for your entire book. Here are templates for each front matter page.
Title page (page 1):
Center the book title in 24 to 30 point bold font, approximately one-third down from the top of the page. Below the title, add the subtitle in 14 to 16 point regular or italic font. Add 2 to 3 inches of vertical space, then place the author or publisher name in 12 to 14 point font. Keep the title page clean -- no decorative borders, no clip art, no excessive styling.
Copyright page (page 2):
This page protects your intellectual property. Use 9 to 10 point font, left-aligned. Include:
- Copyright notice: "Copyright 2026 [Publisher Name]. All rights reserved."
- Rights statement: "No part of this book may be reproduced, distributed, or transmitted in any form without prior written permission of the publisher."
- Commercial license reference: "Worksheets generated with LessonCraftStudio commercial license."
- ISBN (if using your own): Display below the copyright text
- Edition information: "First edition, [Month] 2026"
- Contact information: Your publisher email or website (optional)
Table of contents (pages 3-4):
For worksheet books with multiple sections, a table of contents dramatically improves usability. List each section with its starting page number. For a math worksheet book:
"Addition Worksheets.....................1
Subtraction Worksheets...................26
Multiplication Worksheets................51
Answer Keys..............................76"
Use dot leaders (a row of dots) between the section name and page number for easy visual tracking. Set in 12 point font with 1.5 line spacing.
Instructions page (optional, page 4 or 5):
Brief instructions on how to use the worksheets. For activity books targeting children, include a "How to Use This Book" section. For general audiences, keep it to 3 to 4 sentences explaining the difficulty progression and where to find answer keys.
6
Back Matter: Answer Keys, Catalog, and Author Page
Back matter completes the professional package and drives future sales.
Answer key section:
Start with a section divider page titled "Answer Keys" in large font. Then present answer keys with clear cross-references to the original puzzle pages. Format options:
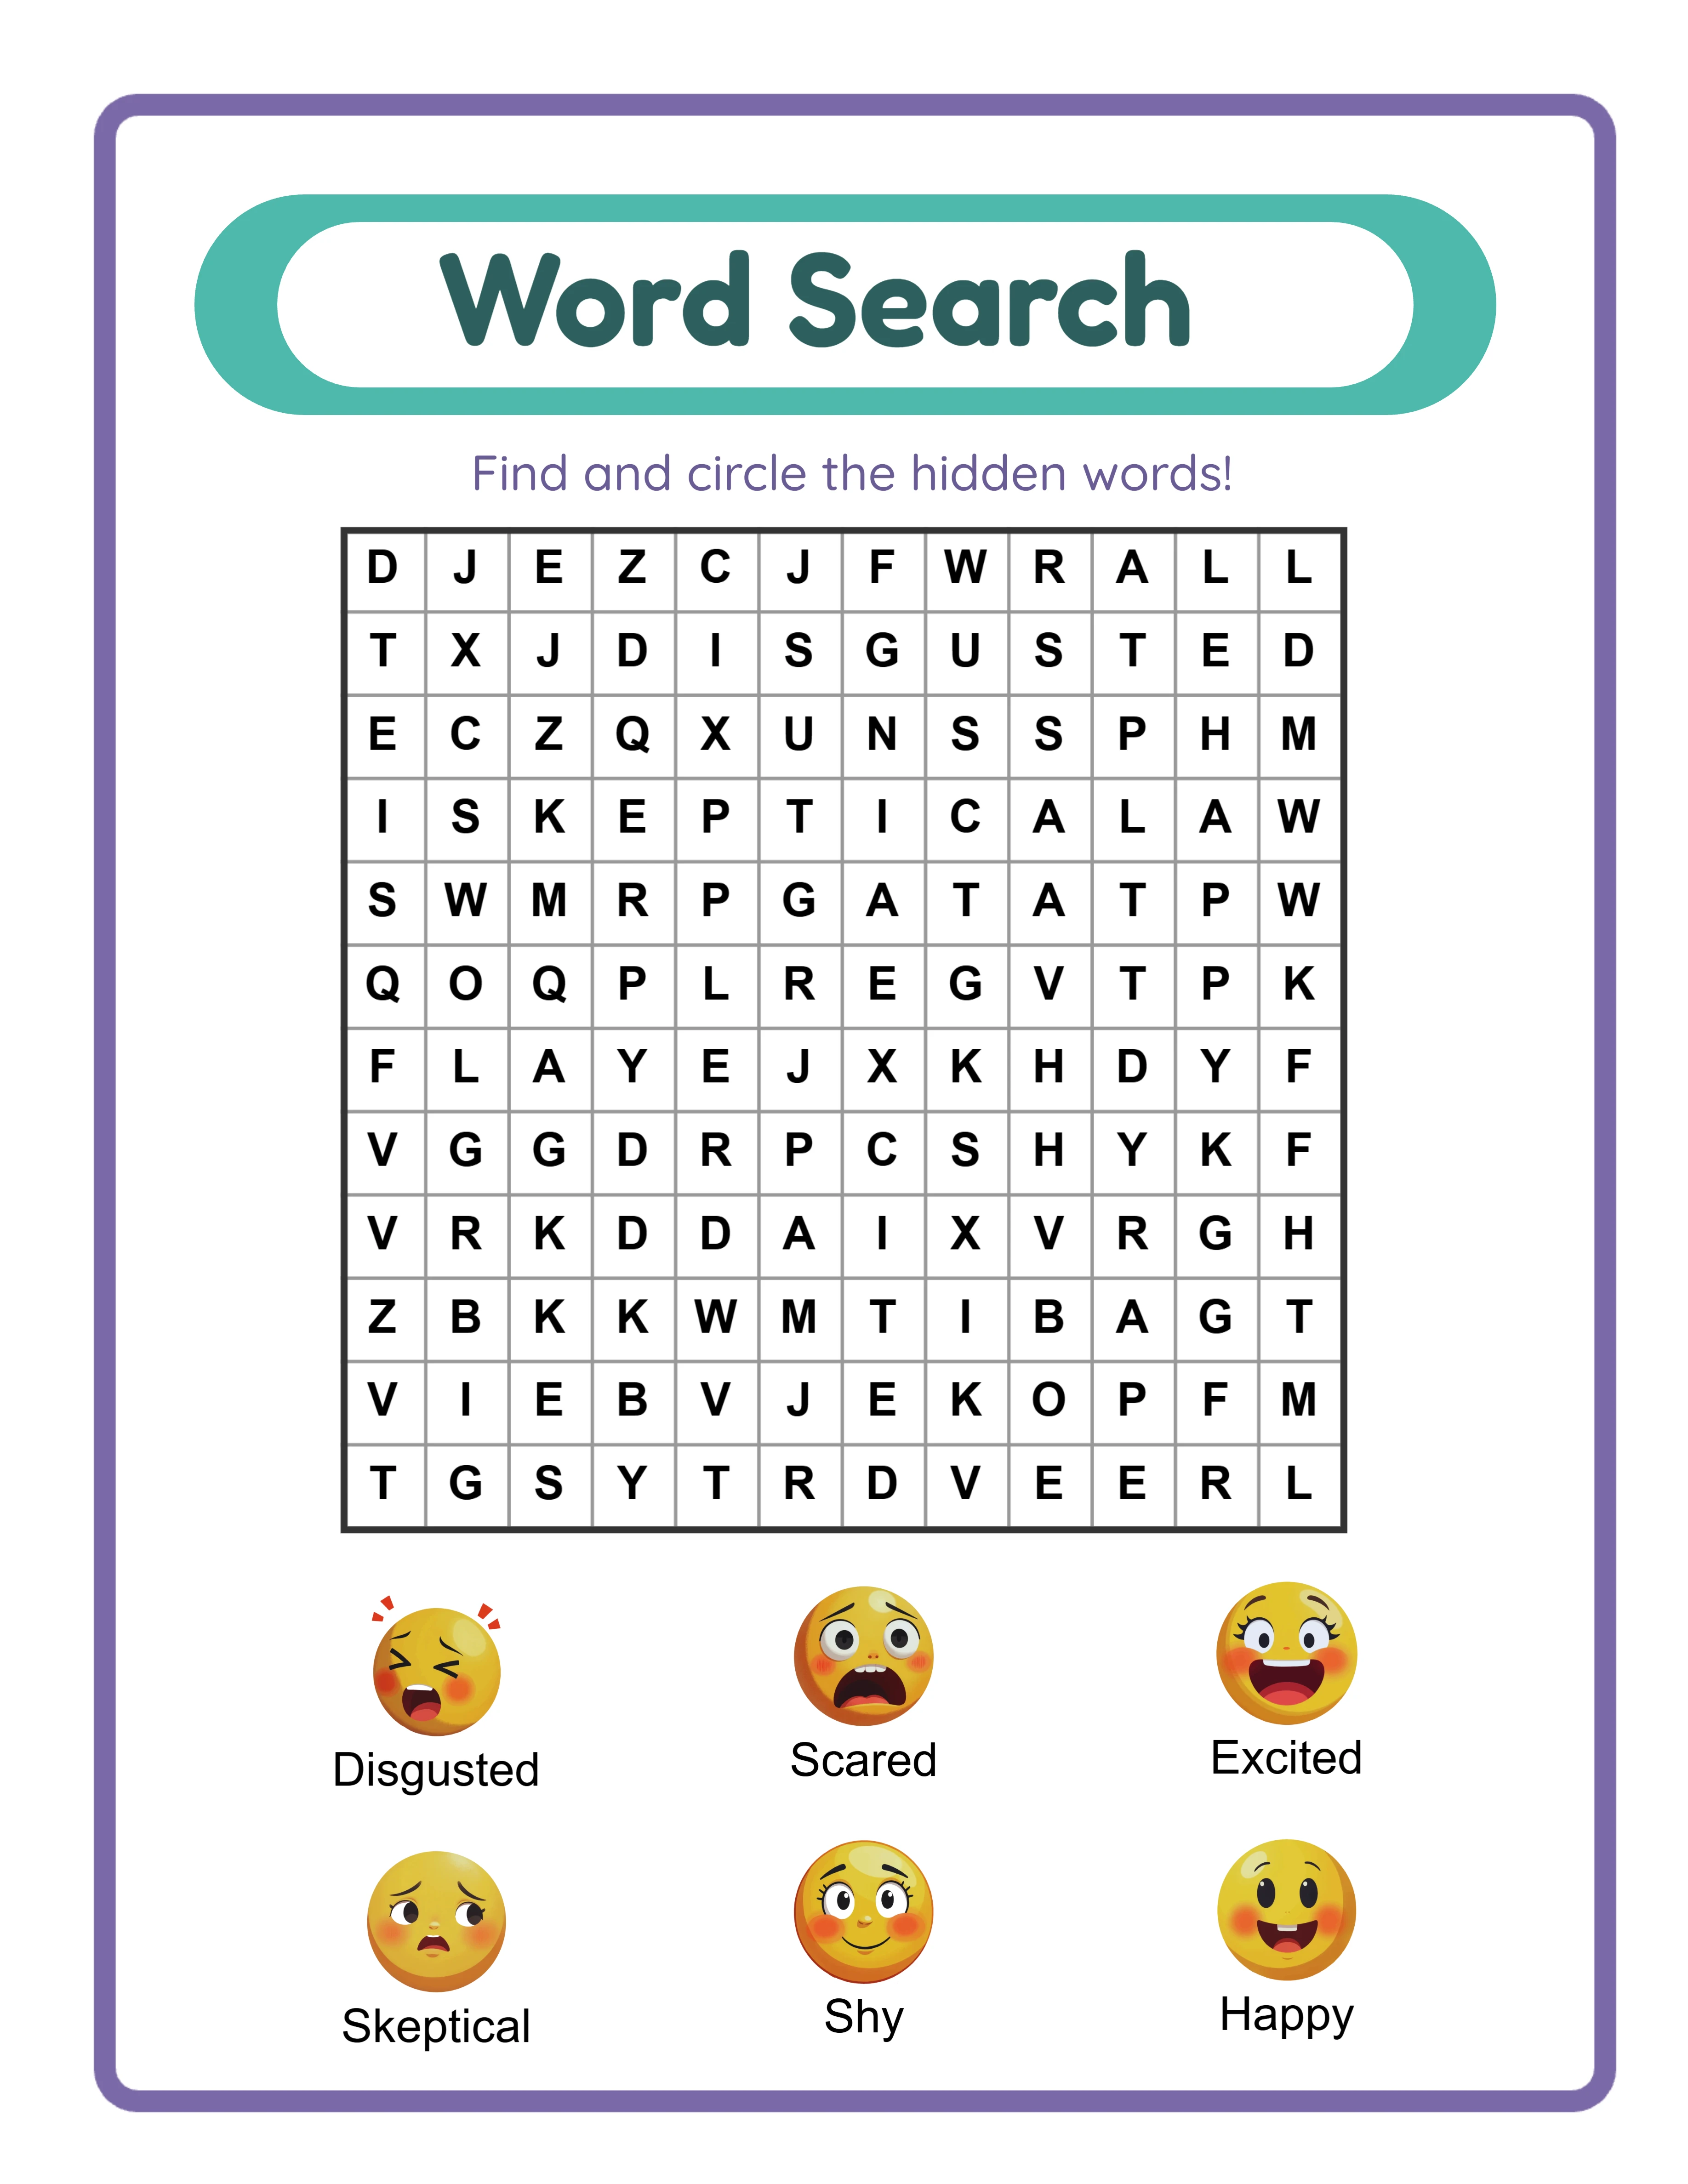
Option 1 -- Full-page answer keys: One answer per page, matching the puzzle layout. Takes more pages but is easy to verify. Best for complex puzzles like crosswords and word searches.
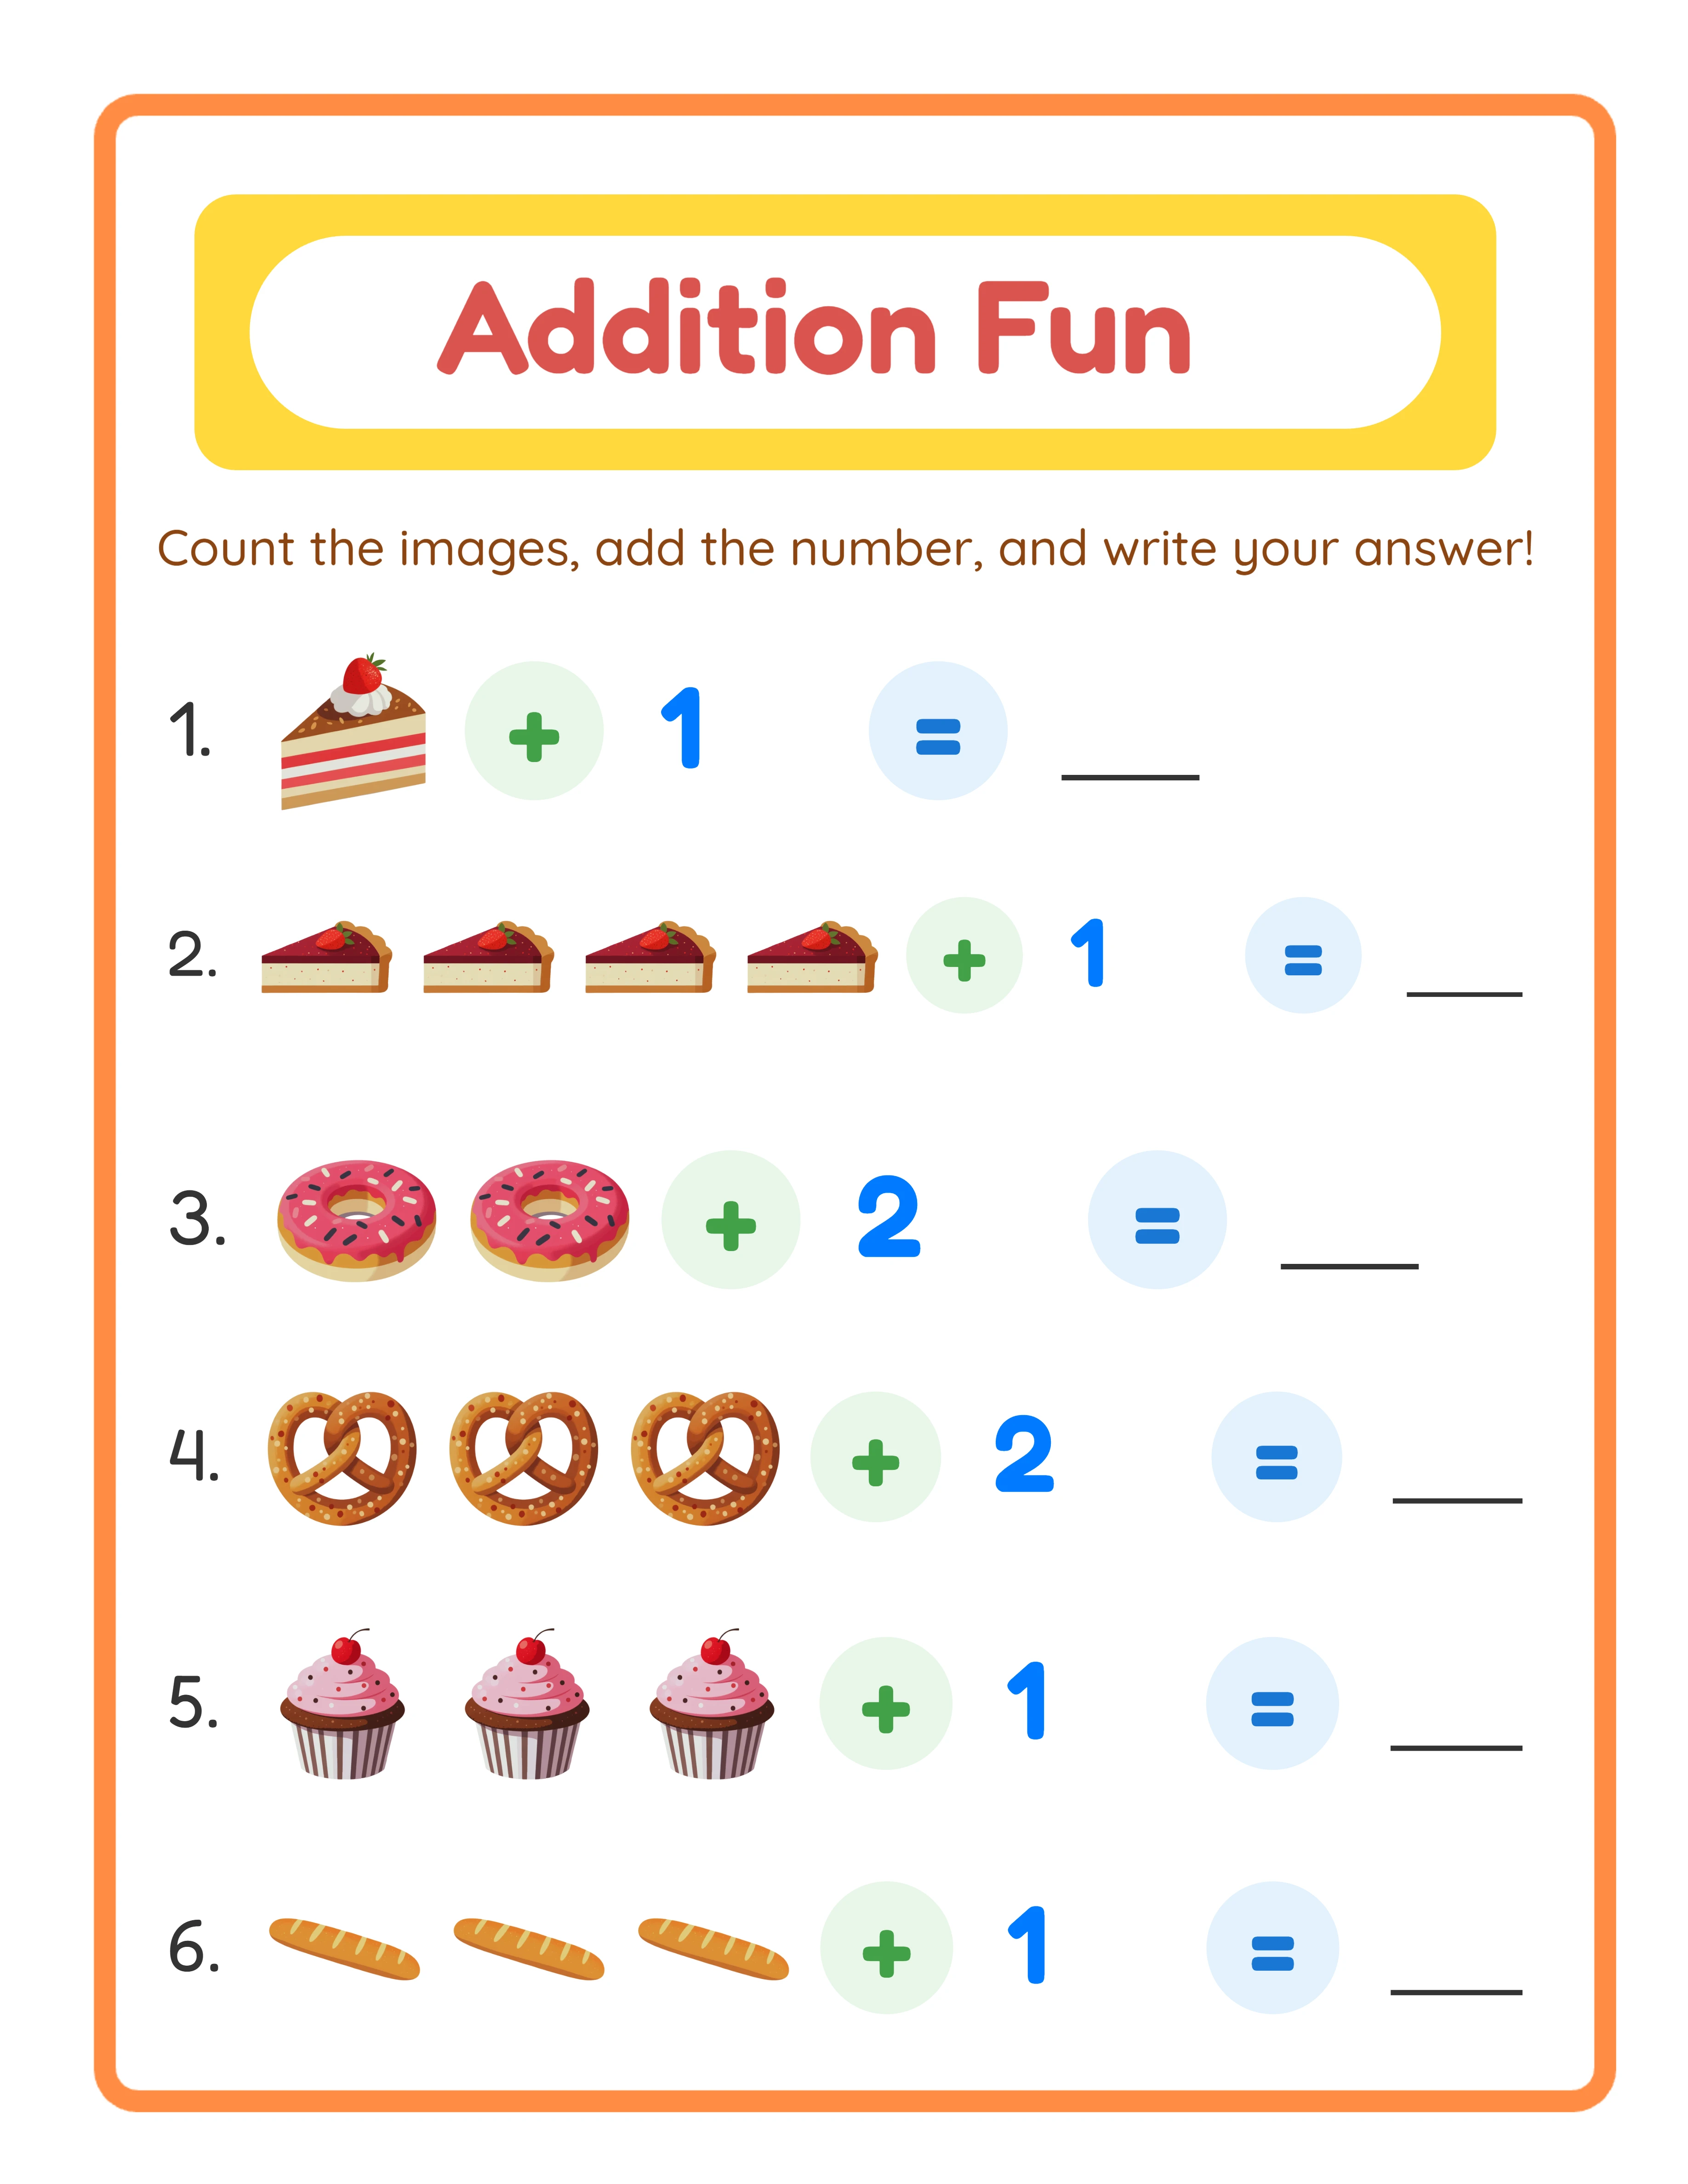
Option 2 -- Condensed answer keys: Multiple answers per page using smaller grid reproductions. Saves pages and reduces printing costs. Best for simpler puzzles like math worksheets where answers are text-only.
Option 3 -- Answer list: For math and number worksheets, a simple numbered list of answers without reproducing the worksheet grid. Most space-efficient. "1. 7, 2. 12, 3. 15, 4. 8..."
Catalog page (1-2 pages):
List your other books with titles, brief descriptions, and optionally a small cover thumbnail. Include the Amazon search term or ASIN for each book so buyers can find them easily. Example:
"Also by [Publisher Name]:
Addition Worksheets for Kids Ages 4-8 -- Search: [ASIN]
Multiplication Practice Book -- Search: [ASIN]
Word Search Puzzle Collection -- Search: [ASIN]"
Update this catalog page with every new publication. It turns every sold book into an advertisement for your entire lineup.
Author/publisher page (optional, 1 page):
A brief paragraph about your publishing brand and what types of books you create. Include your website URL if applicable. Keep it concise -- 3 to 5 sentences maximum.
Blank notes pages (optional, 2-4 pages):
Adding 2 to 4 blank lined or grid pages at the end costs almost nothing in printing but adds perceived value. Label them "Notes" or "Scratch Work."
7
Assembly Workflow: From Worksheet Exports to Complete Manuscript
Here is the step-by-step workflow for assembling worksheet generator exports into a complete KDP manuscript.
Step 1 -- Generate worksheets: Use LessonCraftStudio generators to create all worksheets for your book. Export each worksheet as an individual PDF at 300 DPI. Organize exports into folders by section (e.g., /addition/, /subtraction/, /answer-keys/).
Step 2 -- Create front matter pages: Using your template, create title page, copyright page, table of contents, and instructions as individual PDF pages. Use any tool that exports PDF: Google Docs, LibreOffice, Canva, or InDesign.
Step 3 -- Create back matter pages: Build catalog page, author page, and blank notes pages as individual PDFs.
Step 4 -- Create section dividers (optional): If your book has multiple sections, create divider pages with section titles. These are single-page PDFs with the section name in large centered text.
Step 5 -- Compile page order: Arrange all PDF files in the correct sequence. Number them sequentially for easy sorting: 001-title.pdf, 002-copyright.pdf, 003-toc.pdf, 004-instructions.pdf, 005-section1-divider.pdf, 006-worksheet-001.pdf, and so on.
Step 6 -- Merge PDFs: Use PDFsam Basic, Sejda, or macOS Preview to merge all PDFs into a single manuscript file. Verify the page order by scrolling through the merged document.
Step 7 -- Add headers and footers: If your merging tool supports it, add headers and page numbers to the merged document. Alternatively, create worksheets with headers pre-built into the template.
Step 8 -- Verify formatting: Check page dimensions (all pages must be identical), margin compliance, font embedding, and image resolution. Use KDP's online previewer after upload for final verification.
Step 9 -- Export final PDF: Save the completed manuscript as a single PDF. Verify file size is under 650 MB.