Tutorial
1
Choose Your Page Size and Layout
The foundation of every handwriting worksheet is the page setup. The Handwriting Worksheet Generator supports multiple page sizes: US Letter Portrait, US Letter Landscape, A4 Portrait, A4 Landscape, and Custom dimensions where you set exact width and height.
US Letter (8.5 x 11 inches) is the standard for North American buyers. A4 (210 x 297 mm) is the standard for European and international markets. Creating both versions from the same content doubles your market reach with minimal additional effort. Portrait orientation is standard for handwriting worksheets because vertical pages provide more rows of practice space.
The Page Setup section also includes Background Theme and Border Theme selectors. Background themes add subtle patterns or colors behind the writing lines. Border themes frame the worksheet with decorative edges. Both include opacity controls so you can keep decorative elements subtle enough that they do not interfere with the practice lines. For handwriting worksheets sold to buyers, clean white backgrounds with minimal decoration perform best. For parent-targeted products, gentle themed borders add visual appeal that justifies premium pricing.
2
Select a Theme and Image
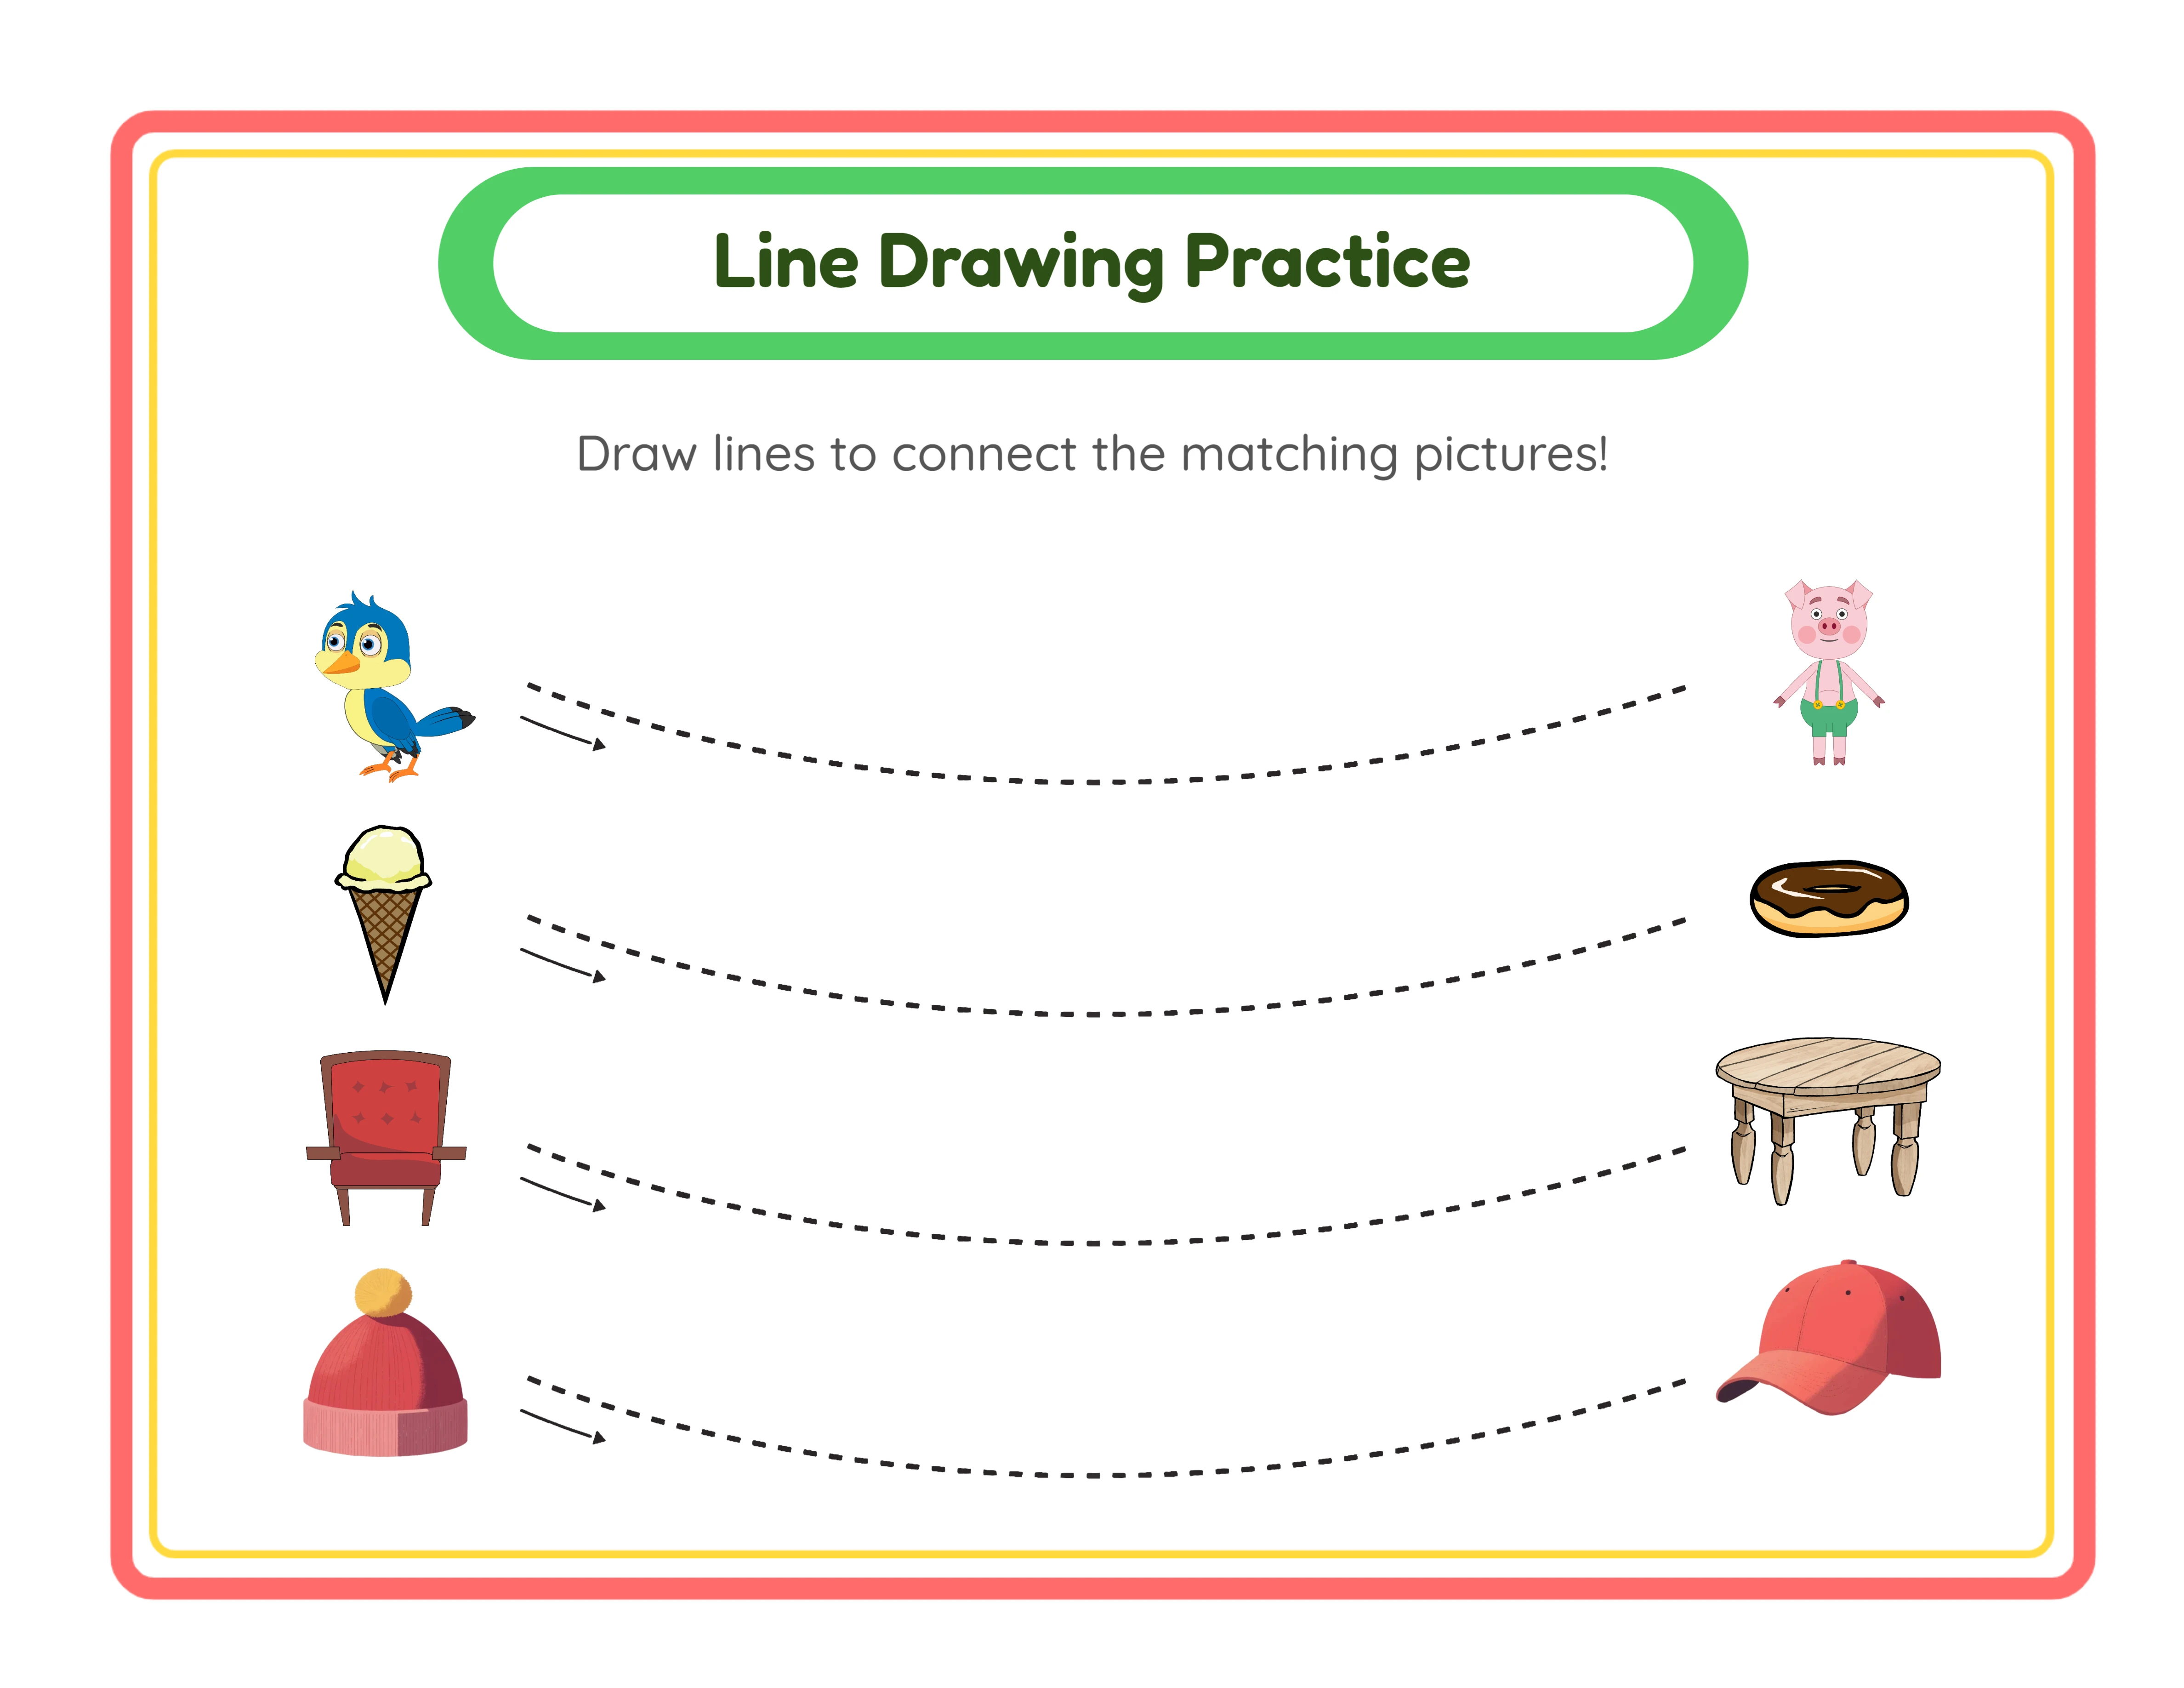
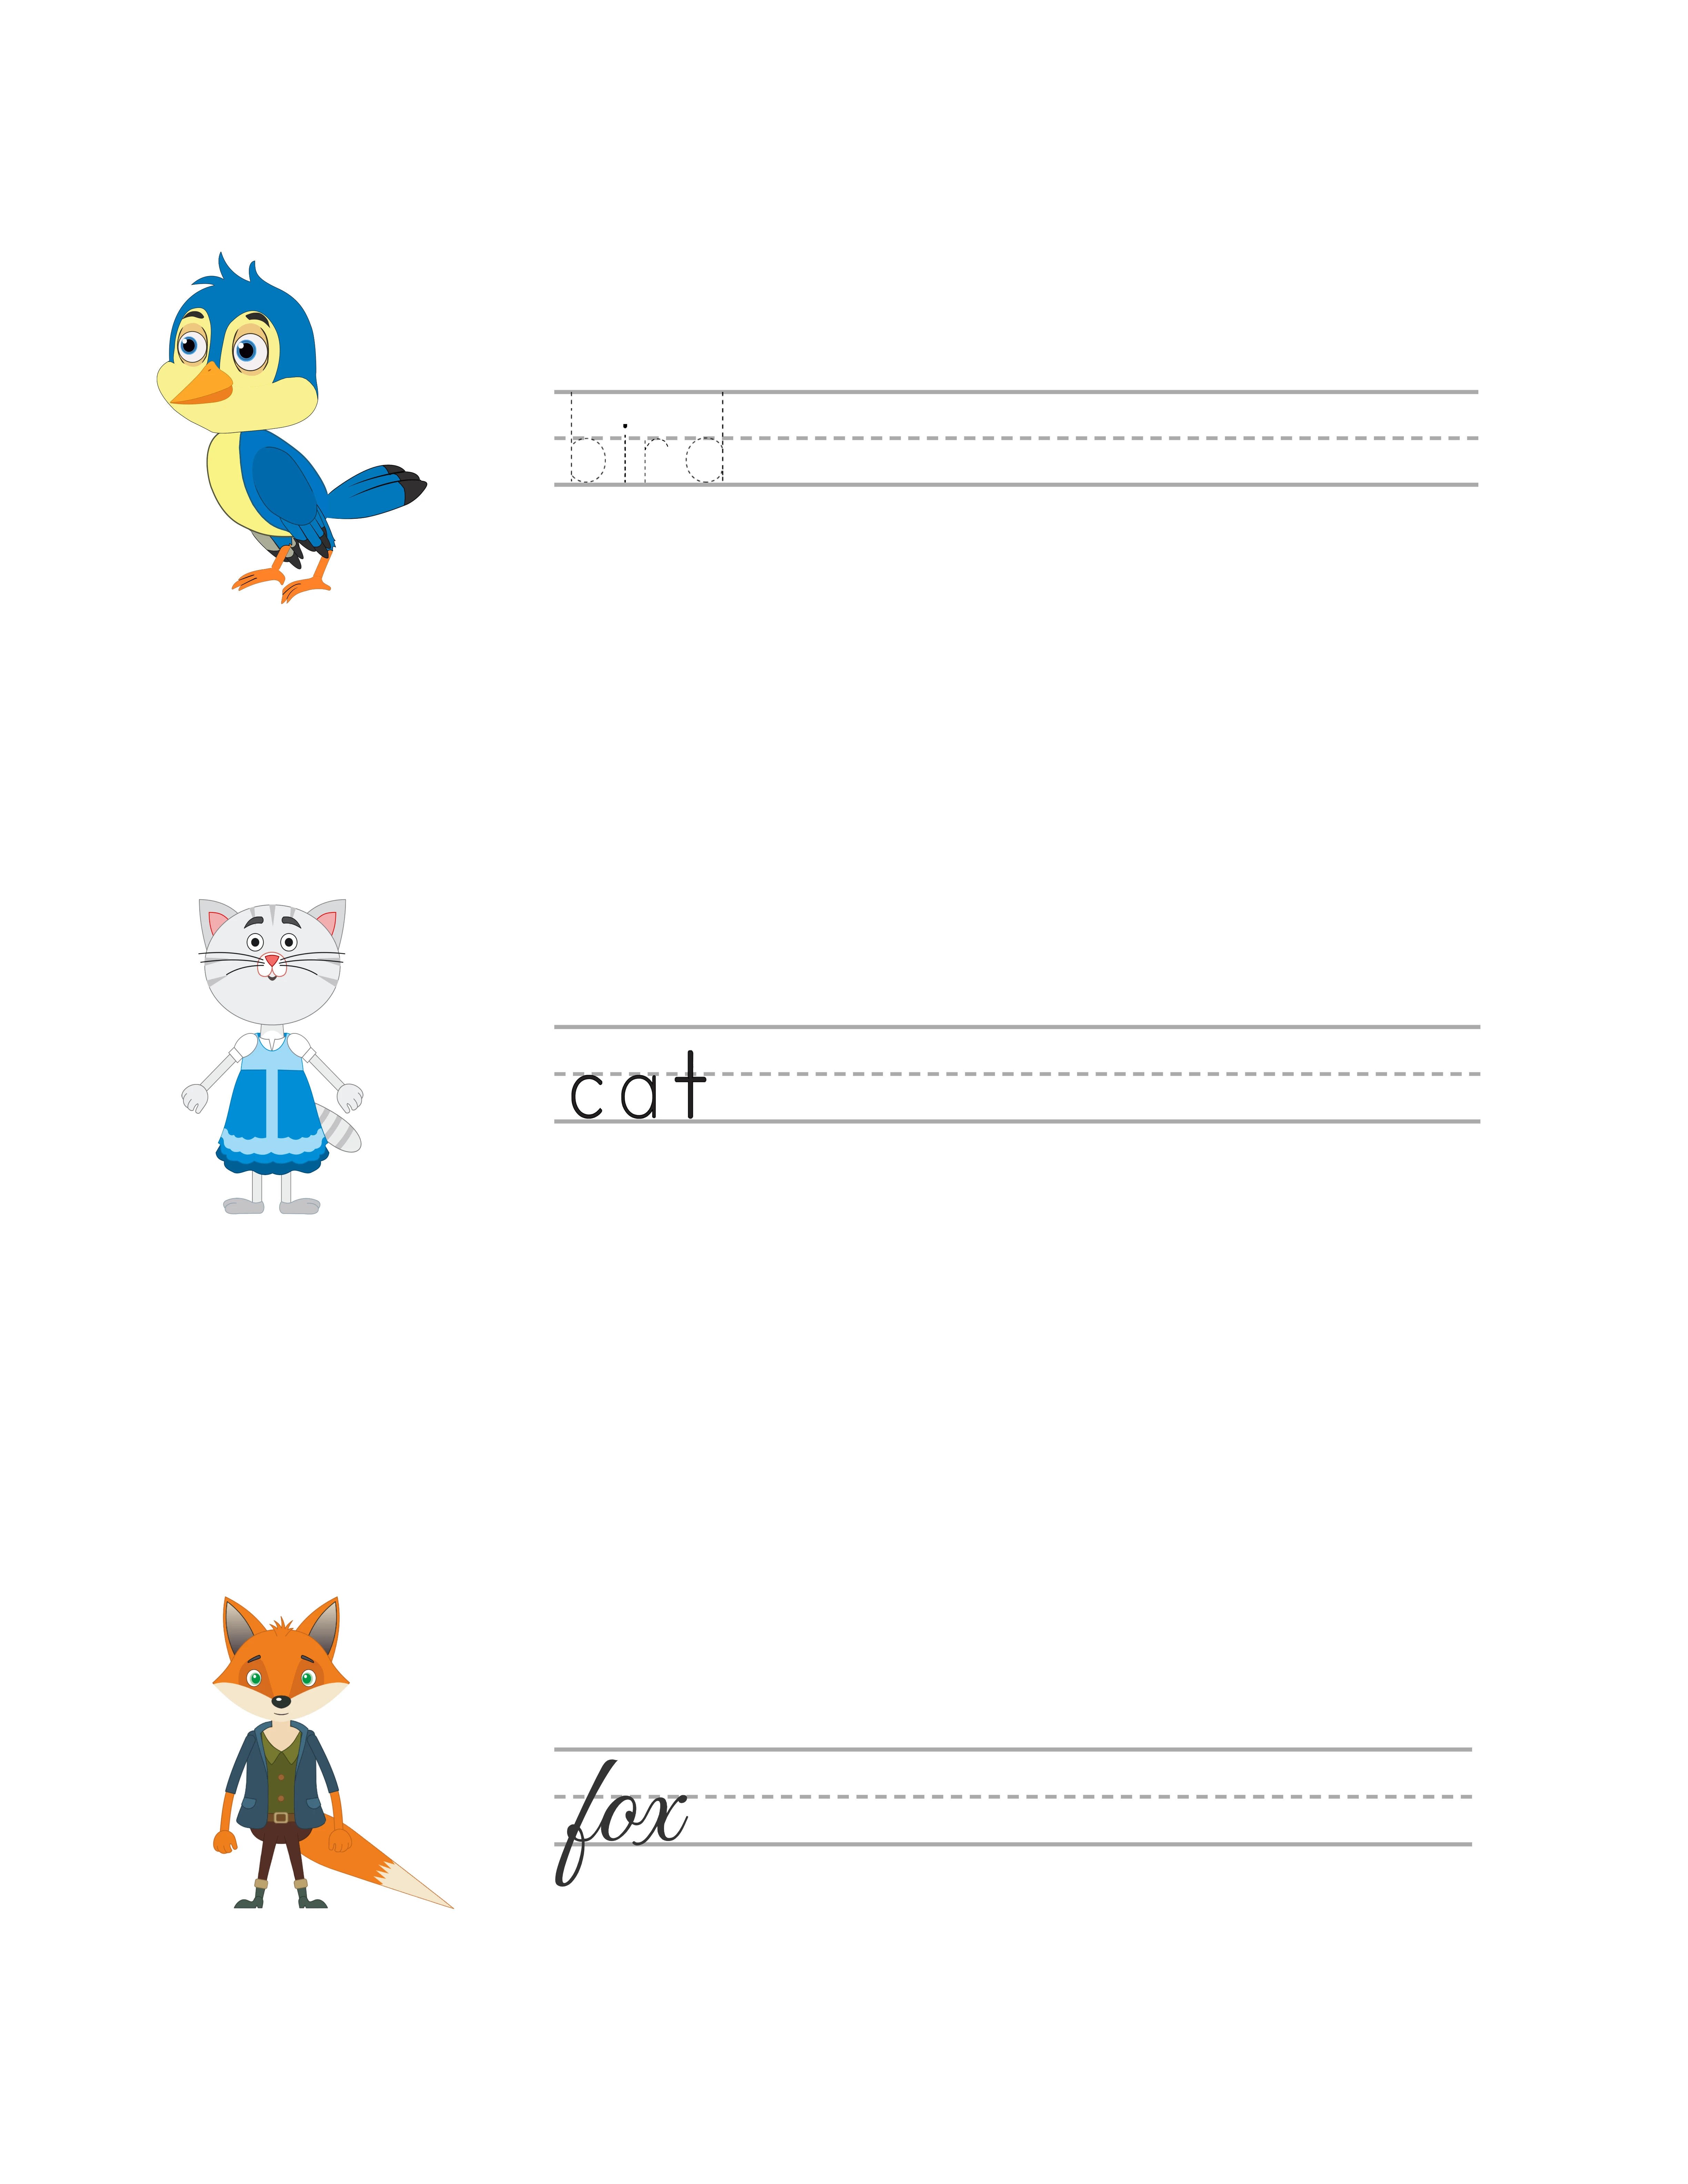
The Handwriting Worksheet Generator integrates with a themed image library that pairs pictures with letter practice. This creates worksheets where children practice writing "A" next to an image of an apple, or trace "C" alongside a picture of a cat. Image-paired worksheets are more engaging than plain text-only practice sheets and command higher prices on marketplaces.
The theme selector offers image sets organized by category. With a commercial license, you get access to 10 themed image sets. The Full Access license unlocks over 100 themed image sets covering animals, food, vehicles, nature, holidays, occupations, and dozens more categories.
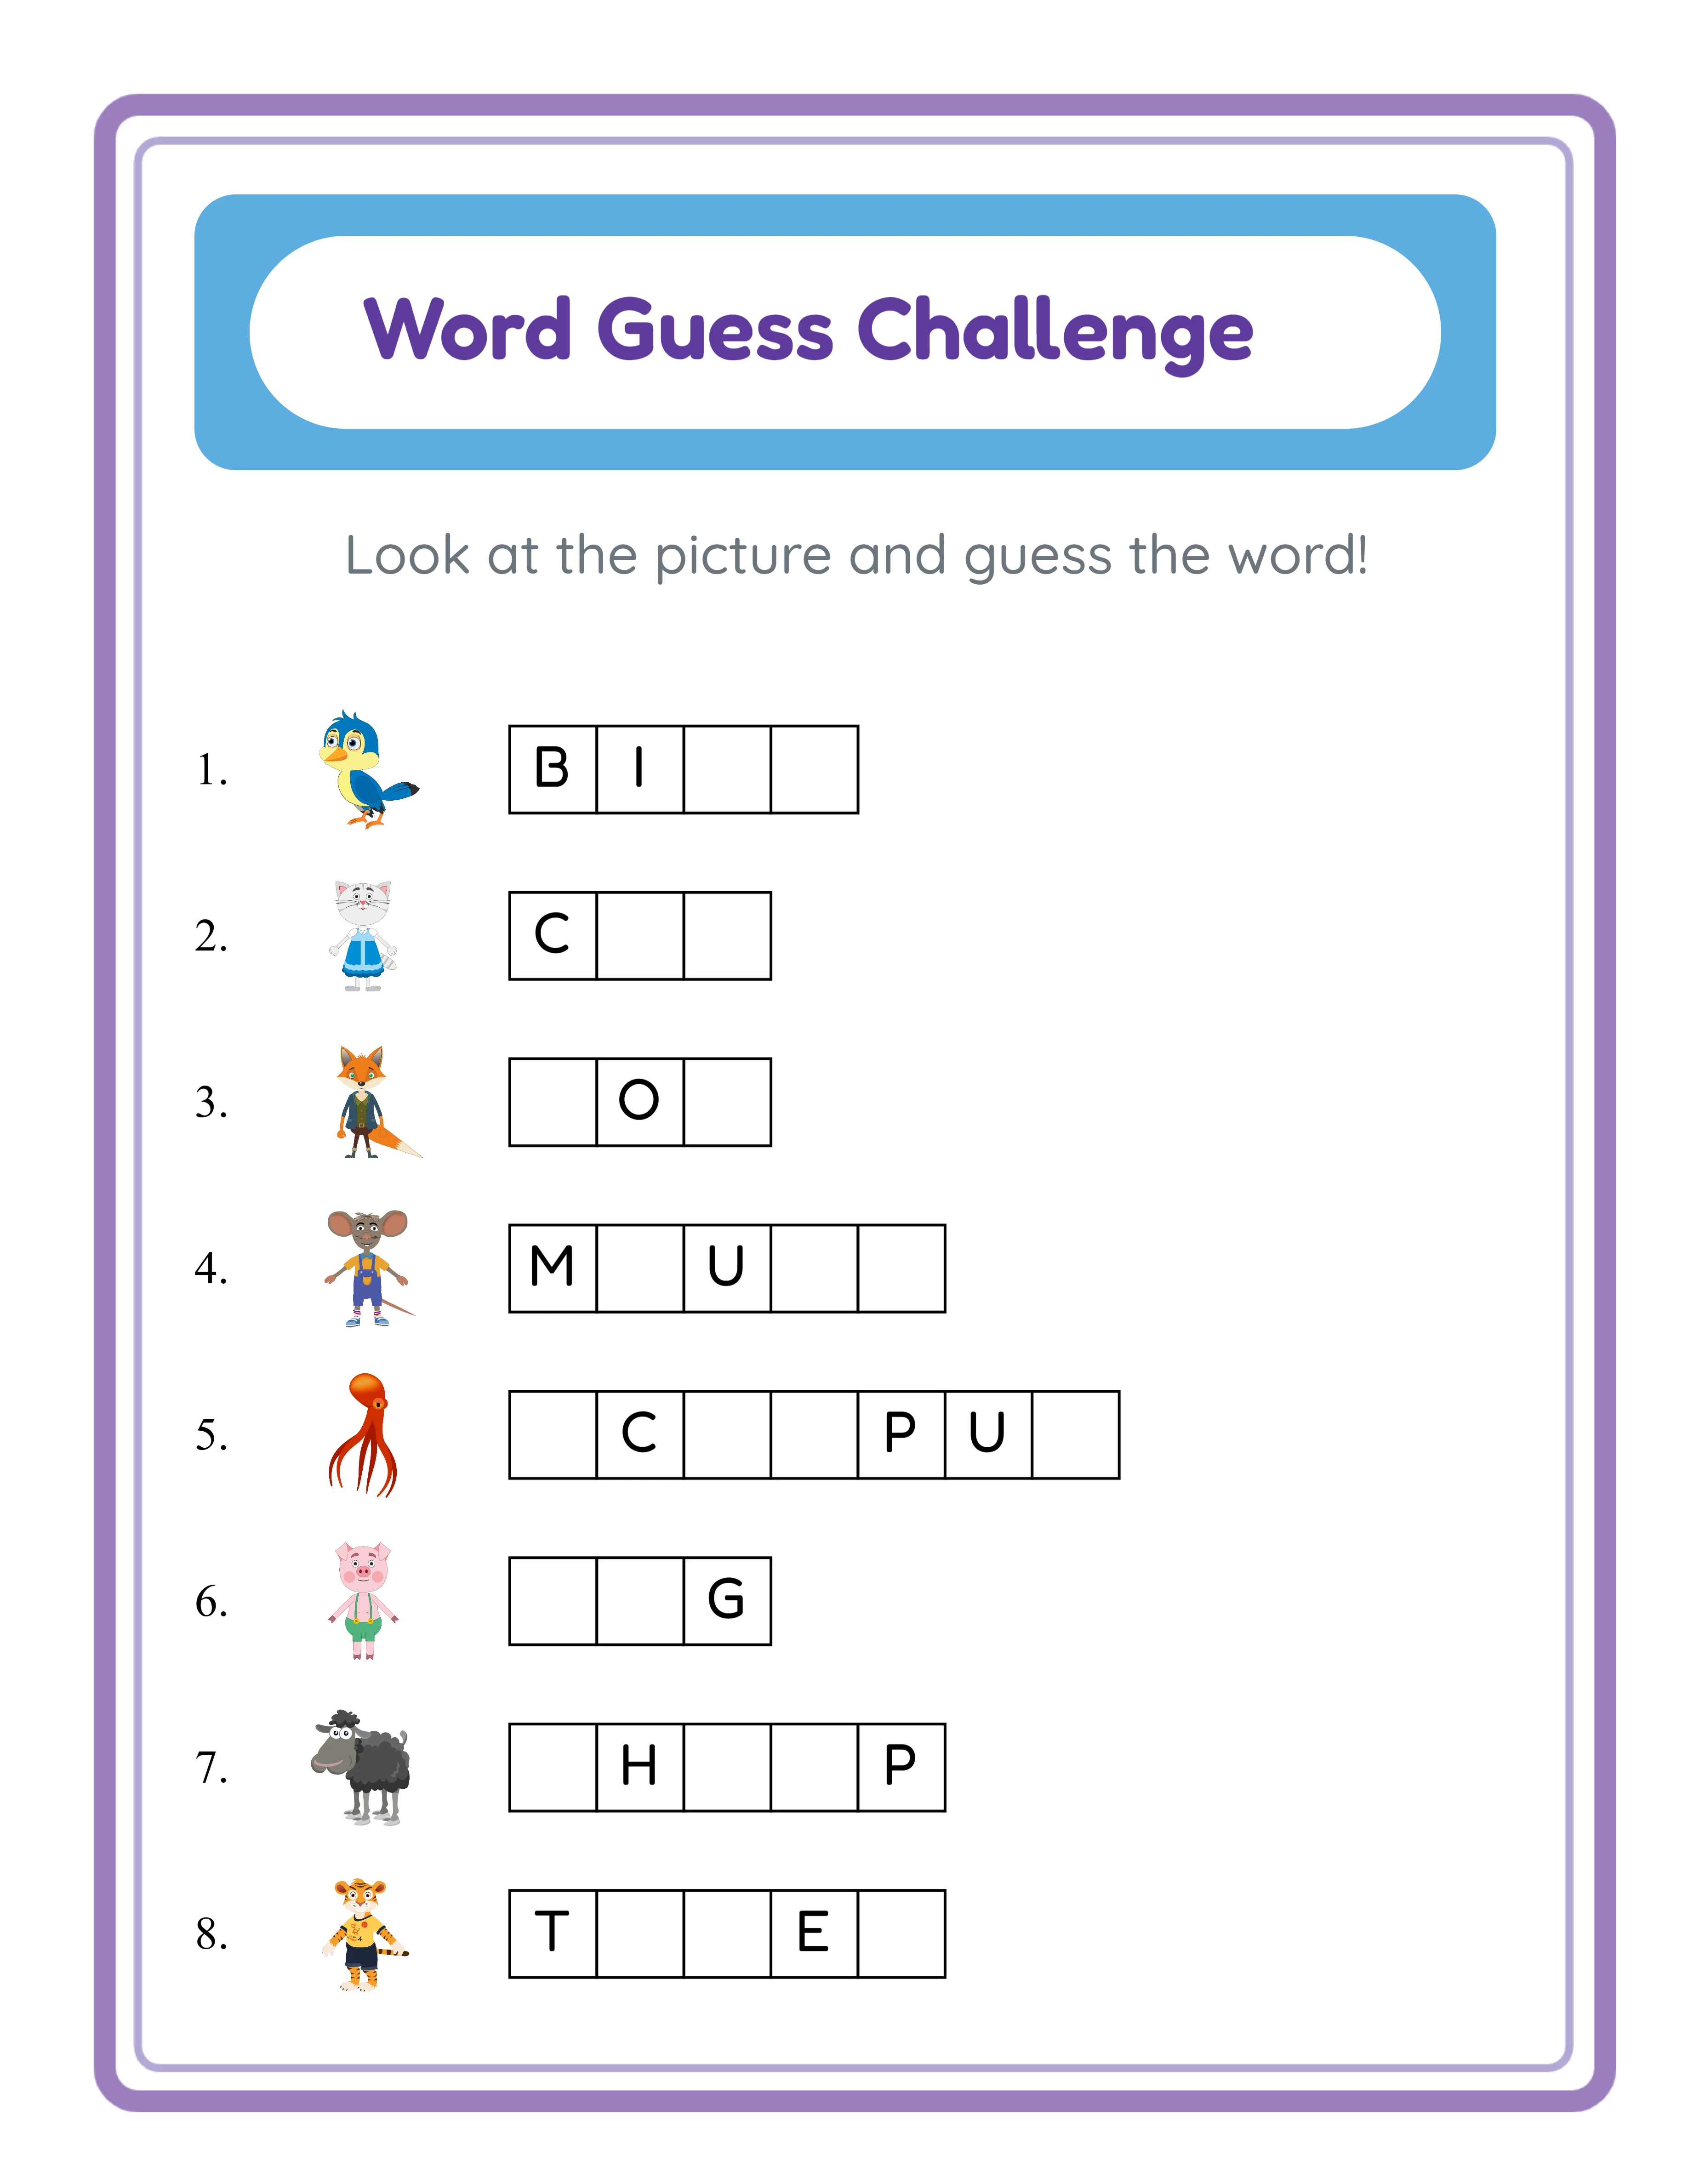
To use images, set the Content Source for a practice row to Beginning Letter or Whole File Name. Beginning Letter mode takes the first letter of the image name (the "A" from "Apple") as the practice content. Whole File Name mode uses the complete word ("Apple") for full word writing practice. The Exercise Image toggle displays the themed image alongside the practice row.
You can also upload custom images using the Custom Image option. This is useful for creating personalized worksheets — for example, a child practicing their own name with a photo of themselves, or themed worksheets using specific branded imagery for a custom client order.
3
Configure Your First Practice Row
Each practice row on a handwriting worksheet is independently configurable. This per-row independence is the generator's most powerful feature — it lets you create worksheets that progress in difficulty from top to bottom on a single page.
For your first row, you need to set four properties:
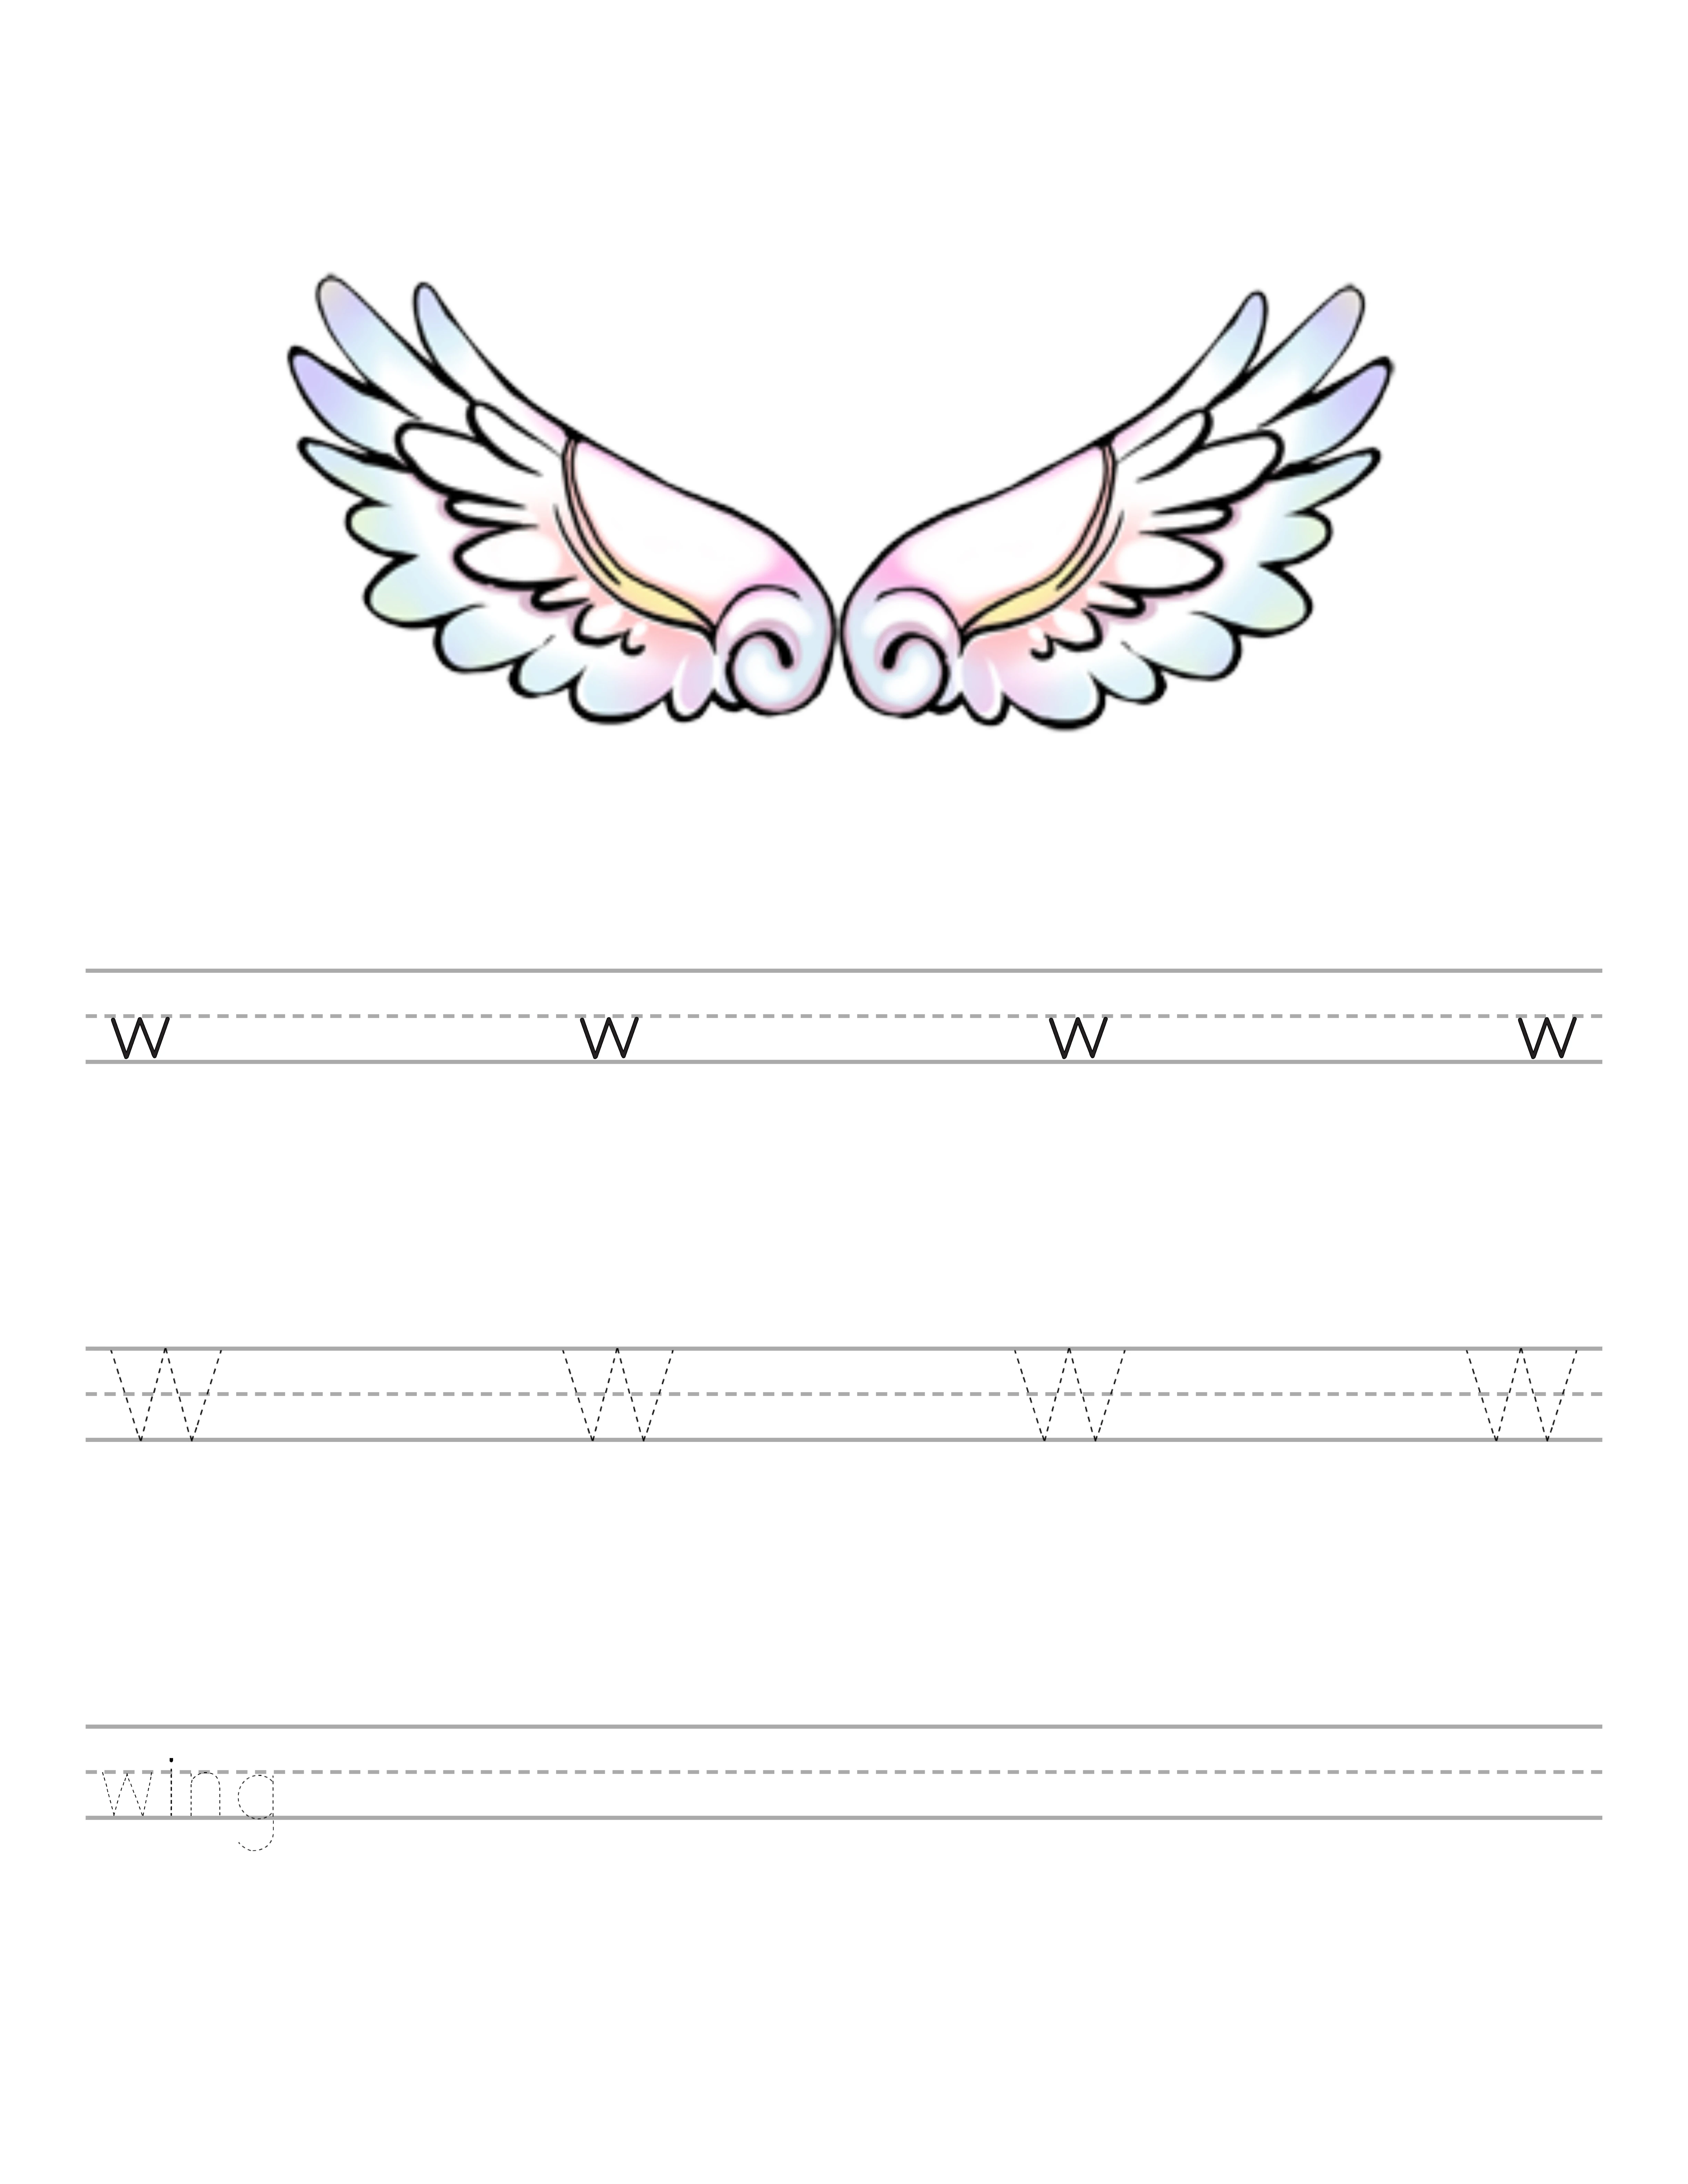
Practice Mode determines how letters appear on the row. Trace mode shows solid letters that children trace over directly. Fading Trace mode starts with a solid letter on the left and gradually fades across the row, so children transition from tracing to independent writing within a single line. Guided Copy mode shows a model letter at the start of the row with blank practice spaces for children to copy the letter independently.
Font Style controls the visual appearance of the practice letters. Five options are available: Print Regular (clean standard print), Print Regular Arrow (standard print with numbered stroke-order arrows), Print Tracing (dotted letter outlines for tracing), Print Tracing Arrow (dotted outlines with numbered arrows), and Cursive (flowing connected script using the Great Vibes font).
Content Source determines what text appears on the row. Empty creates blank ruled lines for freeform practice. Beginning Letter pulls the first letter from a themed image name. Whole File Name uses the complete image name. Custom Text lets you type any letters, words, or sentences.
Letter Case sets whether content appears in Uppercase, Lowercase, or Title Case. For early learners, uppercase letters are typically taught first because they use simpler strokes.
4
Add Arrow-Guided Stroke Order for Letter Formation
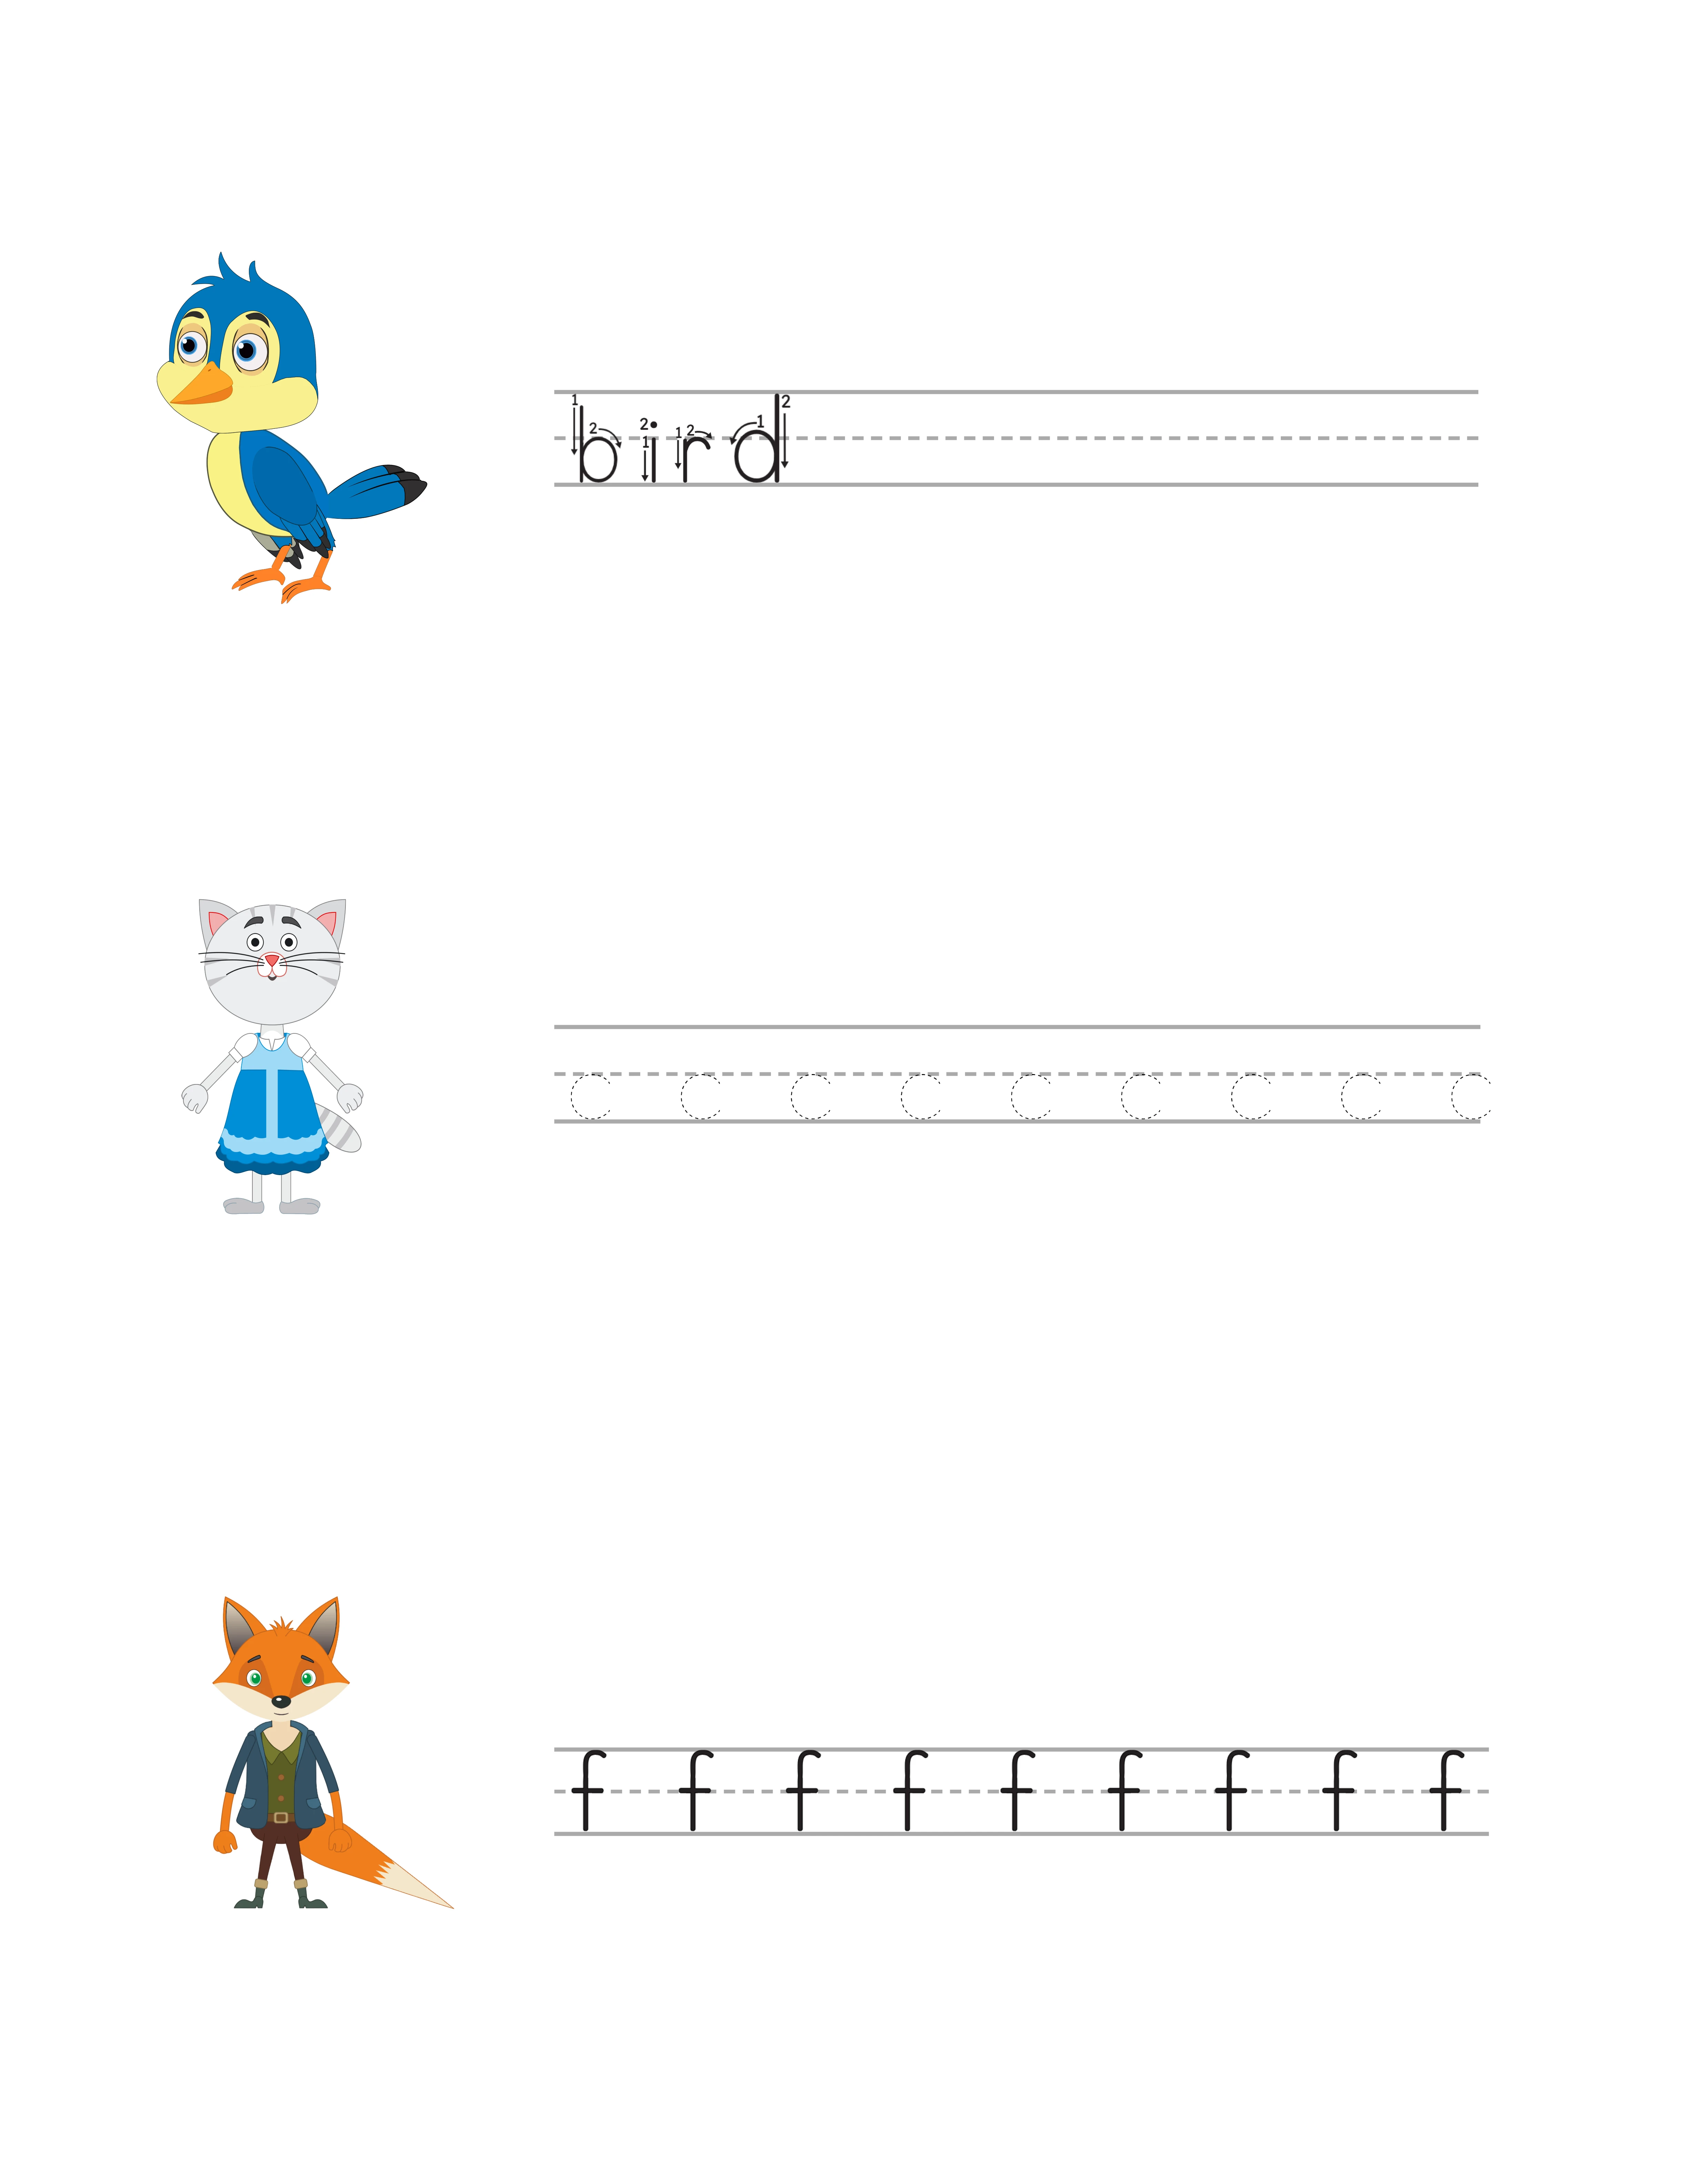
Correct letter formation is one of the most important aspects of handwriting instruction, and it is where the Handwriting Worksheet Generator offers a significant advantage over generic worksheet templates. The Print Regular Arrow and Print Tracing Arrow font styles display numbered directional arrows on each letter showing children exactly where to start and which direction to move their pencil.
Stroke-order arrows are essential for teaching correct letter formation to young children. Without guidance, children often develop incorrect habits — drawing letters from bottom to top, starting strokes from the wrong position, or using inefficient stroke sequences that slow down their writing speed as they progress.
The arrow-guided fonts show numbered steps for each stroke. For the letter "A," arrow 1 shows the left diagonal stroke from top to bottom, arrow 2 shows the right diagonal stroke, and arrow 3 shows the horizontal crossbar. Children follow the numbers in sequence, building muscle memory for the correct formation pattern.
For product creation, stroke-order arrows are a strong selling point. Include them prominently in your listing titles and descriptions. Search terms like "letter formation worksheets" and "stroke order handwriting practice" have dedicated buyer segments. Create separate products: one set with arrow-guided fonts for initial learning and another set with standard print fonts for independent practice after children have learned correct formation.
5
Build a Multi-Row Worksheet with Progressive Difficulty
The most effective handwriting worksheets use progressive difficulty within a single page. The Handwriting Worksheet Generator supports this through its Add Row feature and per-row configuration.
Here is a proven progressive layout for a single letter practice worksheet:
Row 1 — Trace mode with Print Tracing Arrow font: Children trace dotted letter outlines with stroke-order arrows guiding their hand. This is the supported introduction to the letter shape.
Row 2 — Trace mode with Print Tracing font: Children trace dotted outlines without arrows. They apply the stroke order they learned in row 1 from memory.
Row 3 — Fading Trace mode with Print Regular font: The letter starts solid on the left and fades across the row. Children begin by tracing and gradually transition to independent writing as the guide disappears.
Row 4 — Guided Copy mode with Print Regular font: A single model letter appears at the left with blank practice spaces. Children write the letter independently using the model as reference.
Row 5 — Empty row with ruled lines: Completely blank practice space where children write the letter from memory with no visual guide.
This five-row progression takes a child from fully guided tracing to independent writing on a single page. Each row builds on the previous one. Click Add Row to add rows, and configure each one independently using the mode, font, content, and case selectors. You can also delete rows or reorder them to customize the progression.
6
Add Pre-Writing Stroke Practice
Pre-writing strokes are the developmental precursor to letter formation. Before children can write letters, they need to master four fundamental movements: vertical lines (top to bottom), horizontal lines (left to right), circles (clockwise and counterclockwise), and zigzag patterns (diagonal strokes).
The Handwriting Worksheet Generator includes pre-writing stroke options that create practice rows for these foundational movements. These strokes are essential for preschool worksheets targeting children ages 3–4 who are developing the fine motor control needed for handwriting.
Pre-writing stroke worksheets serve a distinct market segment from letter practice sheets. Parents of toddlers and young the preschool-age market search for "pre-writing activities," "fine motor worksheets," and "pencil control practice." Occupational therapists use these worksheets in therapy sessions for children with fine motor delays. Special education buyers need them for solvers working below grade level.
For product creation, pre-writing strokes expand your catalog into an younger age range. Create dedicated pre-writing worksheet sets: a vertical lines pack, a horizontal lines pack, a circles pack, and a zigzag pack. Then create a comprehensive bundle that includes all four stroke types. This gives you five products from a single feature.
Combine pre-writing strokes with themed images to create engaging products. A worksheet with vertical lines alongside images of trees (drawing the trunk), horizontal lines alongside images of roads, and circles alongside images of balls creates a thematic learning experience that stands out from plain line-tracing sheets.
7
Customize with Text Tools and Canvas Editing
The Handwriting Worksheet Generator includes text tools and canvas editing features that transform basic practice sheets into professional, branded products.
Text Tools let you add custom text anywhere on the worksheet. Common additions include:
Worksheet titles: "Letter A — Handwriting Practice" or "Uppercase Alphabet Tracing" at the top of each page. Consistent titling across a product set gives your worksheets a professional, cohesive appearance.
Solver fields: A "Name:" line and "Date:" line at the top of the worksheet. Buyers strongly prefer worksheets with these fields for group management.
Instructions: "Trace each letter following the arrows" or "Copy the letter in the empty spaces" helps children and parents understand what to do on each row.
Font options for text include Arial, Verdana, Lexend Deca, Baloo 2, Nunito, Quicksand, and Fredoka. Each font has a different personality — Fredoka and Baloo 2 feel playful and clear, while Arial and Verdana are clean and professional. Choose fonts that match your target buyer: playful for parent-targeted products, clean for buyer-targeted resources.
Canvas tools provide alignment controls (center, left, right), layer management (bring to front, send to back), lock and unlock elements, and zoom controls for precise positioning. Use alignment to ensure your title, name field, and practice rows are consistently positioned across all worksheets in a product set.
8
Export as Print-Ready PDF and JPEG
The export section provides download options for your completed handwriting worksheet.
Worksheet PDF is the professional standard for printable products. PDF files maintain exact formatting across all devices and printers, ensuring your carefully positioned practice lines, guide letters, and images print exactly as designed. This is the format marketplace buyers expect for downloadable worksheets.
Worksheet JPEG is a high-resolution image file. Use JPEGs for listing preview images on Etsy and Amazon, social media marketing posts, and as thumbnails in your shop. JPEG exports are also useful for digital worksheet products used on tablets.
The Grayscale export option converts your worksheet to black and white. This is particularly valuable for handwriting worksheets because many buyers photocopy worksheets in bulk for group distribution. A grayscale worksheet photocopies cleanly without the muddy artifacts that can occur when photocopying color pages. Offering both color and grayscale versions in your product listing adds perceived value.
Important: the free trial with watermark produces fully functional exports with a visible watermark overlay. This lets you evaluate print quality, verify that practice lines are properly spaced, and create test prints before purchasing a commercial license. The commercial license removes the watermark from all exports, producing clean files ready for sale.
For a complete product, export every worksheet in your set as both PDF and JPEG. The PDF is your deliverable product. The JPEG provides listing preview images that show buyers exactly what they are purchasing.
.webp)