Tutorial
1
Choose Your Page Size and Background
Start by selecting the page dimensions for your coloring page. The Page Size options include US Letter Portrait, US Letter Landscape, A4 Portrait, A4 Landscape, Square, and Custom dimensions.
US Letter Portrait (8.5 x 11 inches) is the standard for printable coloring pages sold to North American buyers. A4 Portrait works for European and international markets. Creating both versions from the same design doubles your market reach with minimal extra effort.
The Square format is unique to creative printables. Square coloring pages work well for social media coloring challenges, Instagram posts, and digital coloring products where the aspect ratio suits screen-based viewing. Consider this format for digital-only product lines.
Landscape orientation works for wide scene compositions — landscapes, vehicle panoramas, or ocean scenes where horizontal space enhances the design.
Once you have set the page size, configure the background. Background Theme options let you add subtle decorative borders and frames with adjustable opacity. For coloring pages, a clean white background is standard for printed products, but a light border theme at low opacity can add a professional framing effect. Use the Border Theme selector and Opacity control to fine-tune the look without overpowering the main coloring area.
2
Browse the Image Library and Select a Theme
The image library contains over 3,100 illustrations organized into 104 themes. Click the image library panel to browse themes by category — animals, food, vehicles, nature, holidays, occupations, sports, fantasy, and dozens more.
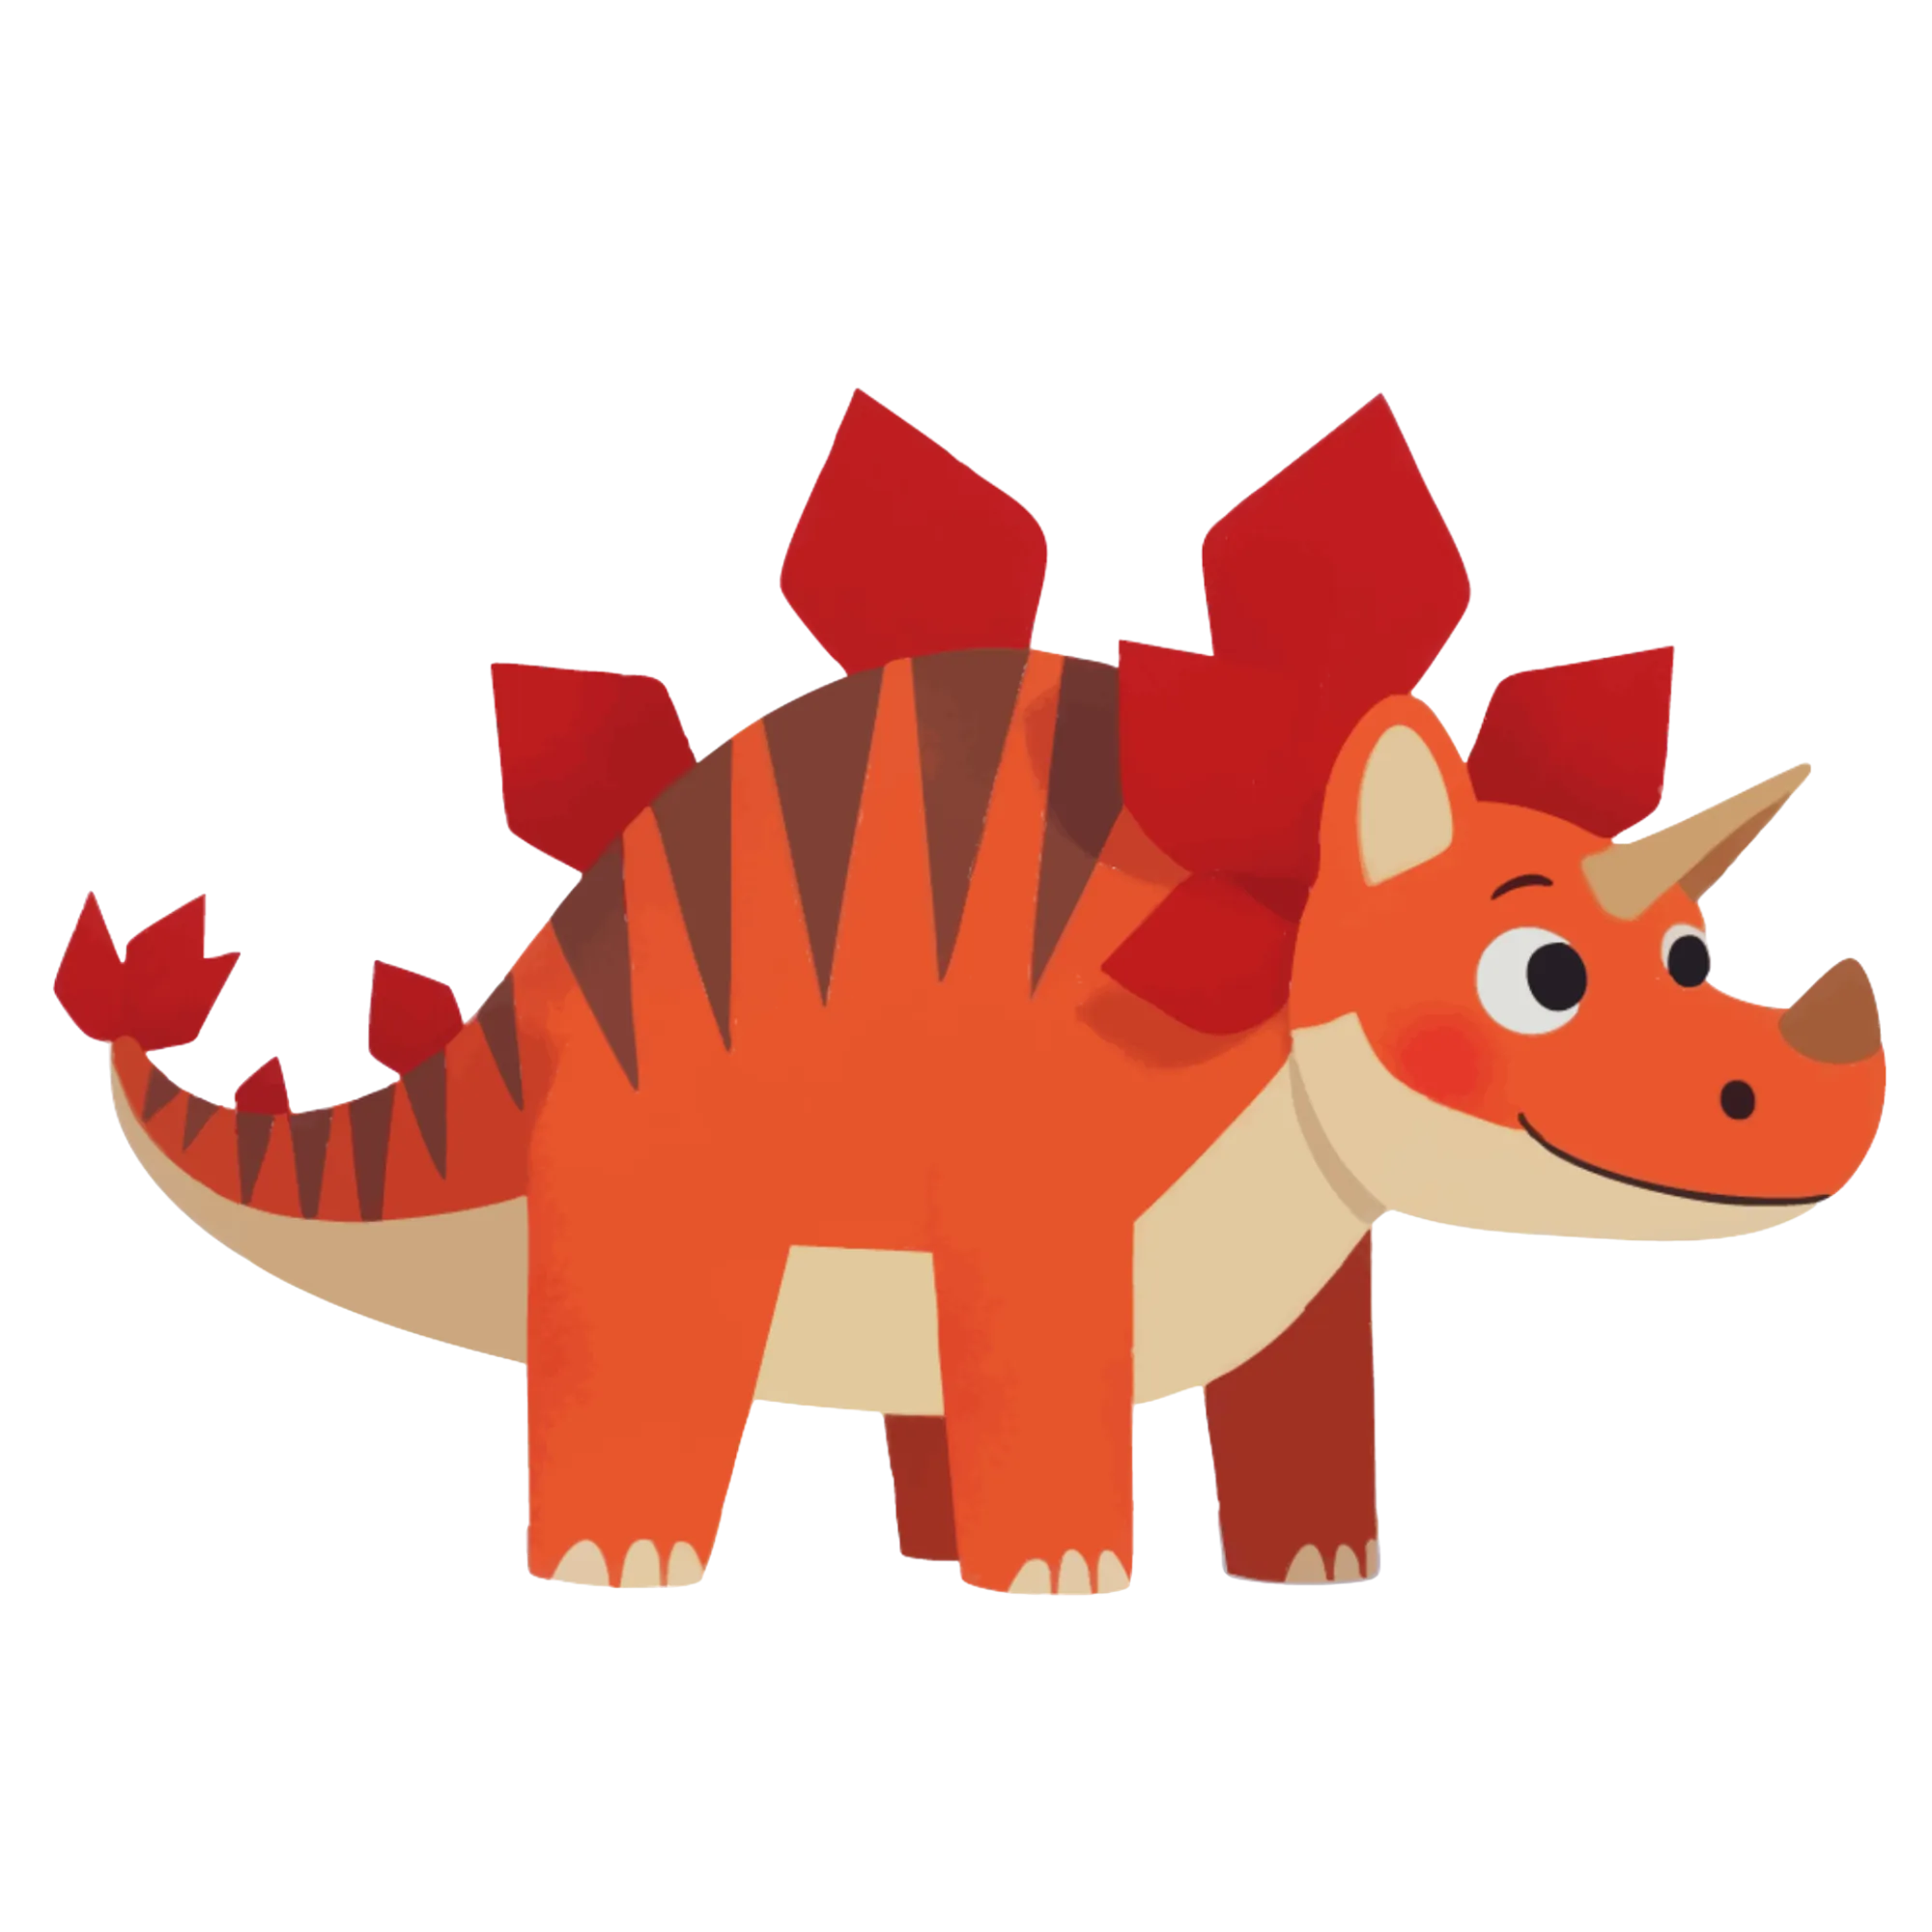
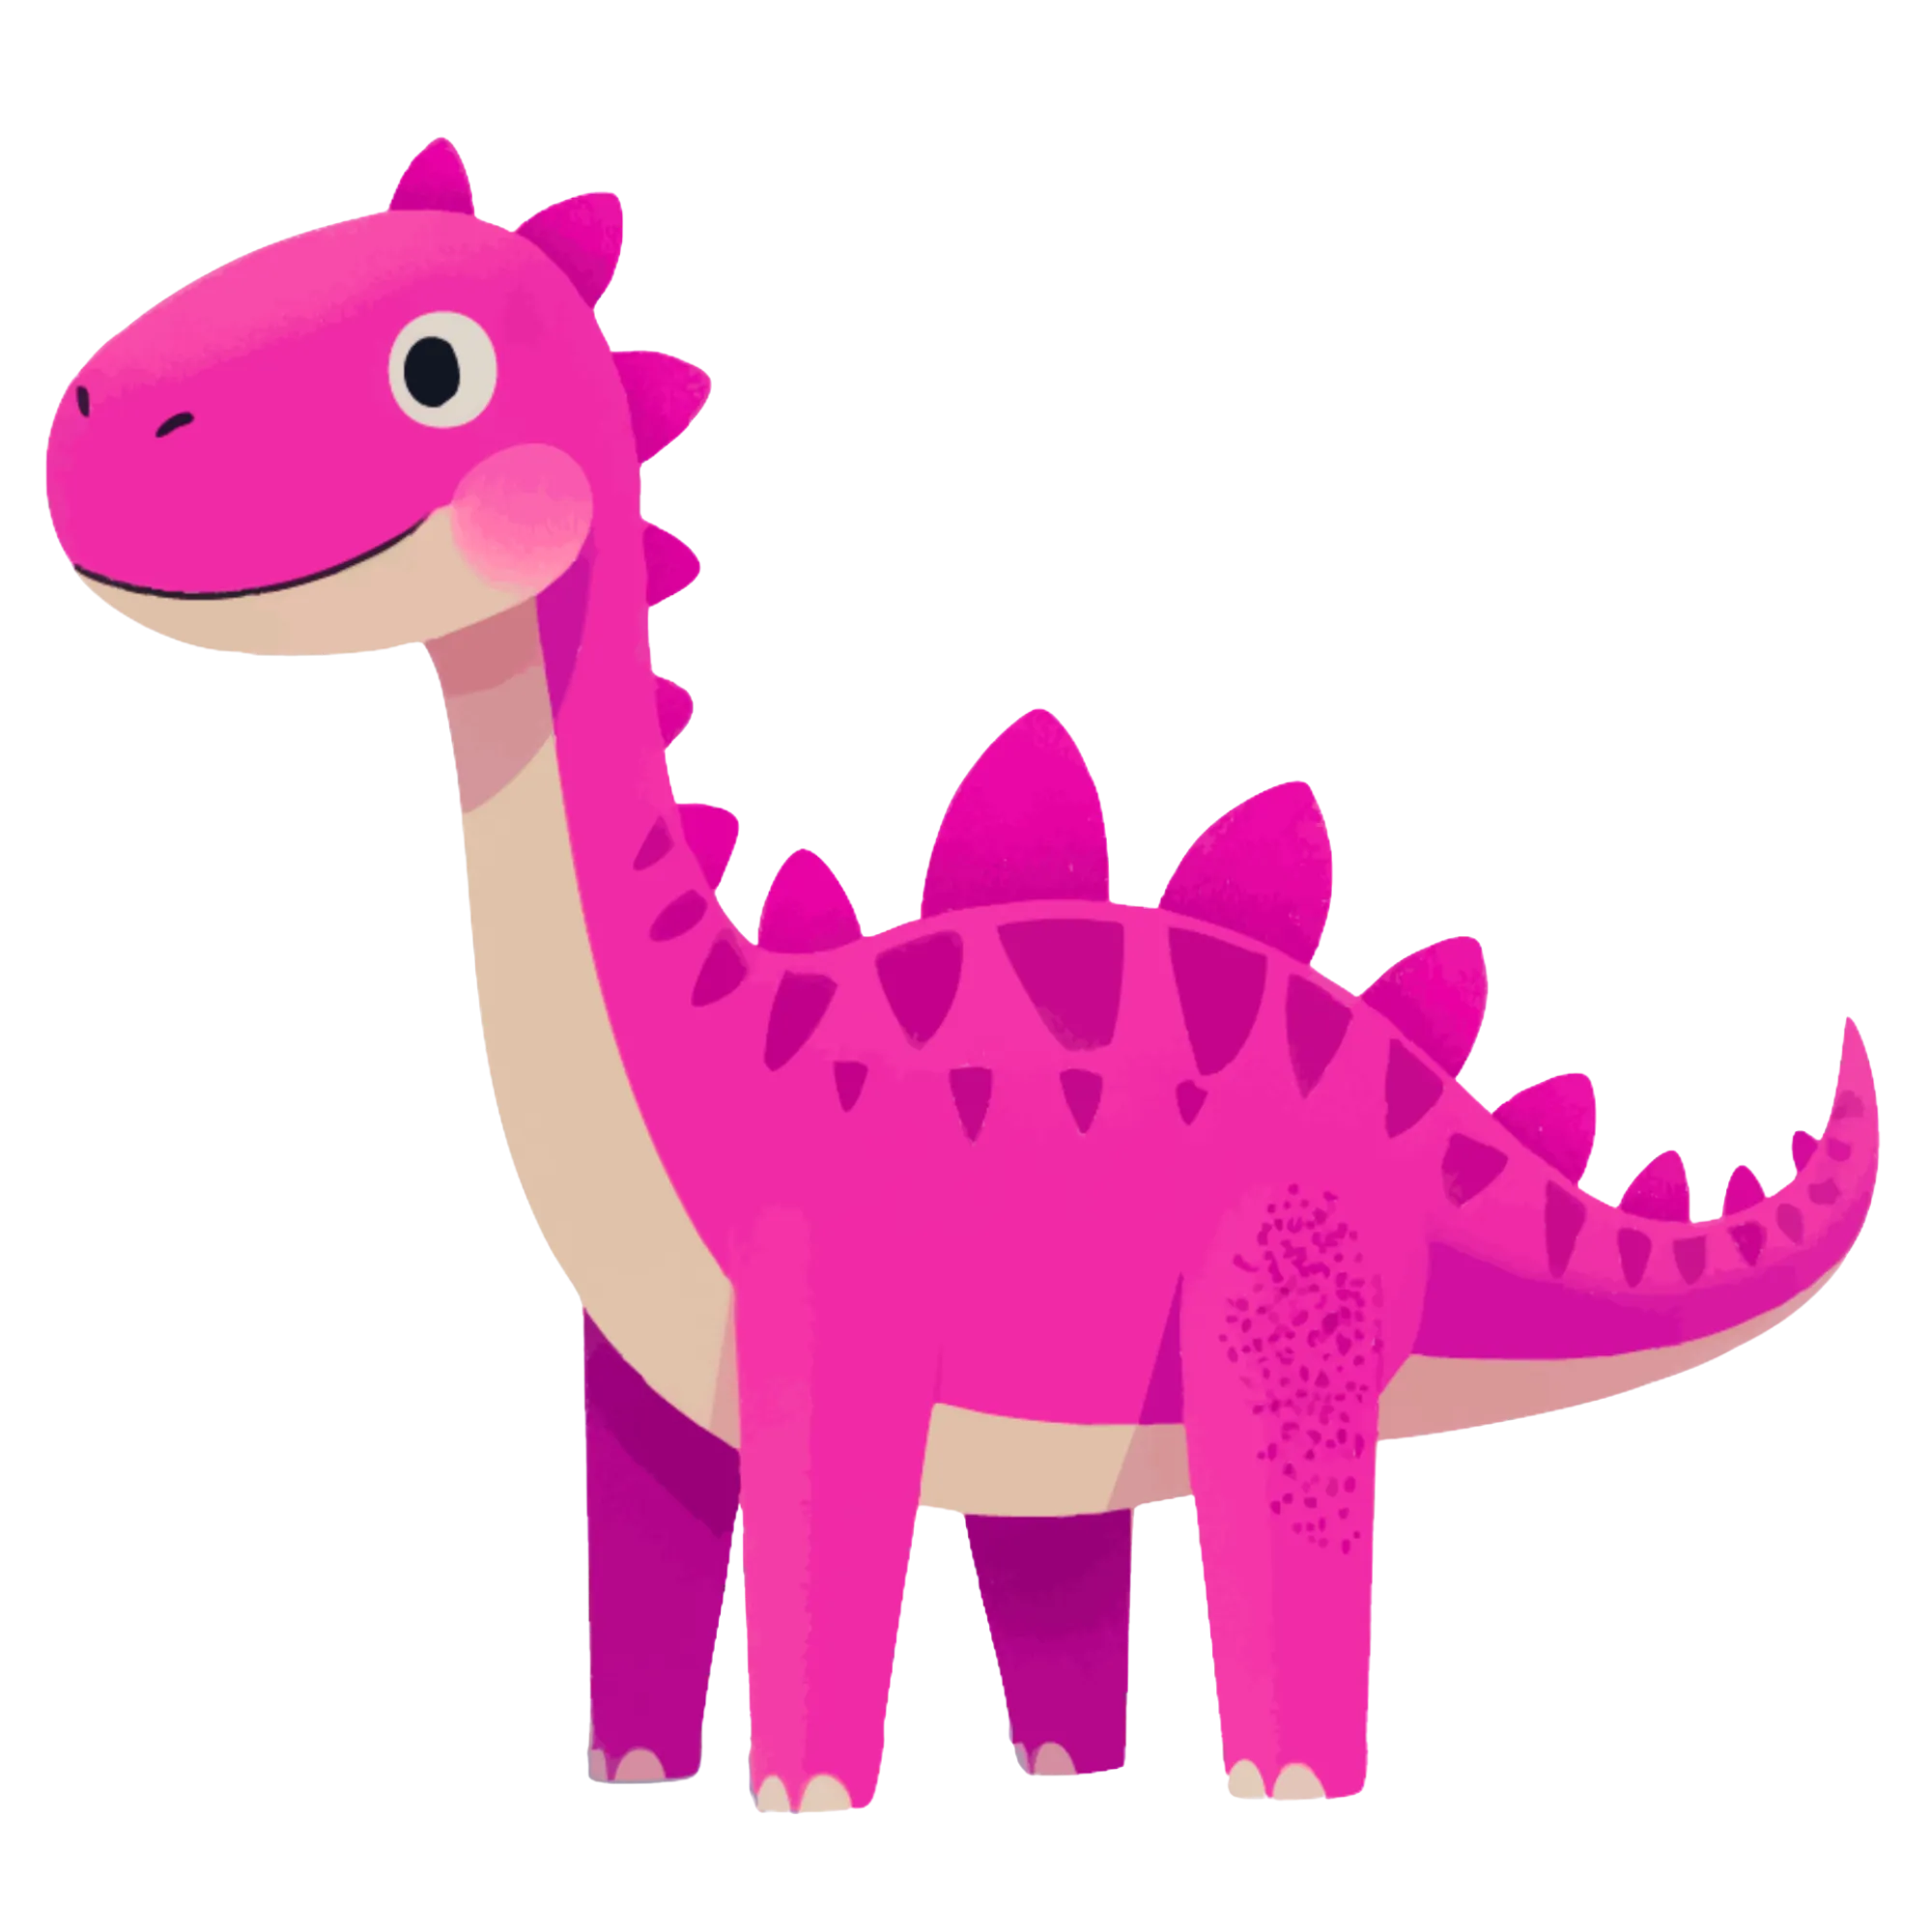
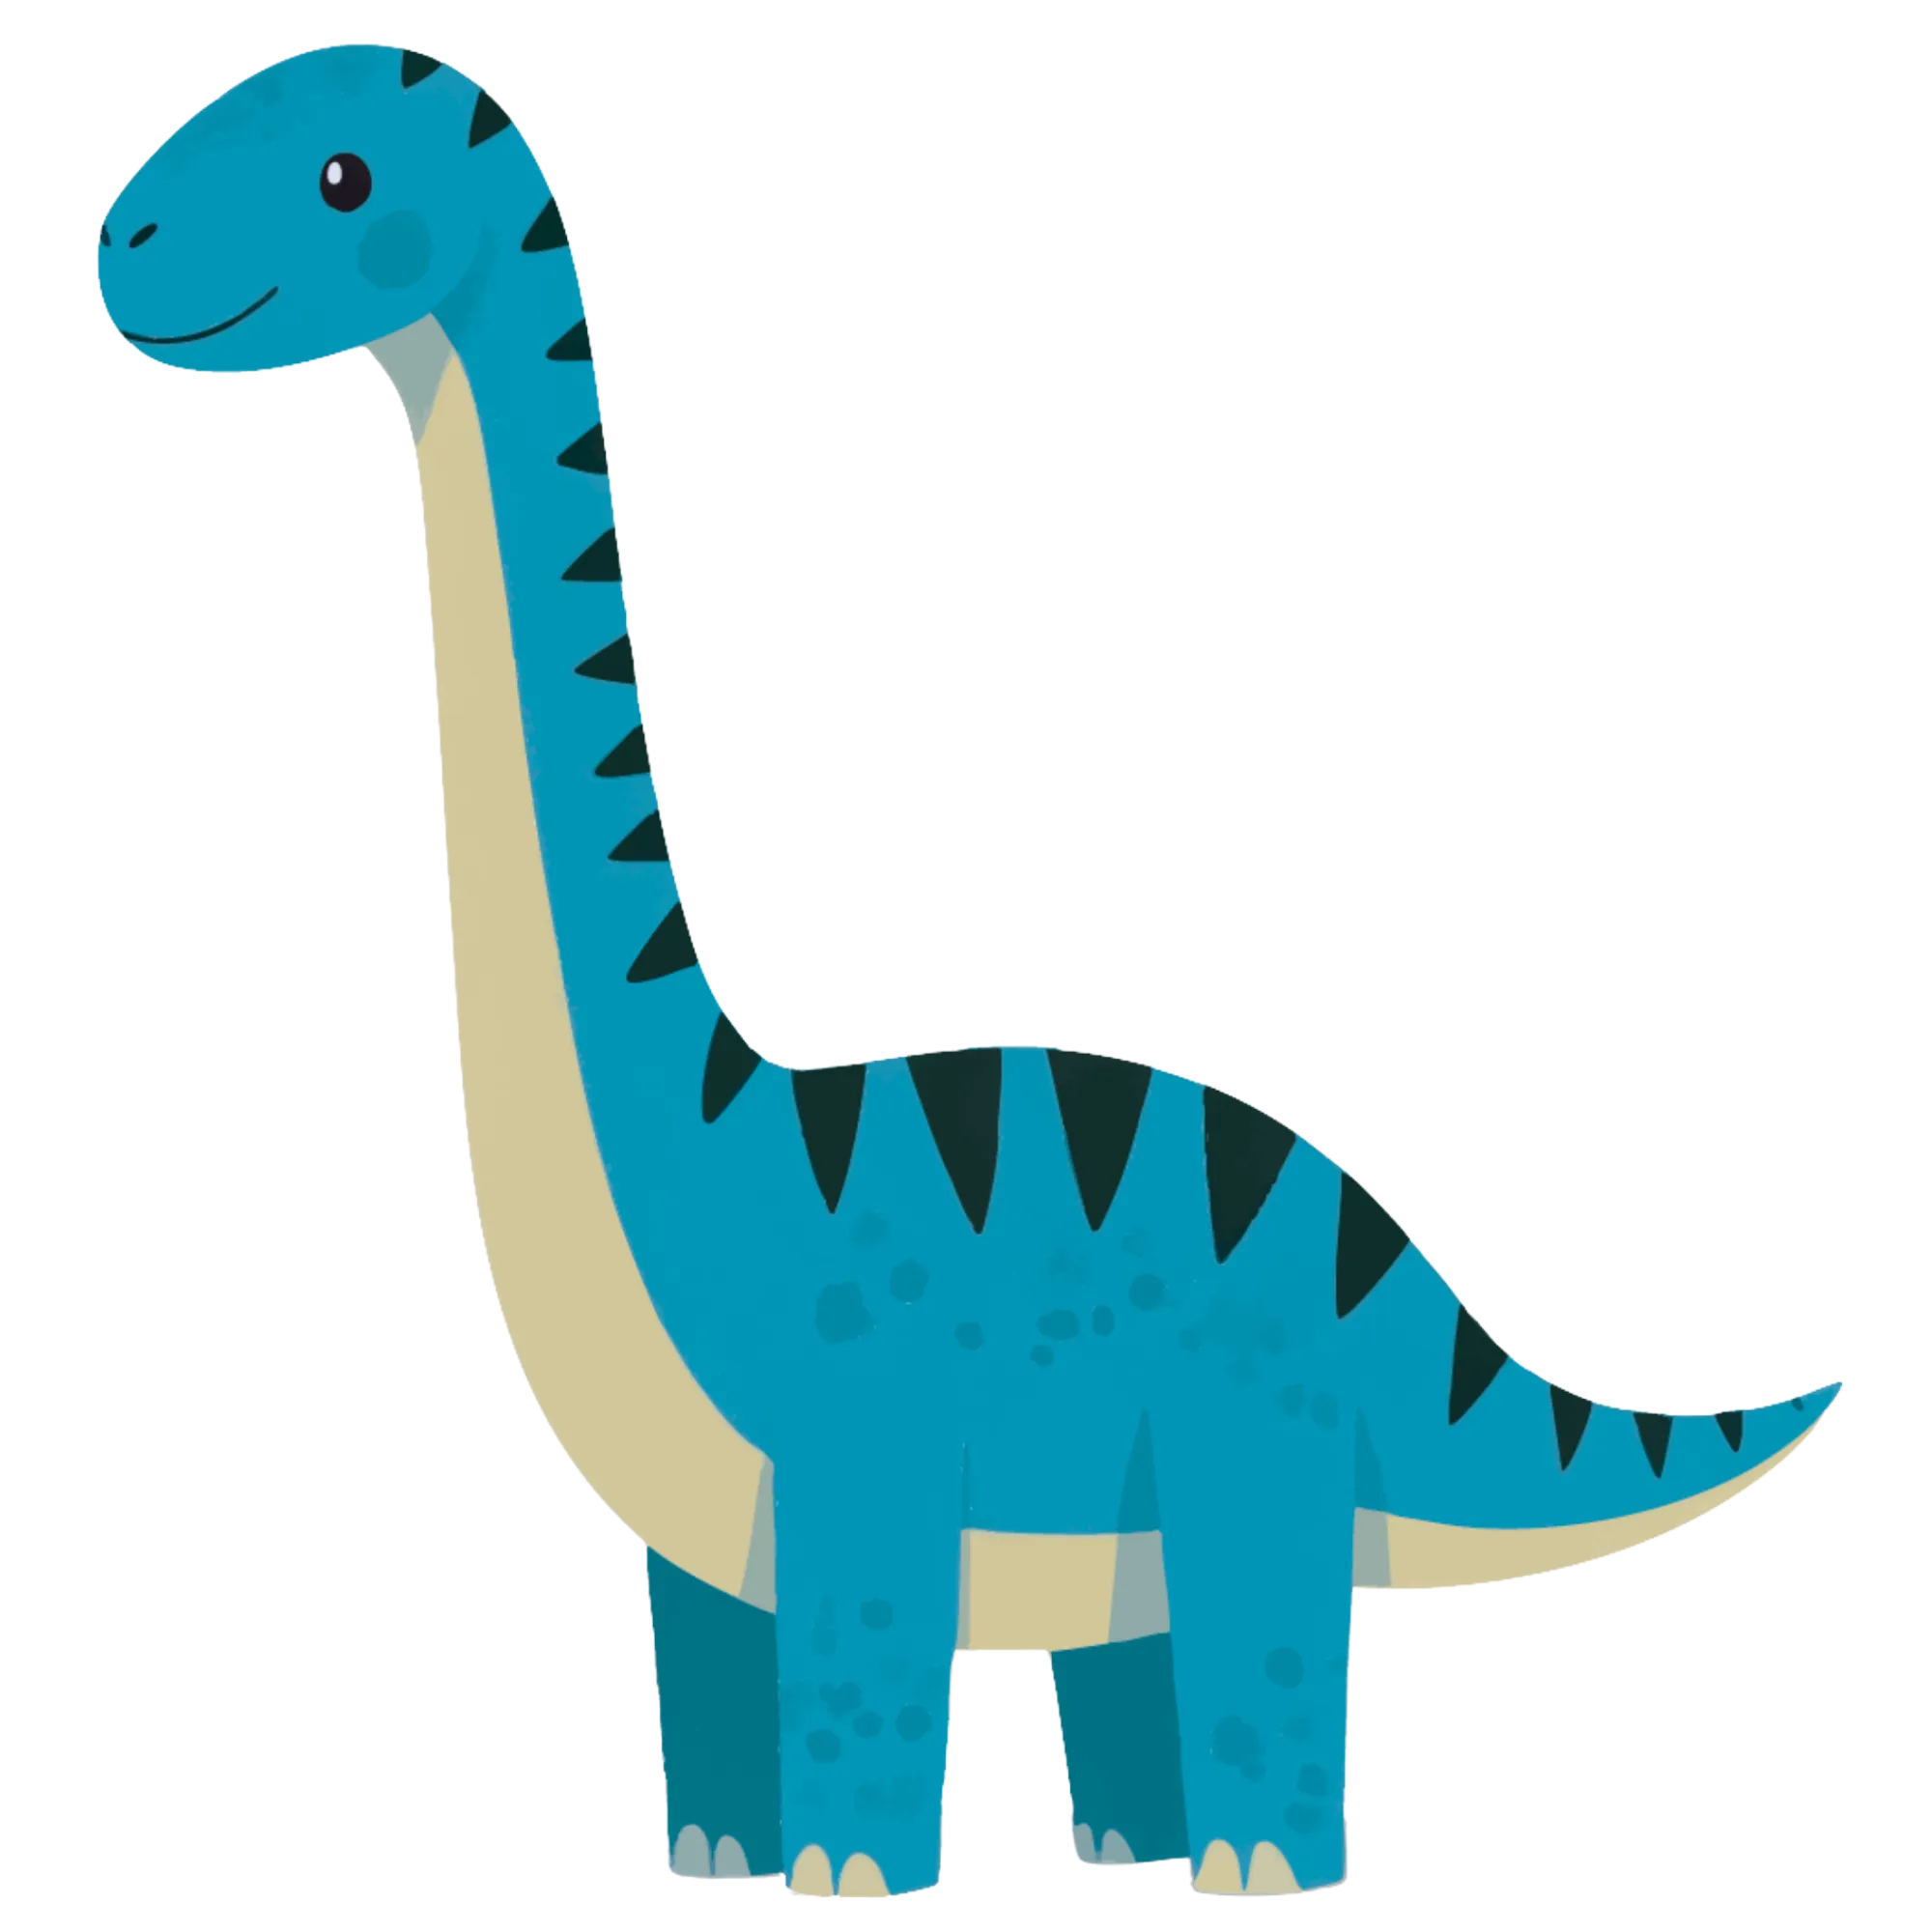
Use the search field to find specific images quickly. Searching "cat" shows all cat illustrations across multiple themes. Searching "dinosaur" pulls up prehistoric creatures. The search works across image names and theme categories.
Theme selection is your most important product strategy decision. Each theme creates a completely distinct product line. A shop with 20 animal-themed coloring page packs, 15 vehicle-themed packs, and 10 holiday-themed packs has 45 unique product listings from a single tool — each targeting different search keywords and buyer segments.
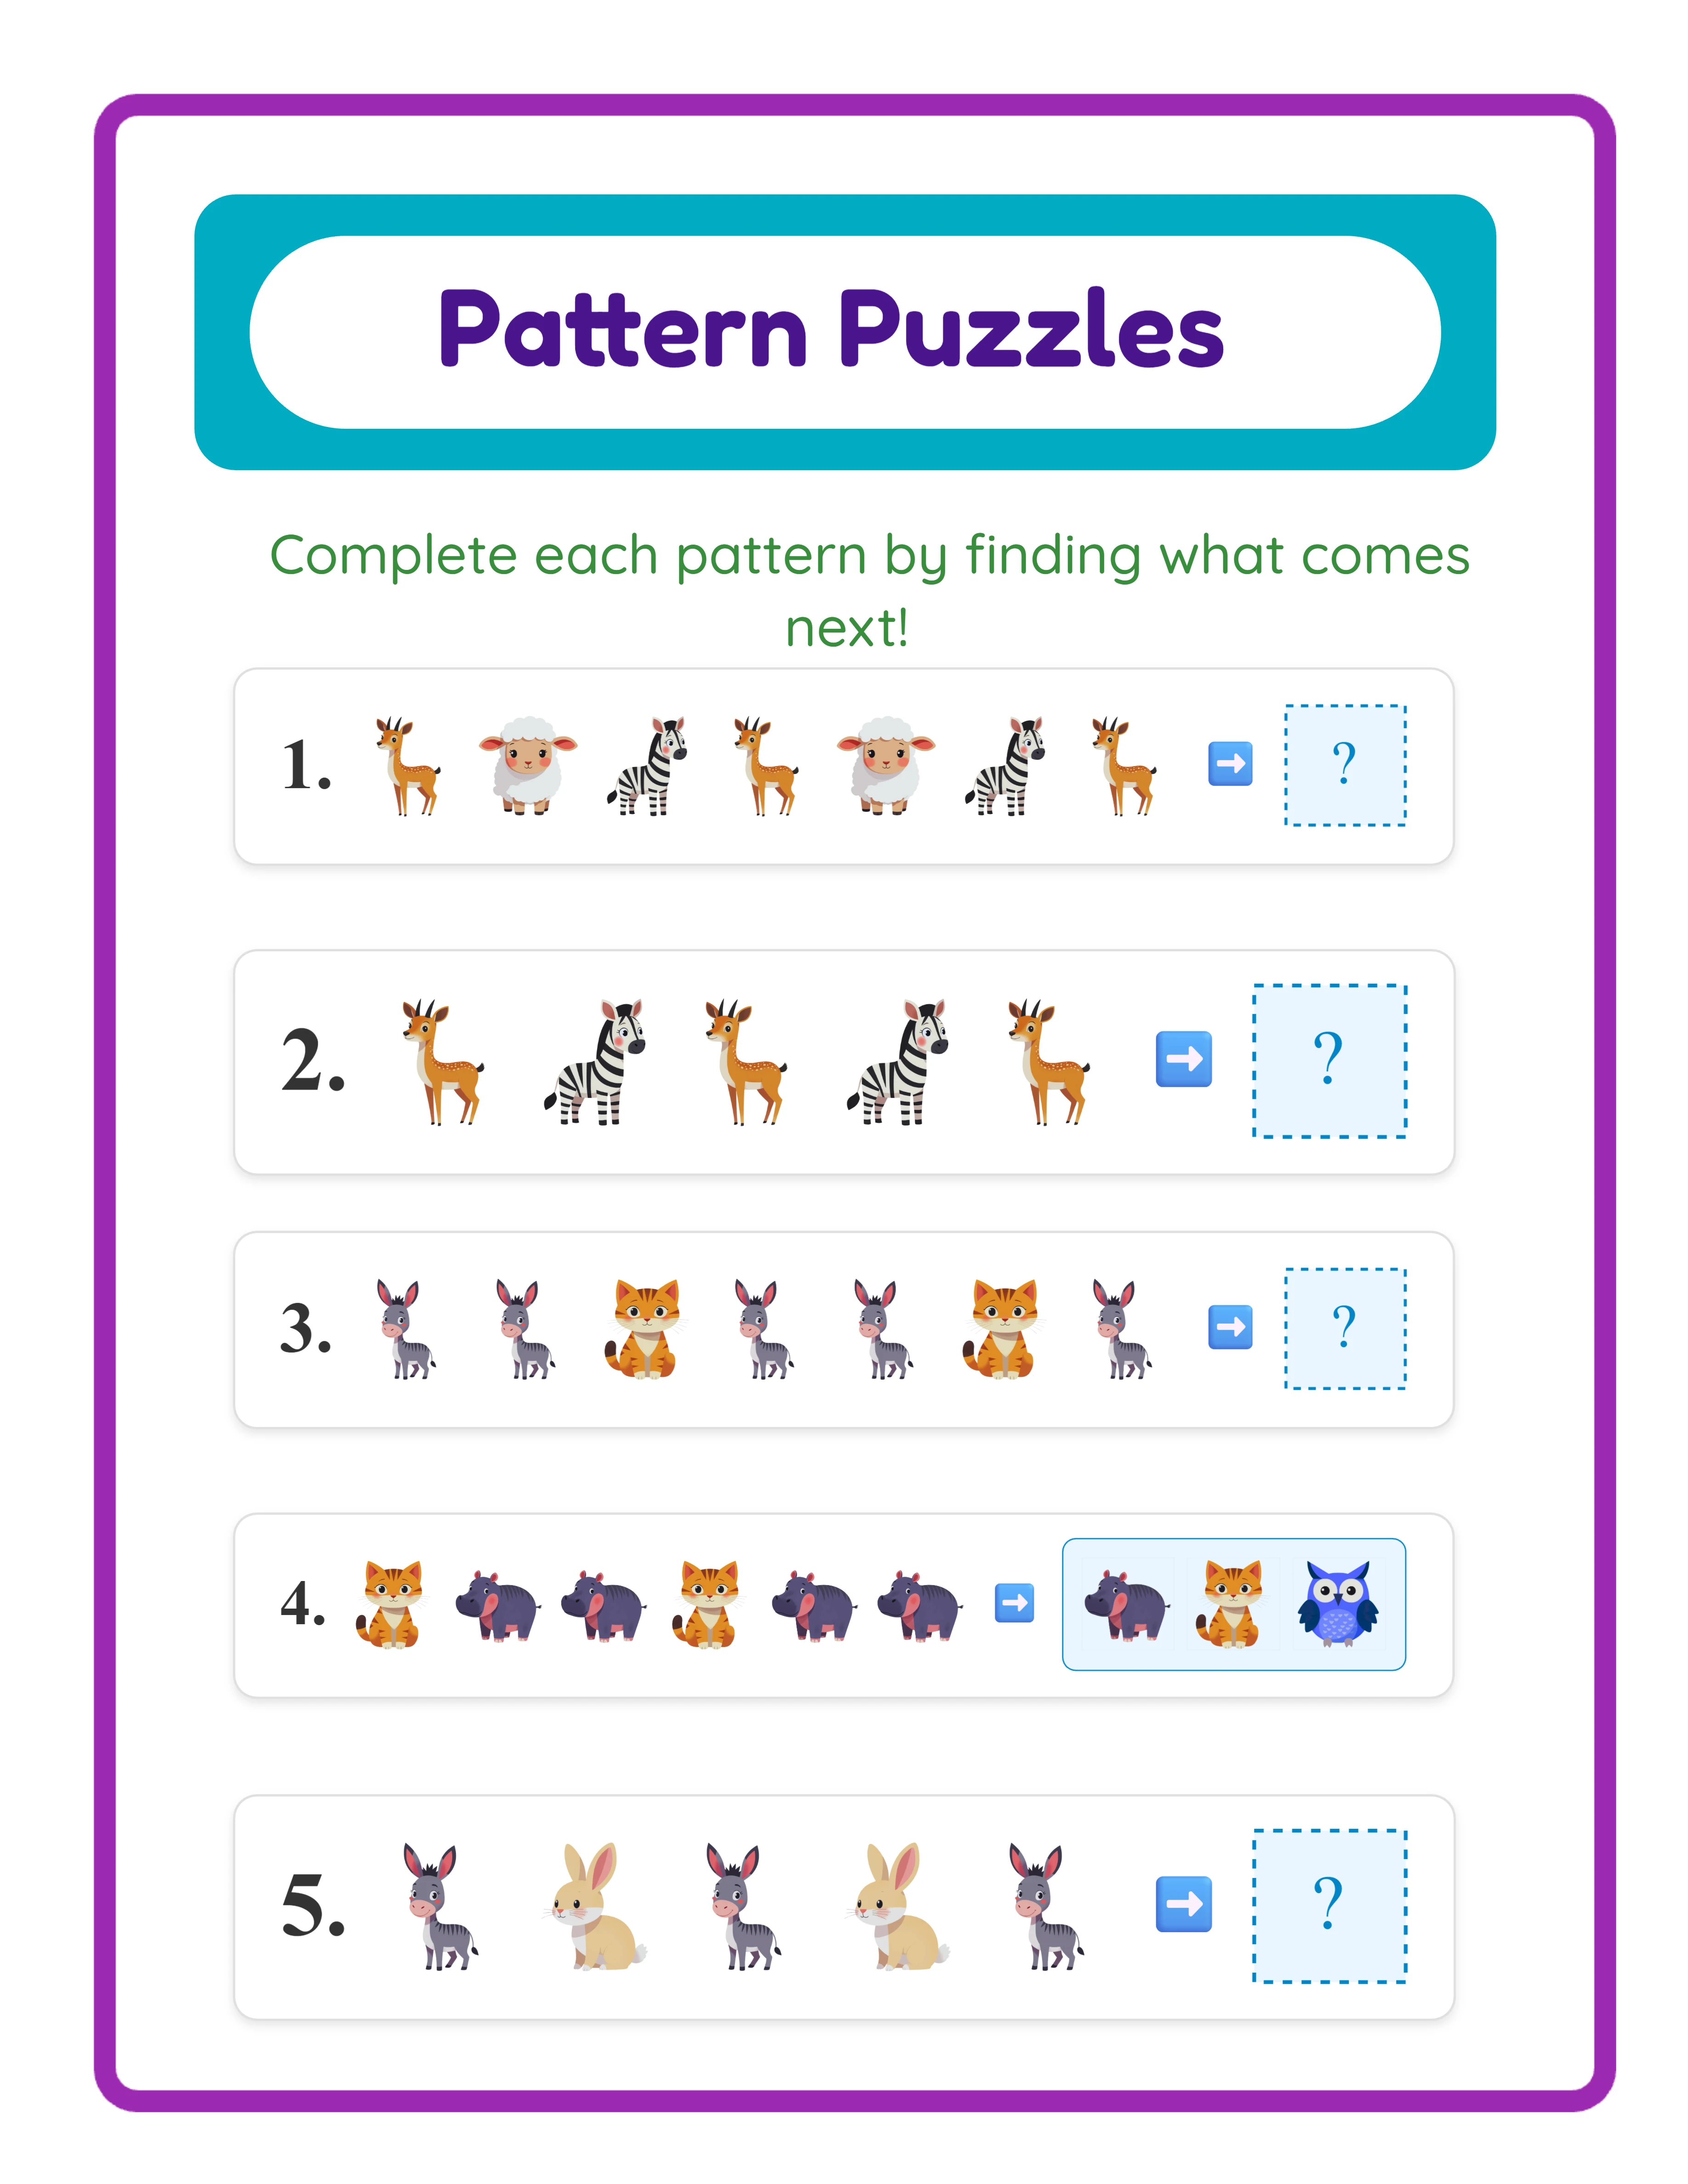
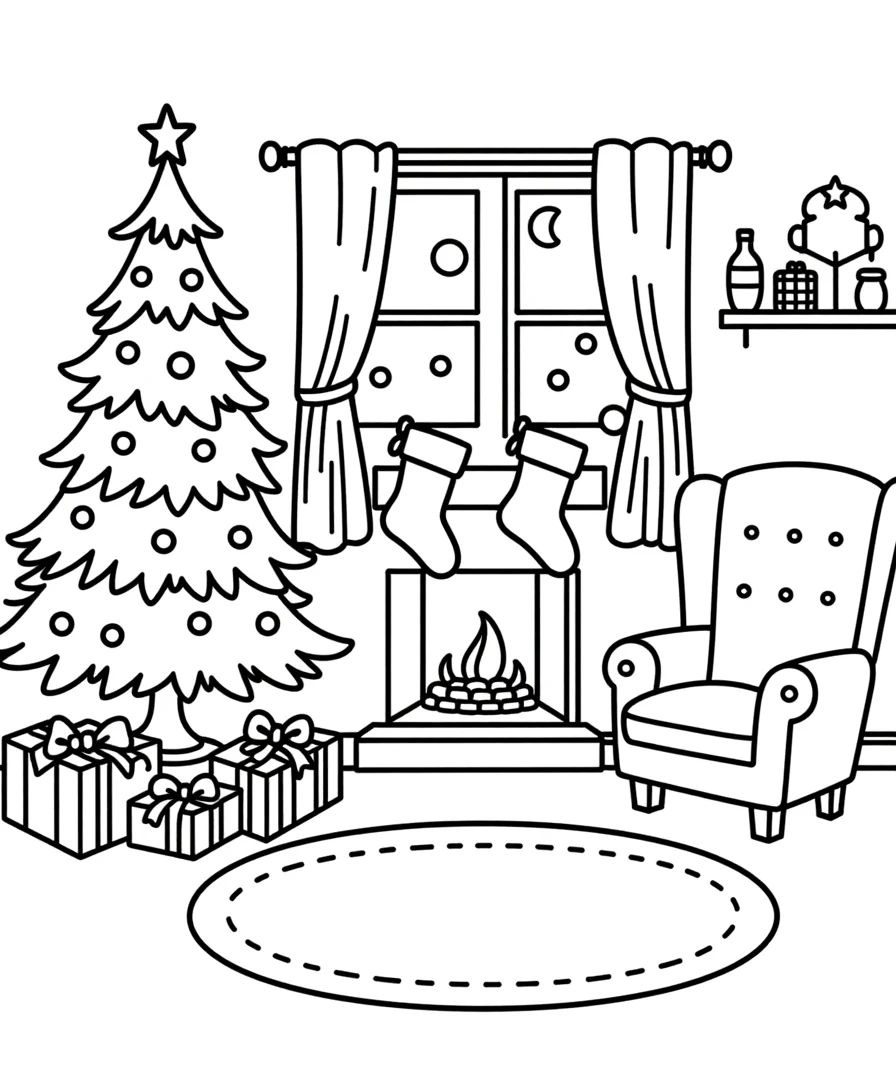
To add an image to your canvas, simply click it in the library panel. The image appears on your canvas where you can position it freely. Add as many images as you want to build your composition. A single large image centered on the page makes a classic coloring page. Multiple smaller images arranged in a collage create a busier, more engaging design for older children.
With a commercial license, you get access to 10 themed image sets. The Full Access license unlocks all 104 themes with the complete library of over 3,100 illustrations, giving you virtually unlimited product creation potential.
3
Place and Arrange Images on the Canvas
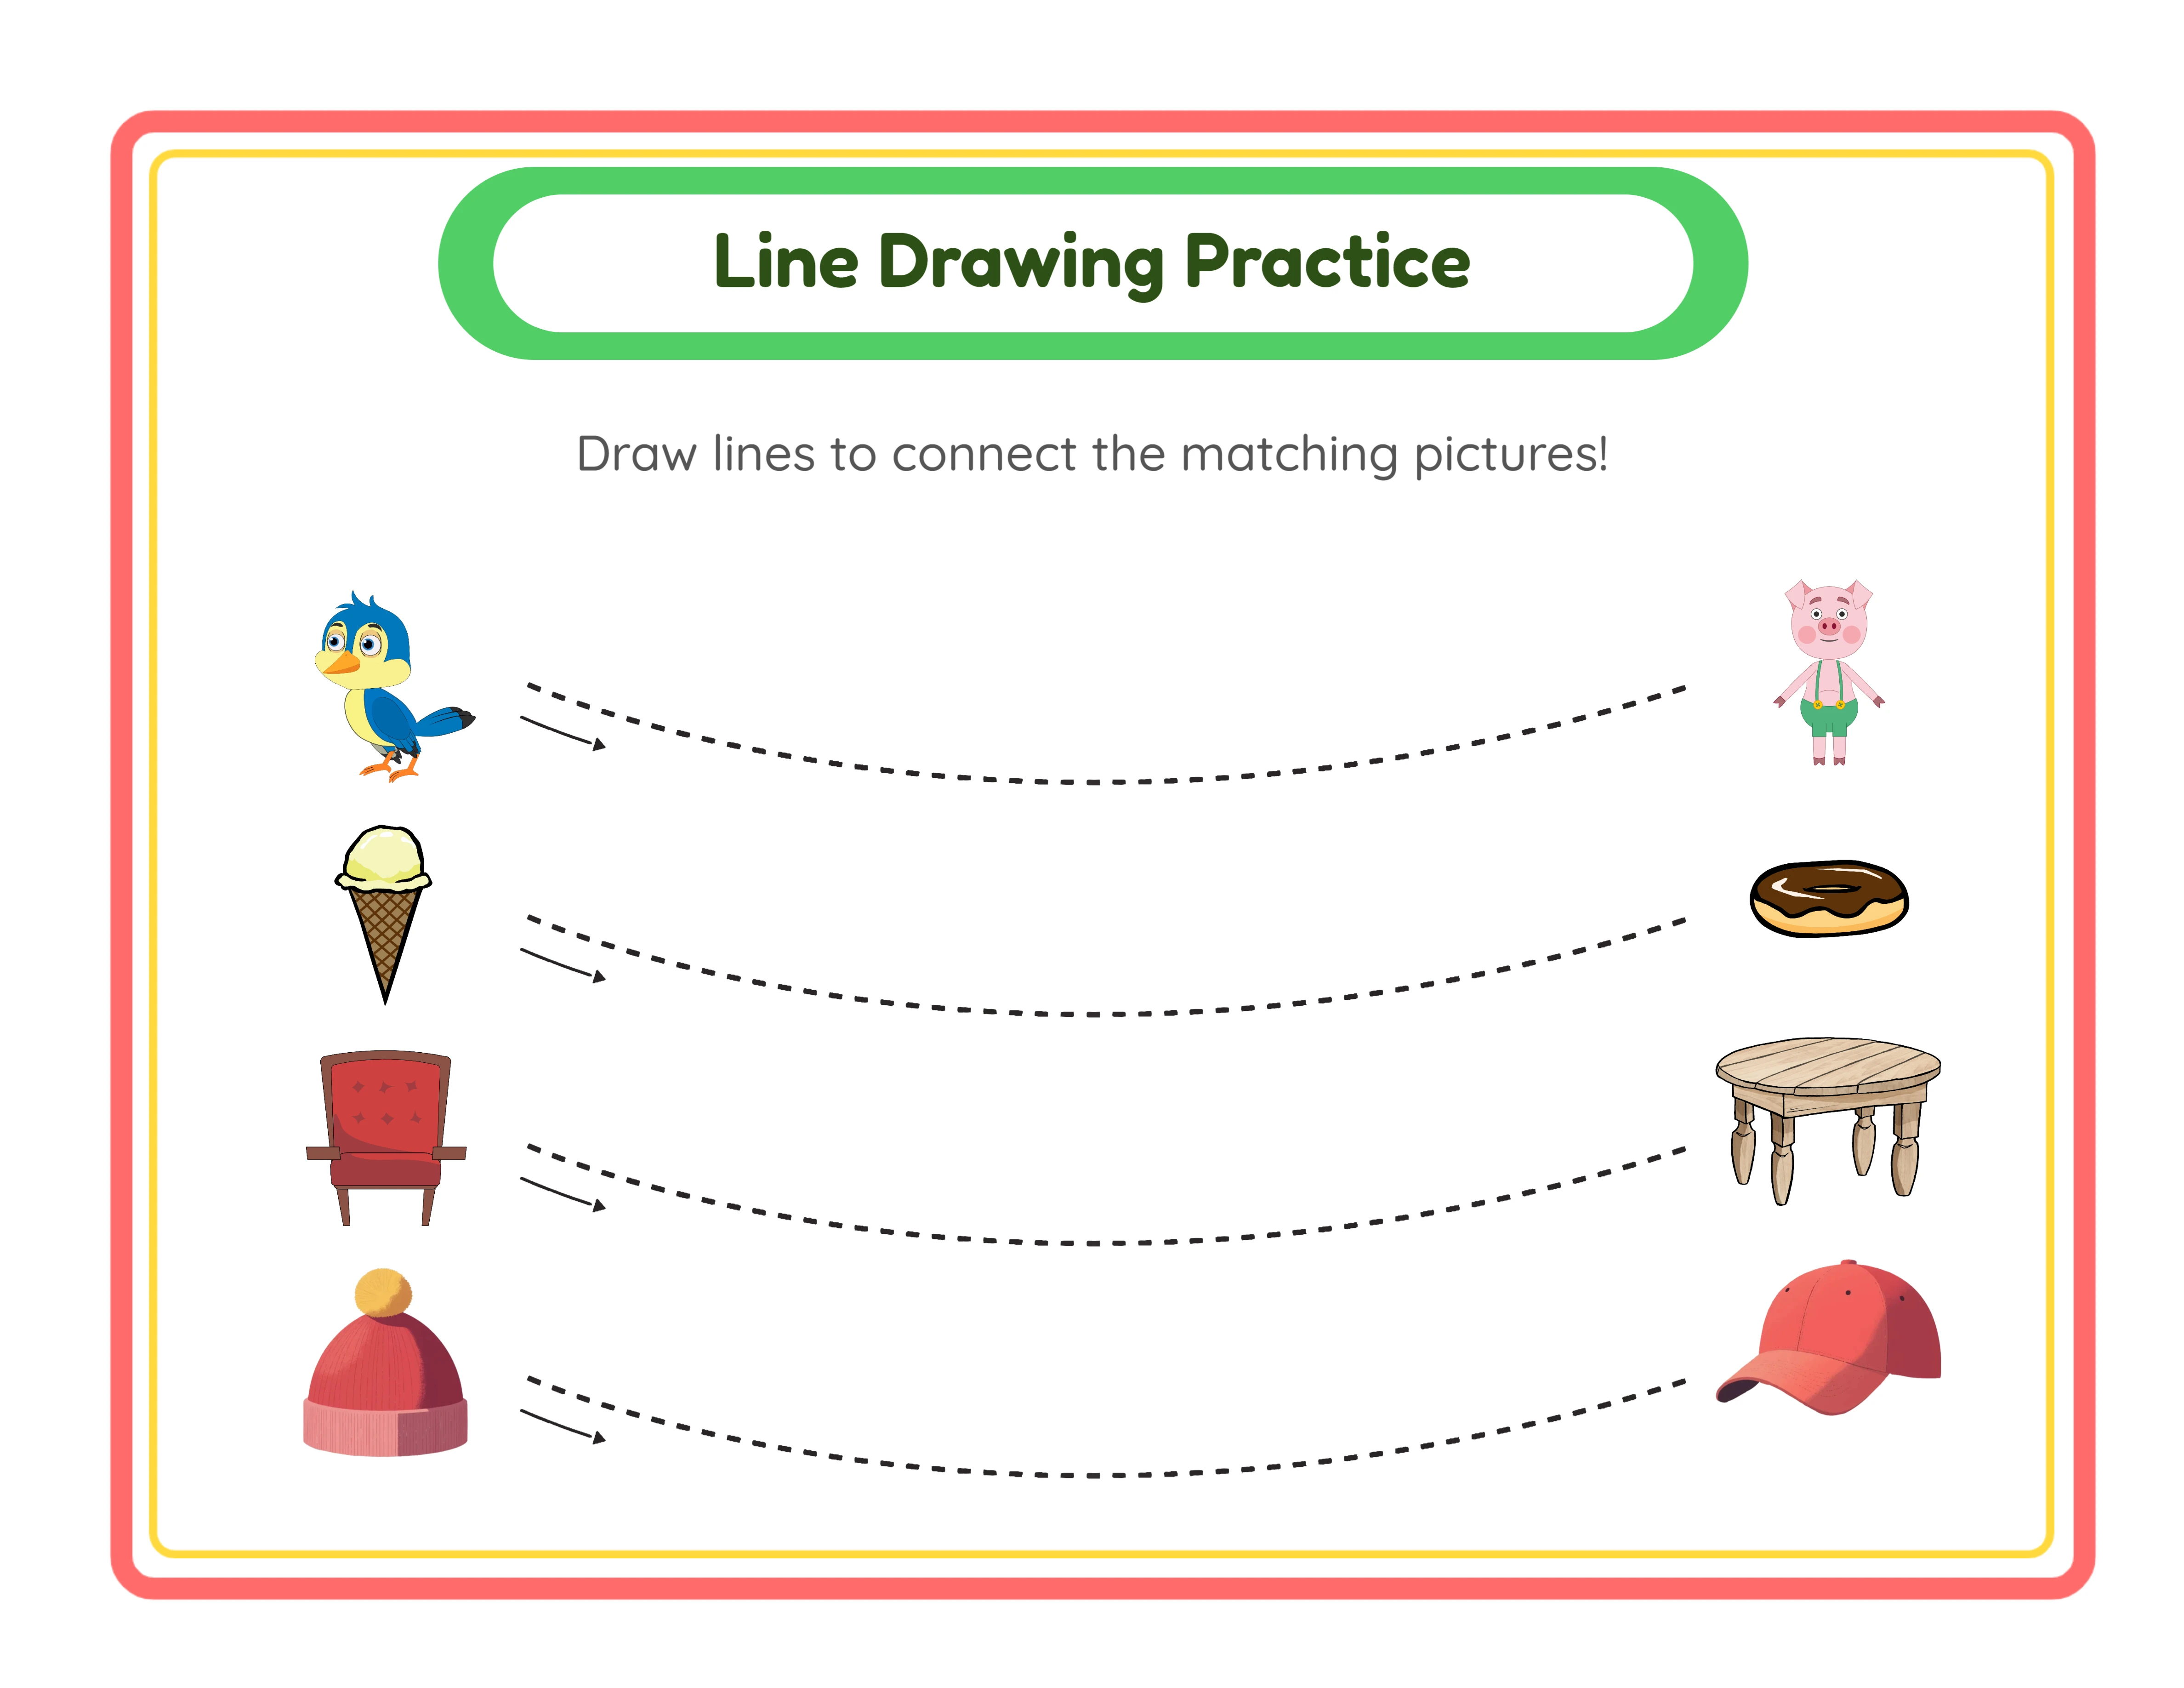
The Coloring Page Maker uses a free-form canvas — there are no grids, templates, or predetermined slots. You have complete creative freedom to place images anywhere on the page.
Once an image is on the canvas, you can:
Drag it to any position by clicking and moving. Place a large animal in the center, tuck a smaller one in a corner, or spread images evenly across the page.
Resize by dragging the corner handles. Make a single image fill most of the page for a simple coloring page, or shrink multiple images to create a collage layout.
Rotate images to create dynamic compositions. Tilting images slightly prevents the stiff, clip-art-grid look that makes amateur coloring pages obvious.
Layer images by adjusting their order. Place background elements behind foreground subjects. The layer controls let you send images to the back or bring them to the front.
Lock images in place once positioned. This prevents accidental moves while you continue adding and arranging other elements.
Use the zoom controls (25% to 300%) to work at different detail levels. Zoom in to fine-tune positioning, zoom out to see the overall composition.
Undo and redo support (up to 20 states) lets you experiment freely. Try different arrangements and revert instantly if a layout does not work.
The best coloring pages have intentional compositions. Avoid dumping images randomly — think about visual balance, spacing, and how the page will look when printed. Leave enough white space between images for coloring comfort, especially for younger children using thick crayons or markers.
4
Add Freehand Drawing Elements
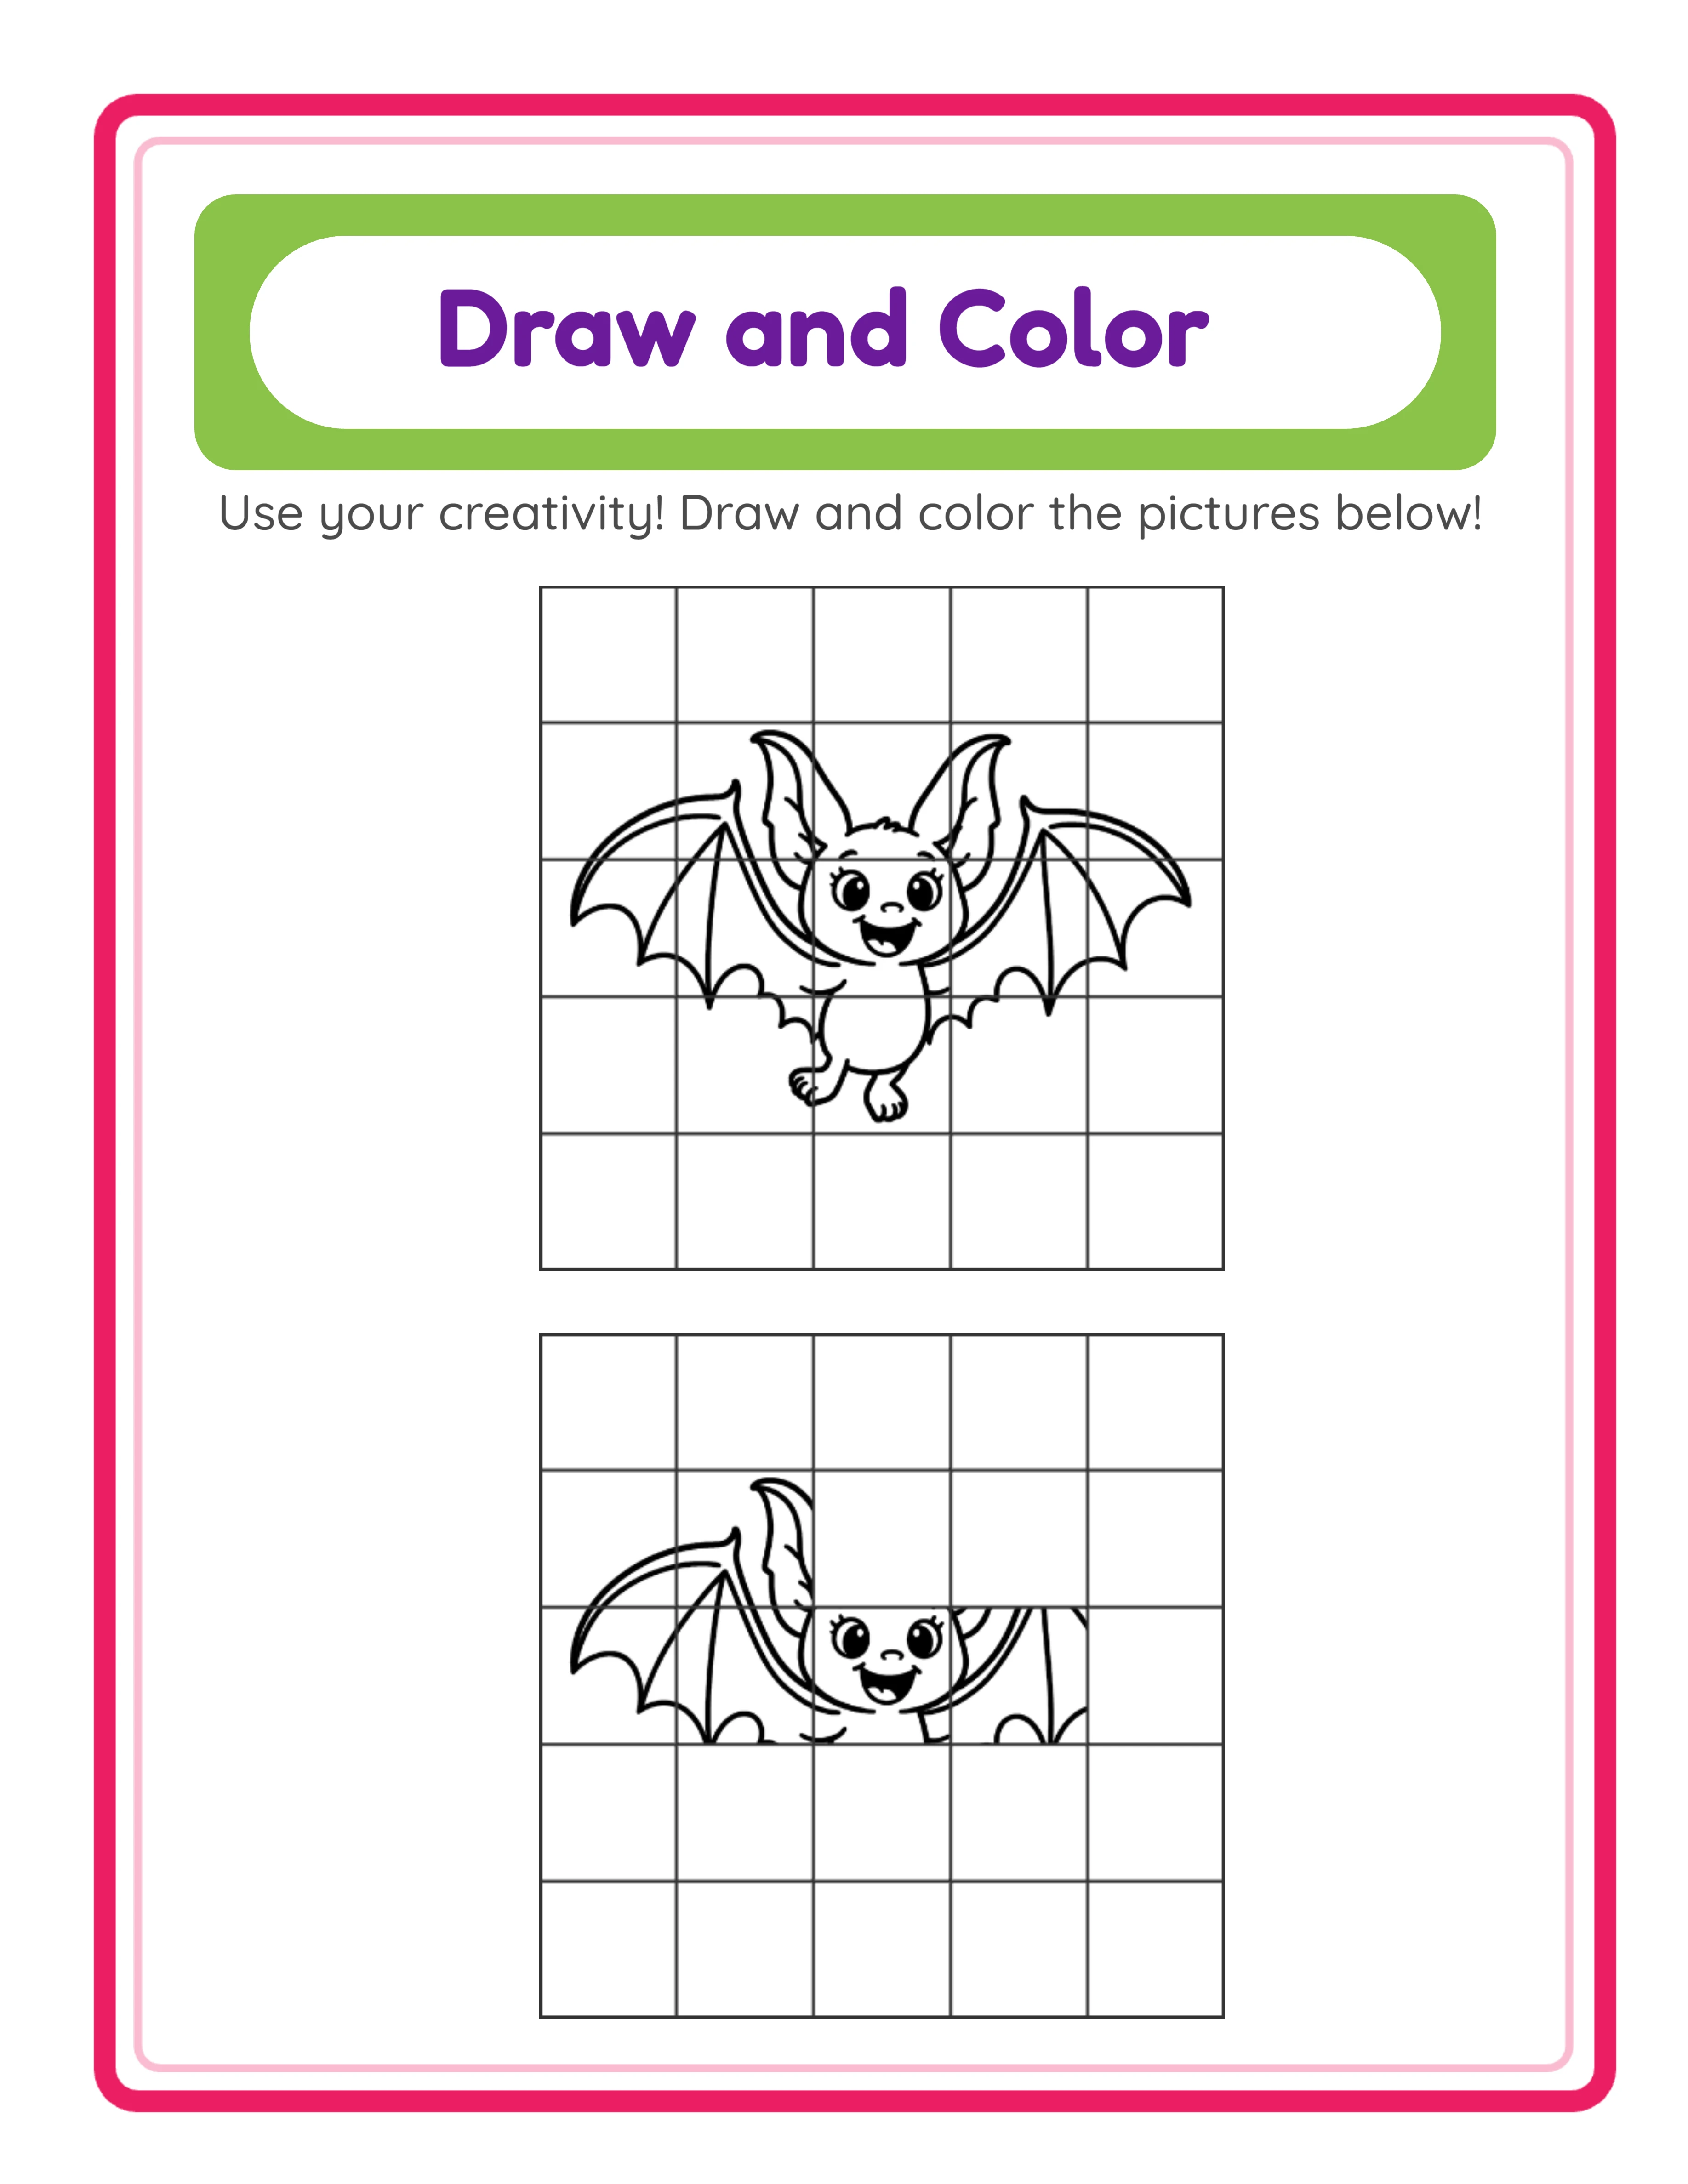
The freehand drawing tool lets you blend hand-drawn elements with library images, creating hybrid coloring pages that are genuinely unique and impossible to replicate with library images alone.
Activate the drawing tool from the toolbar. Configure the brush color and brush size (1 to 50 pixels). Smaller brush sizes (1–5 px) work for fine details like grass, whiskers, or rain drops. Larger sizes (10–50 px) work for bold outlines, borders, and decorative elements.
Practical uses for freehand drawing on coloring pages:
Add connecting elements between library images. Draw a ground line under animals, waves under a boat, or a tree branch for a bird to perch on. These details transform disconnected clip art into a cohesive scene.
Draw borders and frames. A hand-drawn frame around the coloring area adds a custom touch that distinguishes your products from computer-generated competitors.
Add decorative details. Stars, hearts, flowers, swirls, and simple patterns fill empty space and give the page more coloring content. These small additions can double the time a child spends on a single page.
Create original background elements. Library images provide the main subjects, but hand-drawn clouds, mountains, houses, or pathways create unique scenes that cannot be found anywhere else.
The drawing tool uses the same canvas as the image library, so drawn elements integrate seamlessly with placed images. When the grayscale toggle is enabled, your drawings convert to outlines alongside everything else.
5
Add Text, Titles, and Instructions
Text tools let you add titles, instructions, and labels to your coloring pages. Click the text tool to add a text element to the canvas.
Font options include seven typefaces: Lexend Deca, Baloo 2, Nunito, Quicksand, Fredoka, Arial, and Verdana. For coloring pages targeting children, Fredoka and Baloo 2 offer playful, rounded letterforms. For professional activity sheets, Lexend Deca and Nunito provide clean readability.
Customize text with color, outline color, and outline width controls. For coloring pages, consider using outline-only text (set fill to white or transparent and use a dark outline). This creates text that children can color in alongside the images — an added interactive element.
Common text additions for coloring pages:
Titles: "Color the Farm Animals" or "Under the Sea Coloring Page." Position at the top of the page to clearly identify the theme.
Instructions: "Color each animal using your favorite colors" or "Can you find and color all five butterflies?" Instructions add educational or interactive value.
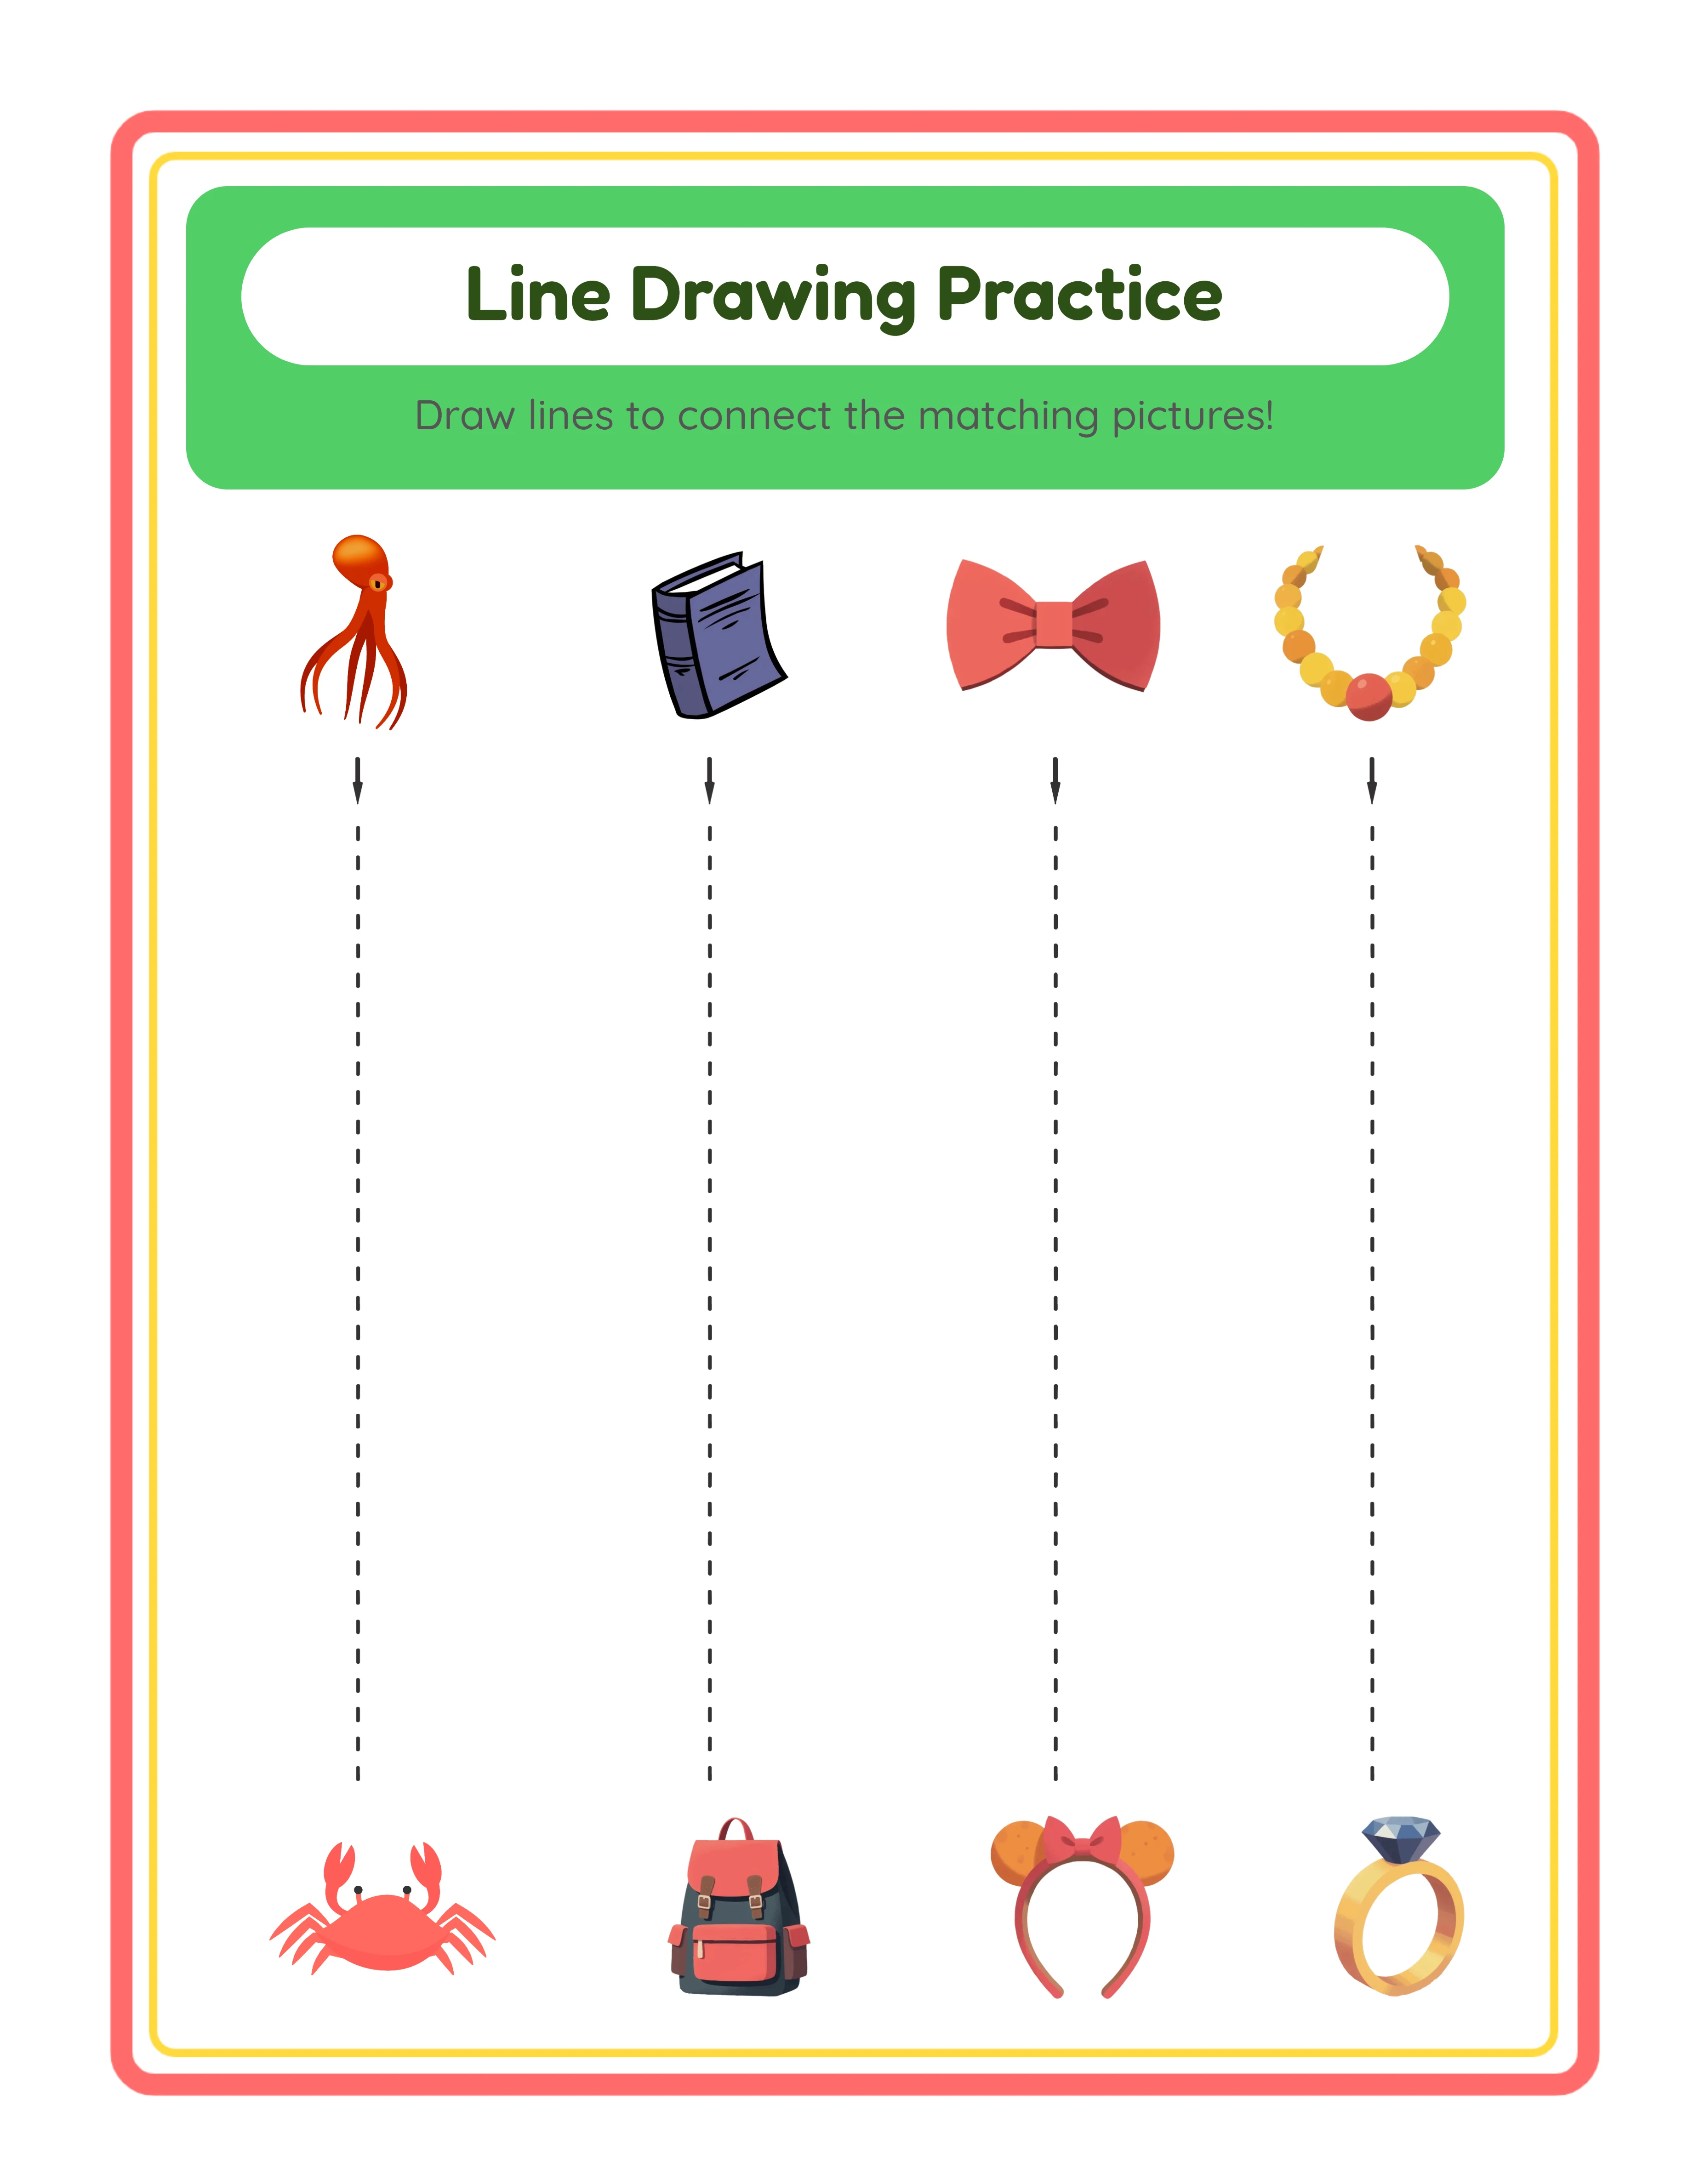
Labels: Name each image on the page. "Horse," "Cow," "Pig" next to each animal turns a simple coloring page into a vocabulary-building activity. This hybrid format appeals to buyers and homeschool parents.
Page numbers: Essential for coloring books with multiple pages sold on Amazon KDP.
Text elements can be dragged, resized, and repositioned like images, giving you full control over the final layout.
6
Use Group Helpers for Activity Sheets
The group helpers transform simple coloring pages into structured activity worksheets that buyers actively search for and purchase. Two one-click helpers are available:
Name Field: Adds a "Name: ____" line to the page. This single element signals to buyers that the product is group-ready. Worksheets without a name field require buyers to add their own — a small friction that reduces appeal.
Handwriting Lines: Adds ruled lines for handwriting practice. Combined with a coloring page, this creates a dual-purpose activity sheet where children color the images and then write about what they colored.
These helpers create an entirely different product category from basic coloring pages. A "Farm Animals Coloring and Writing Activity Sheet" with name field, handwriting lines, and labeled animal images is a group resource, not just a coloring page. Group resources command higher prices and sell in larger bundles.
Product ideas using group helpers:
Color-and-write worksheets: Children color the themed images, then write sentences describing what they colored on the handwriting lines below. Target kindergarten and first-grade buyers.
Vocabulary coloring sheets: Label each image with its name, add the name field, and create a coloring sheet that doubles as vocabulary practice. Buyers in bilingual groups particularly value these.
Weekly group coloring activities: A set of 40 themed coloring pages with name fields — one per week of the school year. Market as a group management resource for early finishers or transition activities.
7
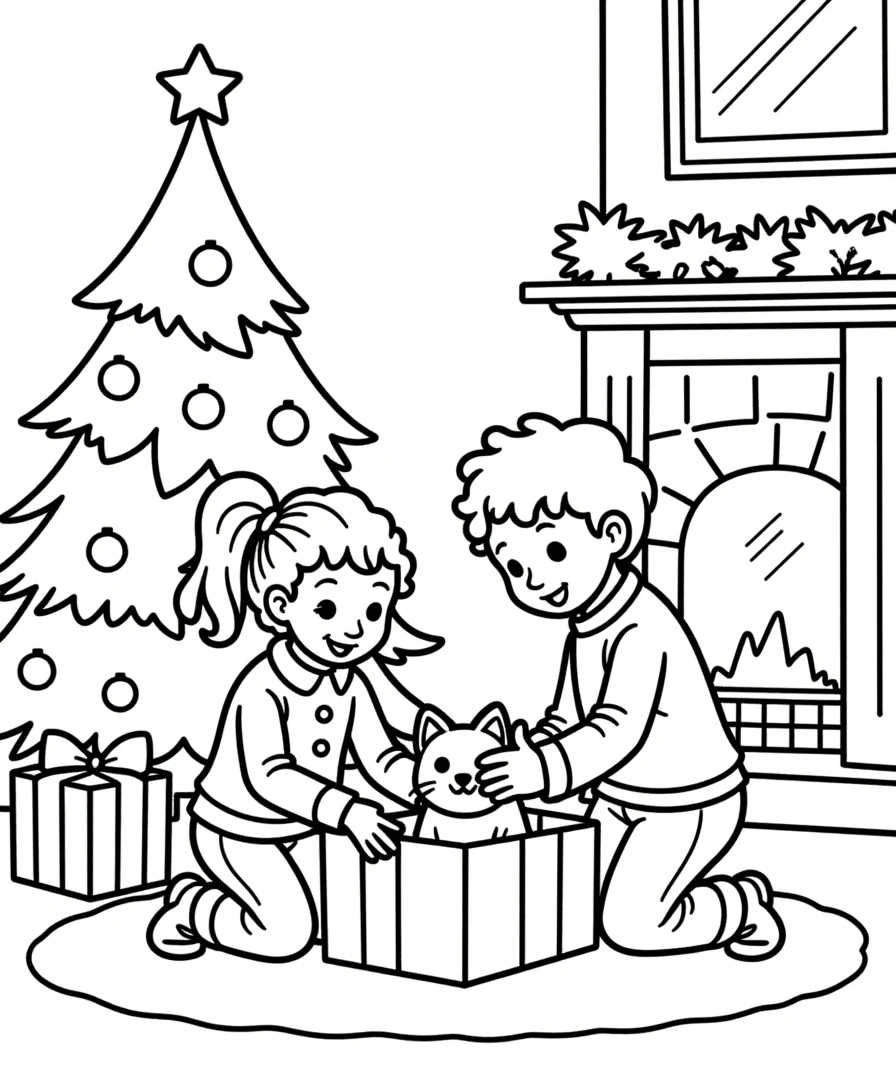
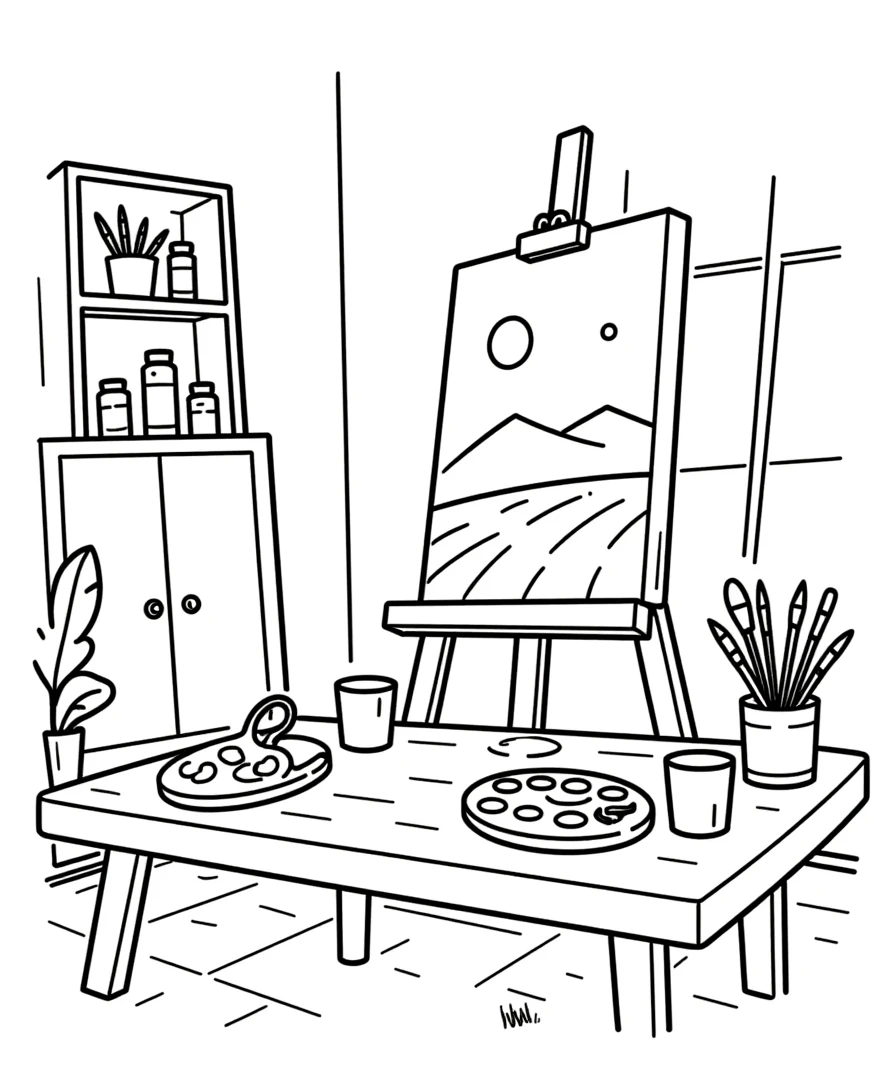
Enable Grayscale for Print-Ready Coloring Pages
The grayscale toggle is the feature that makes this tool a coloring page creator rather than just a canvas designer. With one click, it converts your entire colorful composition — library images, drawings, text, and all — into clean black-and-white outlines perfect for printing and coloring by hand.
Locate the grayscale toggle in the export section. When enabled, the preview updates immediately so you can see exactly how your coloring page will look when printed.
Why grayscale matters for coloring pages:
Print efficiency: Black-and-white pages use minimal ink, which is a genuine selling point for buyers and parents who print dozens of pages weekly. Mention this in your product descriptions.
Coloring clarity: Grayscale conversion produces clean outlines that are easy for children to see and color within. The tool handles the conversion automatically — no manual tracing or outline extraction needed.
Professional appearance: The grayscale output is consistent and clean, producing coloring pages that look professionally illustrated rather than hastily converted.
Dual-use potential: Design your page in full color for a digital coloring product or screen-based listing preview, then toggle grayscale for the printable version. One design, two products.
Before exporting, zoom in to check the grayscale preview at several points across the page. Verify that all outlines are clear, no important details are lost in the conversion, and the overall composition reads well in black and white. Images with strong outlines and distinct shapes convert best. Very light or low-contrast elements may need to be resized or repositioned for clarity.
8
Export as PDF and JPEG
The export section provides downloads in two formats.
PDF export at 300 DPI produces the print-ready file that buyers expect for downloadable coloring pages. This is your deliverable product. PDF files maintain exact formatting across every device and printer, ensuring your customers get exactly what they see in the preview.
JPEG export creates a high-resolution image file. Use JPEGs for listing preview images on Etsy, product mockups, and social media marketing. A well-chosen JPEG preview is what convinces buyers to click and purchase.
Export with grayscale enabled for your final coloring page product. Also export without grayscale (full color) for your listing preview — a colorful preview image showing what the page looks like when colored is more eye-catching in marketplace search results than a black-and-white thumbnail.
Important: the free trial with watermark produces fully functional exports with a visible watermark overlay. This lets you evaluate print quality, test the grayscale conversion, and create sample prints before purchasing a commercial license. The commercial license removes the watermark from all exports, producing clean files ready for sale.
For Amazon KDP coloring books, you will compile multiple exported PDFs into a single book interior file. Create 30–50 coloring pages with a consistent theme, export each one, then combine them into your book manuscript using any PDF merge tool.
.webp)


.webp)