Tutorial
1
Choose the Right Trim Size for Your Worksheet Book
Trim size is the finished dimension of your printed book, and it is the single most consequential formatting decision you will make. Every margin calculation, grid size, content area, and cover dimension depends on the trim size you choose. Changing trim size after layout is complete means redoing virtually all formatting work, so choose correctly from the start.
Amazon KDP supports over 30 trim sizes for paperbacks, but worksheet and activity books realistically use three. The 8.5 by 11 inch format is the industry standard for educational worksheets, math workbooks, and full-page activity pages. It matches standard US letter paper, which means buyers can photocopy individual pages if their license permits it. The large page area provides maximum workspace for writing, drawing, and puzzle-solving. Over 80 percent of successful worksheet books on KDP use this format.
The 8 by 10 inch format offers a slight reduction in page area while maintaining a substantial workspace. Some publishers prefer it because the printing cost is marginally lower than 8.5 by 11 and the book feels slightly more compact in hand. It works well for activity books that do not require the full letter-size workspace — coloring books, maze books, and activity pages with moderate writing requirements.
The 6 by 9 inch format is the standard for text-heavy books and works for specific activity book niches like travel activity books, pocket puzzle books, and journal-style prompt books. However, 6 by 9 is generally too small for math worksheets, word search grids, or any activity requiring substantial writing space. Children especially need larger formats because their handwriting is larger and less controlled. Use 6 by 9 only when portability is a core selling point and the activity type genuinely works at smaller scale.
Trim size directly affects printing cost and therefore your royalty. KDP charges a fixed base cost plus a per-page rate, and larger trim sizes have slightly higher per-page costs. An 8.5 by 11 inch book costs more to print than an equivalent 6 by 9 inch book, but the larger format also supports higher retail pricing because buyers perceive more value. Run the royalty math at your target price and page count for each trim size before deciding.
2
Set Up Margins and Safe Zones Correctly
Margins determine the boundary between your content area and the edge of the printed page. KDP enforces minimum margins, but worksheet books should use margins significantly larger than these minimums because users physically write on the pages.
KDP's minimum margins for paperbacks are 0.25 inches on the top, bottom, and outside edges, with a gutter margin (the inside edge near the binding) that varies by page count. For books up to 150 pages, the minimum gutter is 0.375 inches. For 151 to 400 pages, the minimum gutter is 0.75 inches. For 401 to 828 pages, the minimum gutter is 1 inch. These minimums prevent text from being cut off during trimming or disappearing into the binding.
For worksheet books, treat KDP minimums as absolute floors, not targets. Recommended margins for comfortable use are 0.5 inches on top and bottom, 0.5 inches on the outside edge, and 0.75 inches for the gutter margin regardless of page count. These larger margins serve several purposes: they prevent content from creeping too close to the trim edge during printing variations, they give users comfortable finger-hold space when the book lies flat, and most importantly they keep writing areas away from the binding where a child's hand or pencil would be blocked.
The gutter margin deserves special attention. When a perfect-bound paperback lies open, the pages curve into the spine. Content placed too close to the inside edge becomes physically inaccessible — users cannot write there because the page curves away from their pen. For activity books where users solve problems, write answers, or draw in designated spaces, a generous gutter prevents the frustrating experience of answer spaces disappearing into the binding.
Calculate your usable content area by subtracting margins from trim size. For an 8.5 by 11 inch book with 0.5 inch top/bottom/outside margins and a 0.75 inch gutter: content width equals 8.5 minus 0.5 minus 0.75, which is 7.25 inches. Content height equals 11 minus 0.5 minus 0.5, which is 10 inches. This 7.25 by 10 inch content area is your actual workspace for placing activities, grids, instructions, and answer fields. Design every page element within this boundary.
3
Configure Page Layout for Worksheet Content
Different activity types require different page layout approaches within your defined content area. The layout must balance information density against physical usability — every element needs to be large enough for comfortable interaction in print.
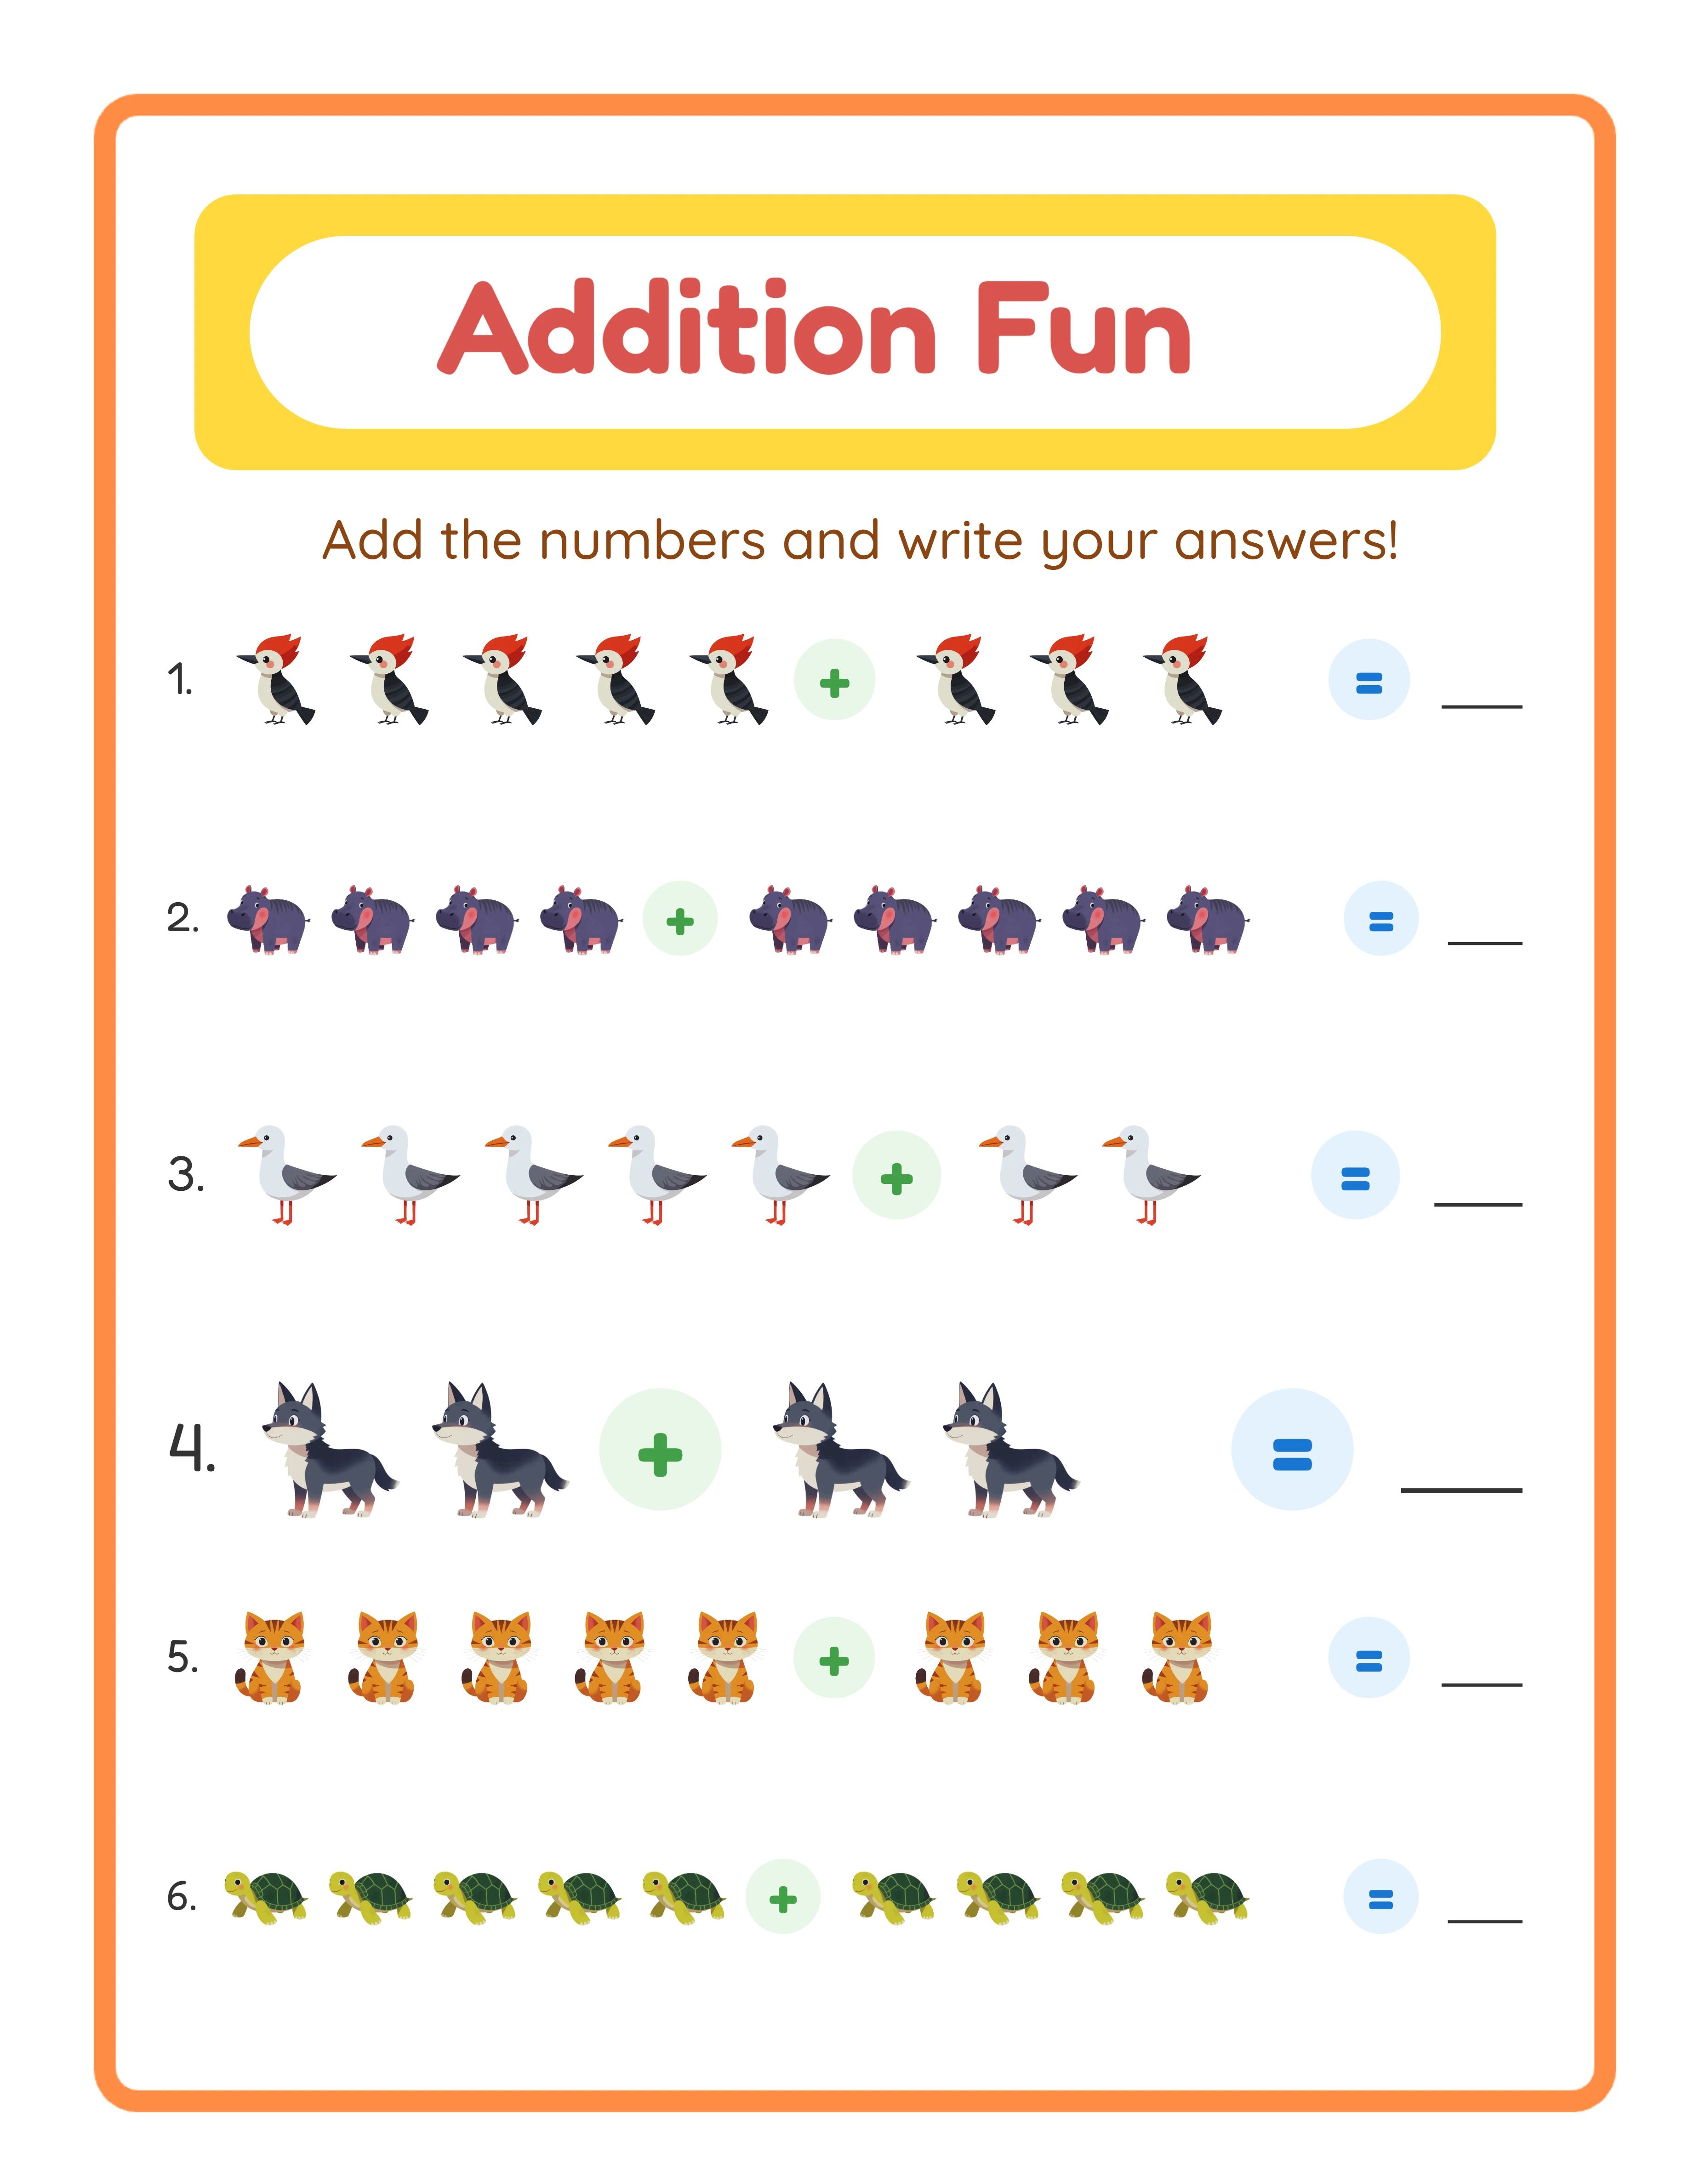
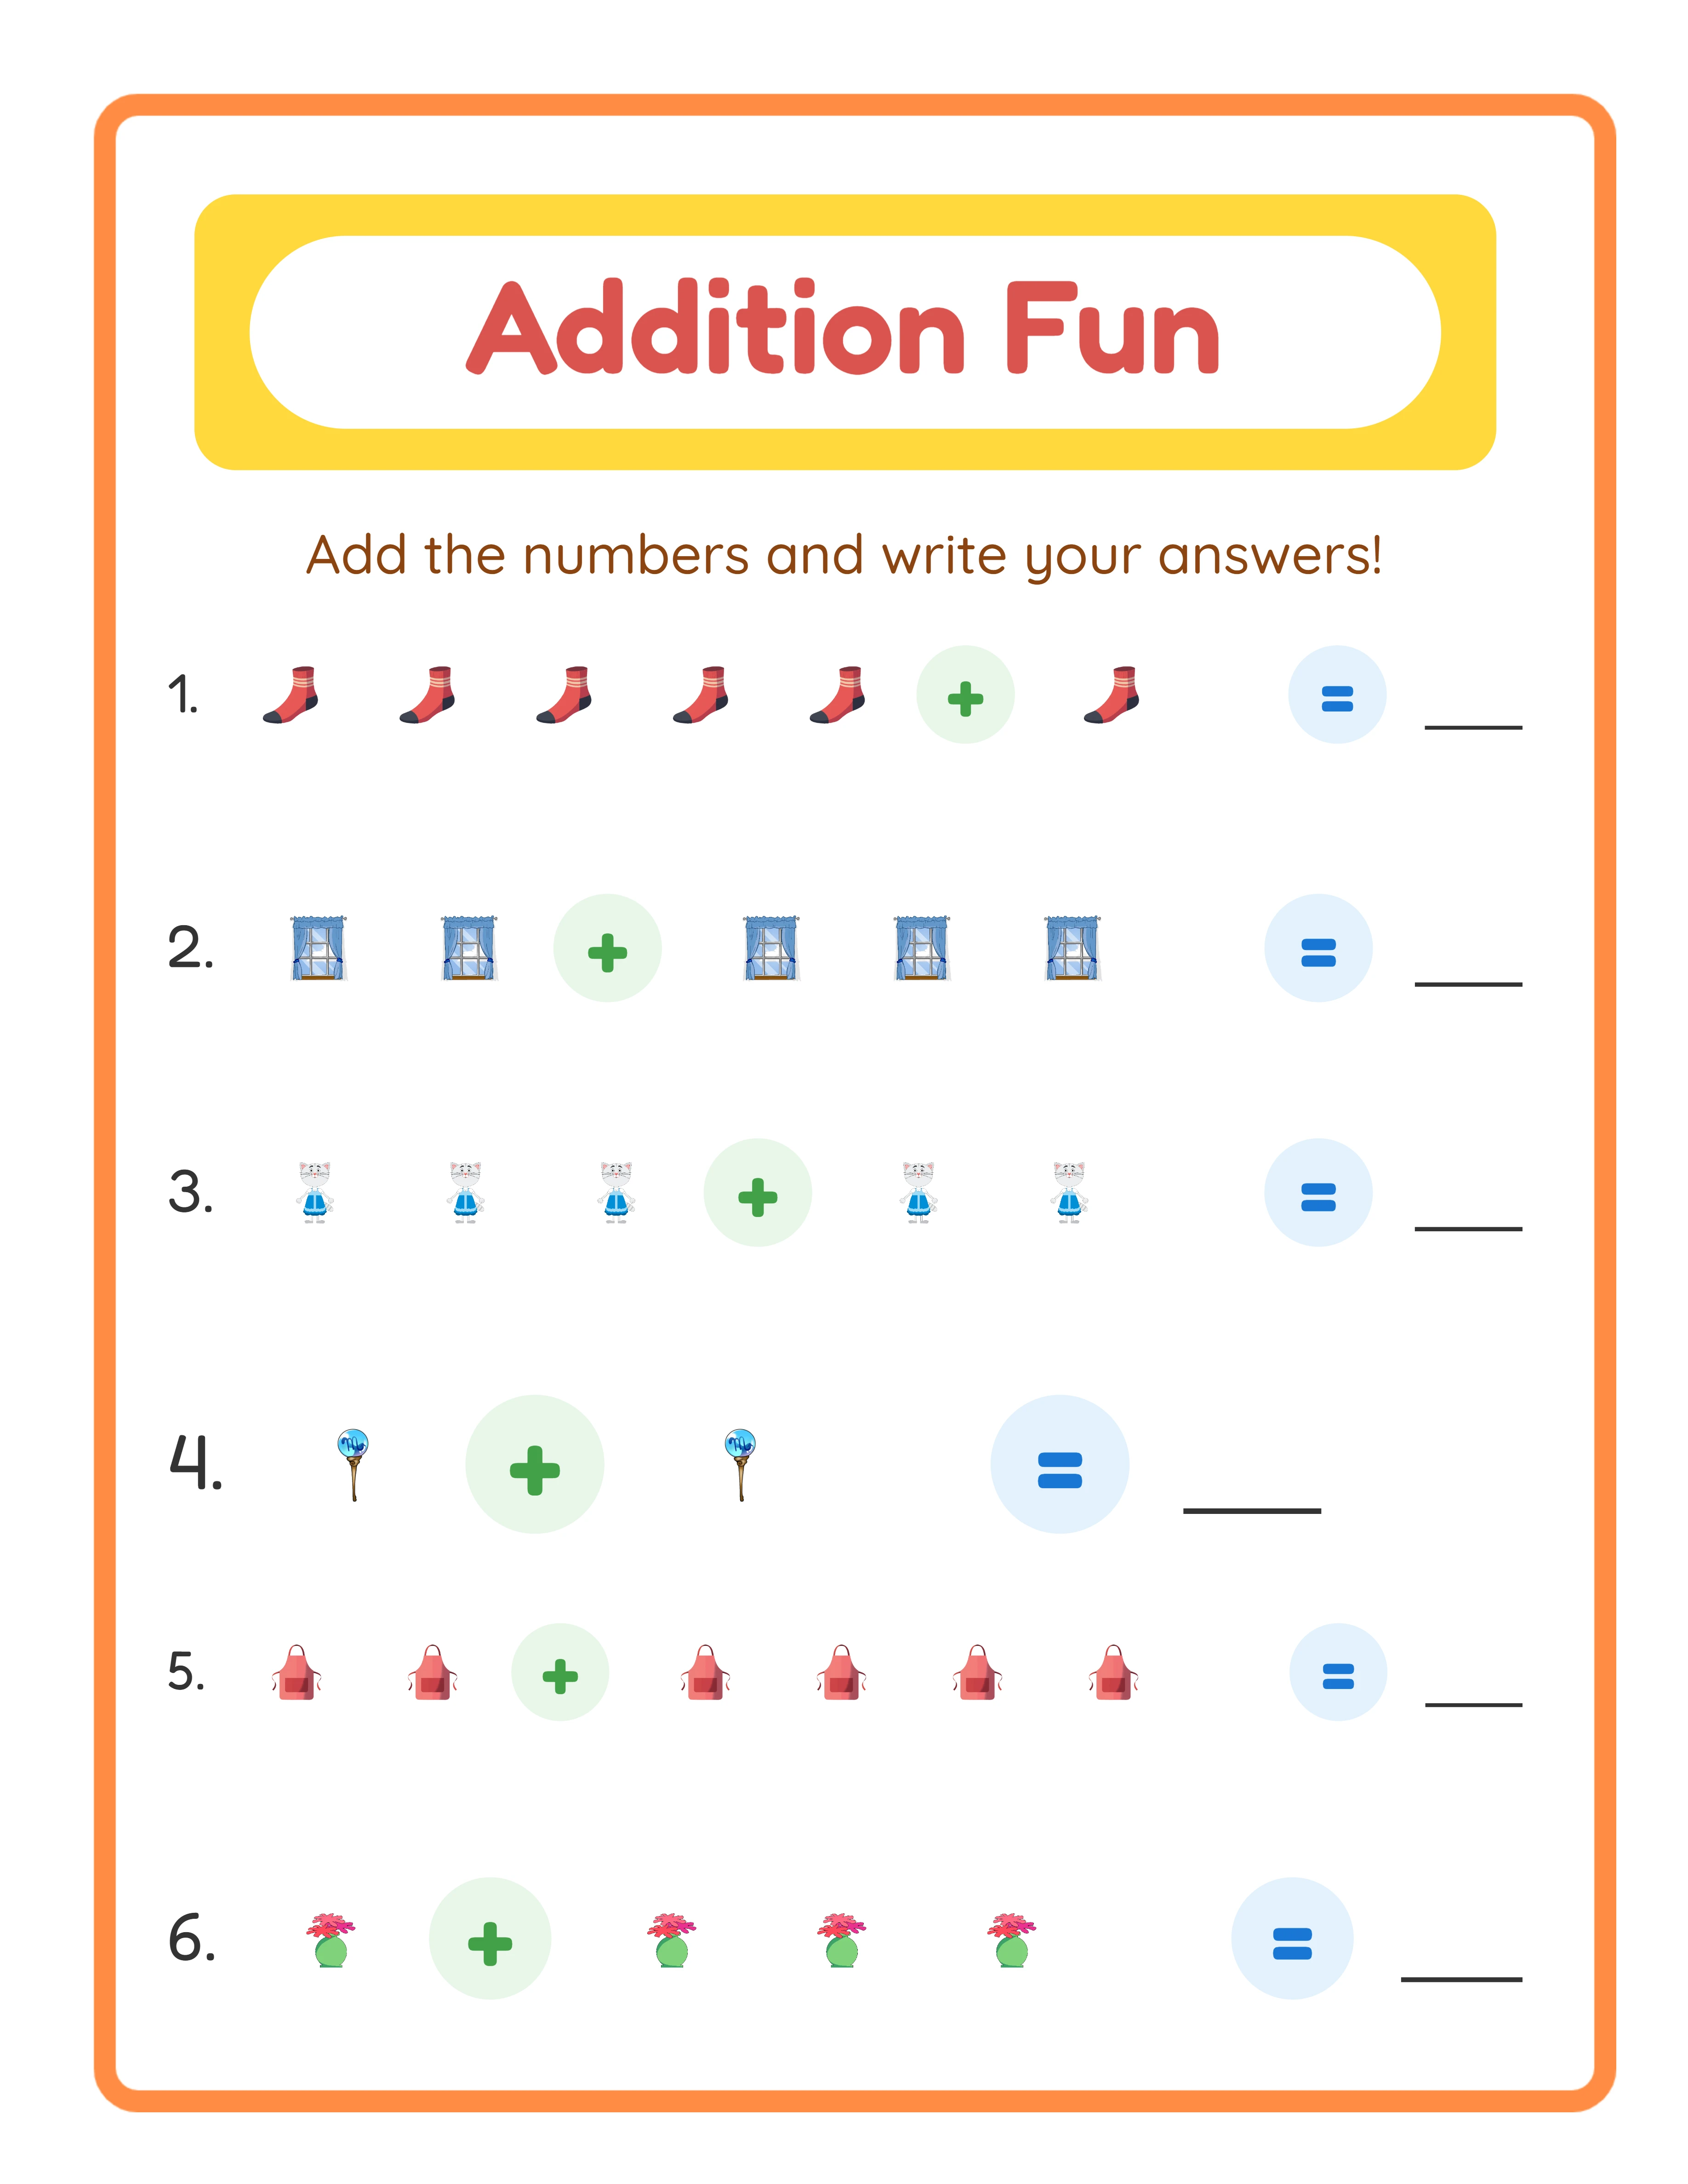
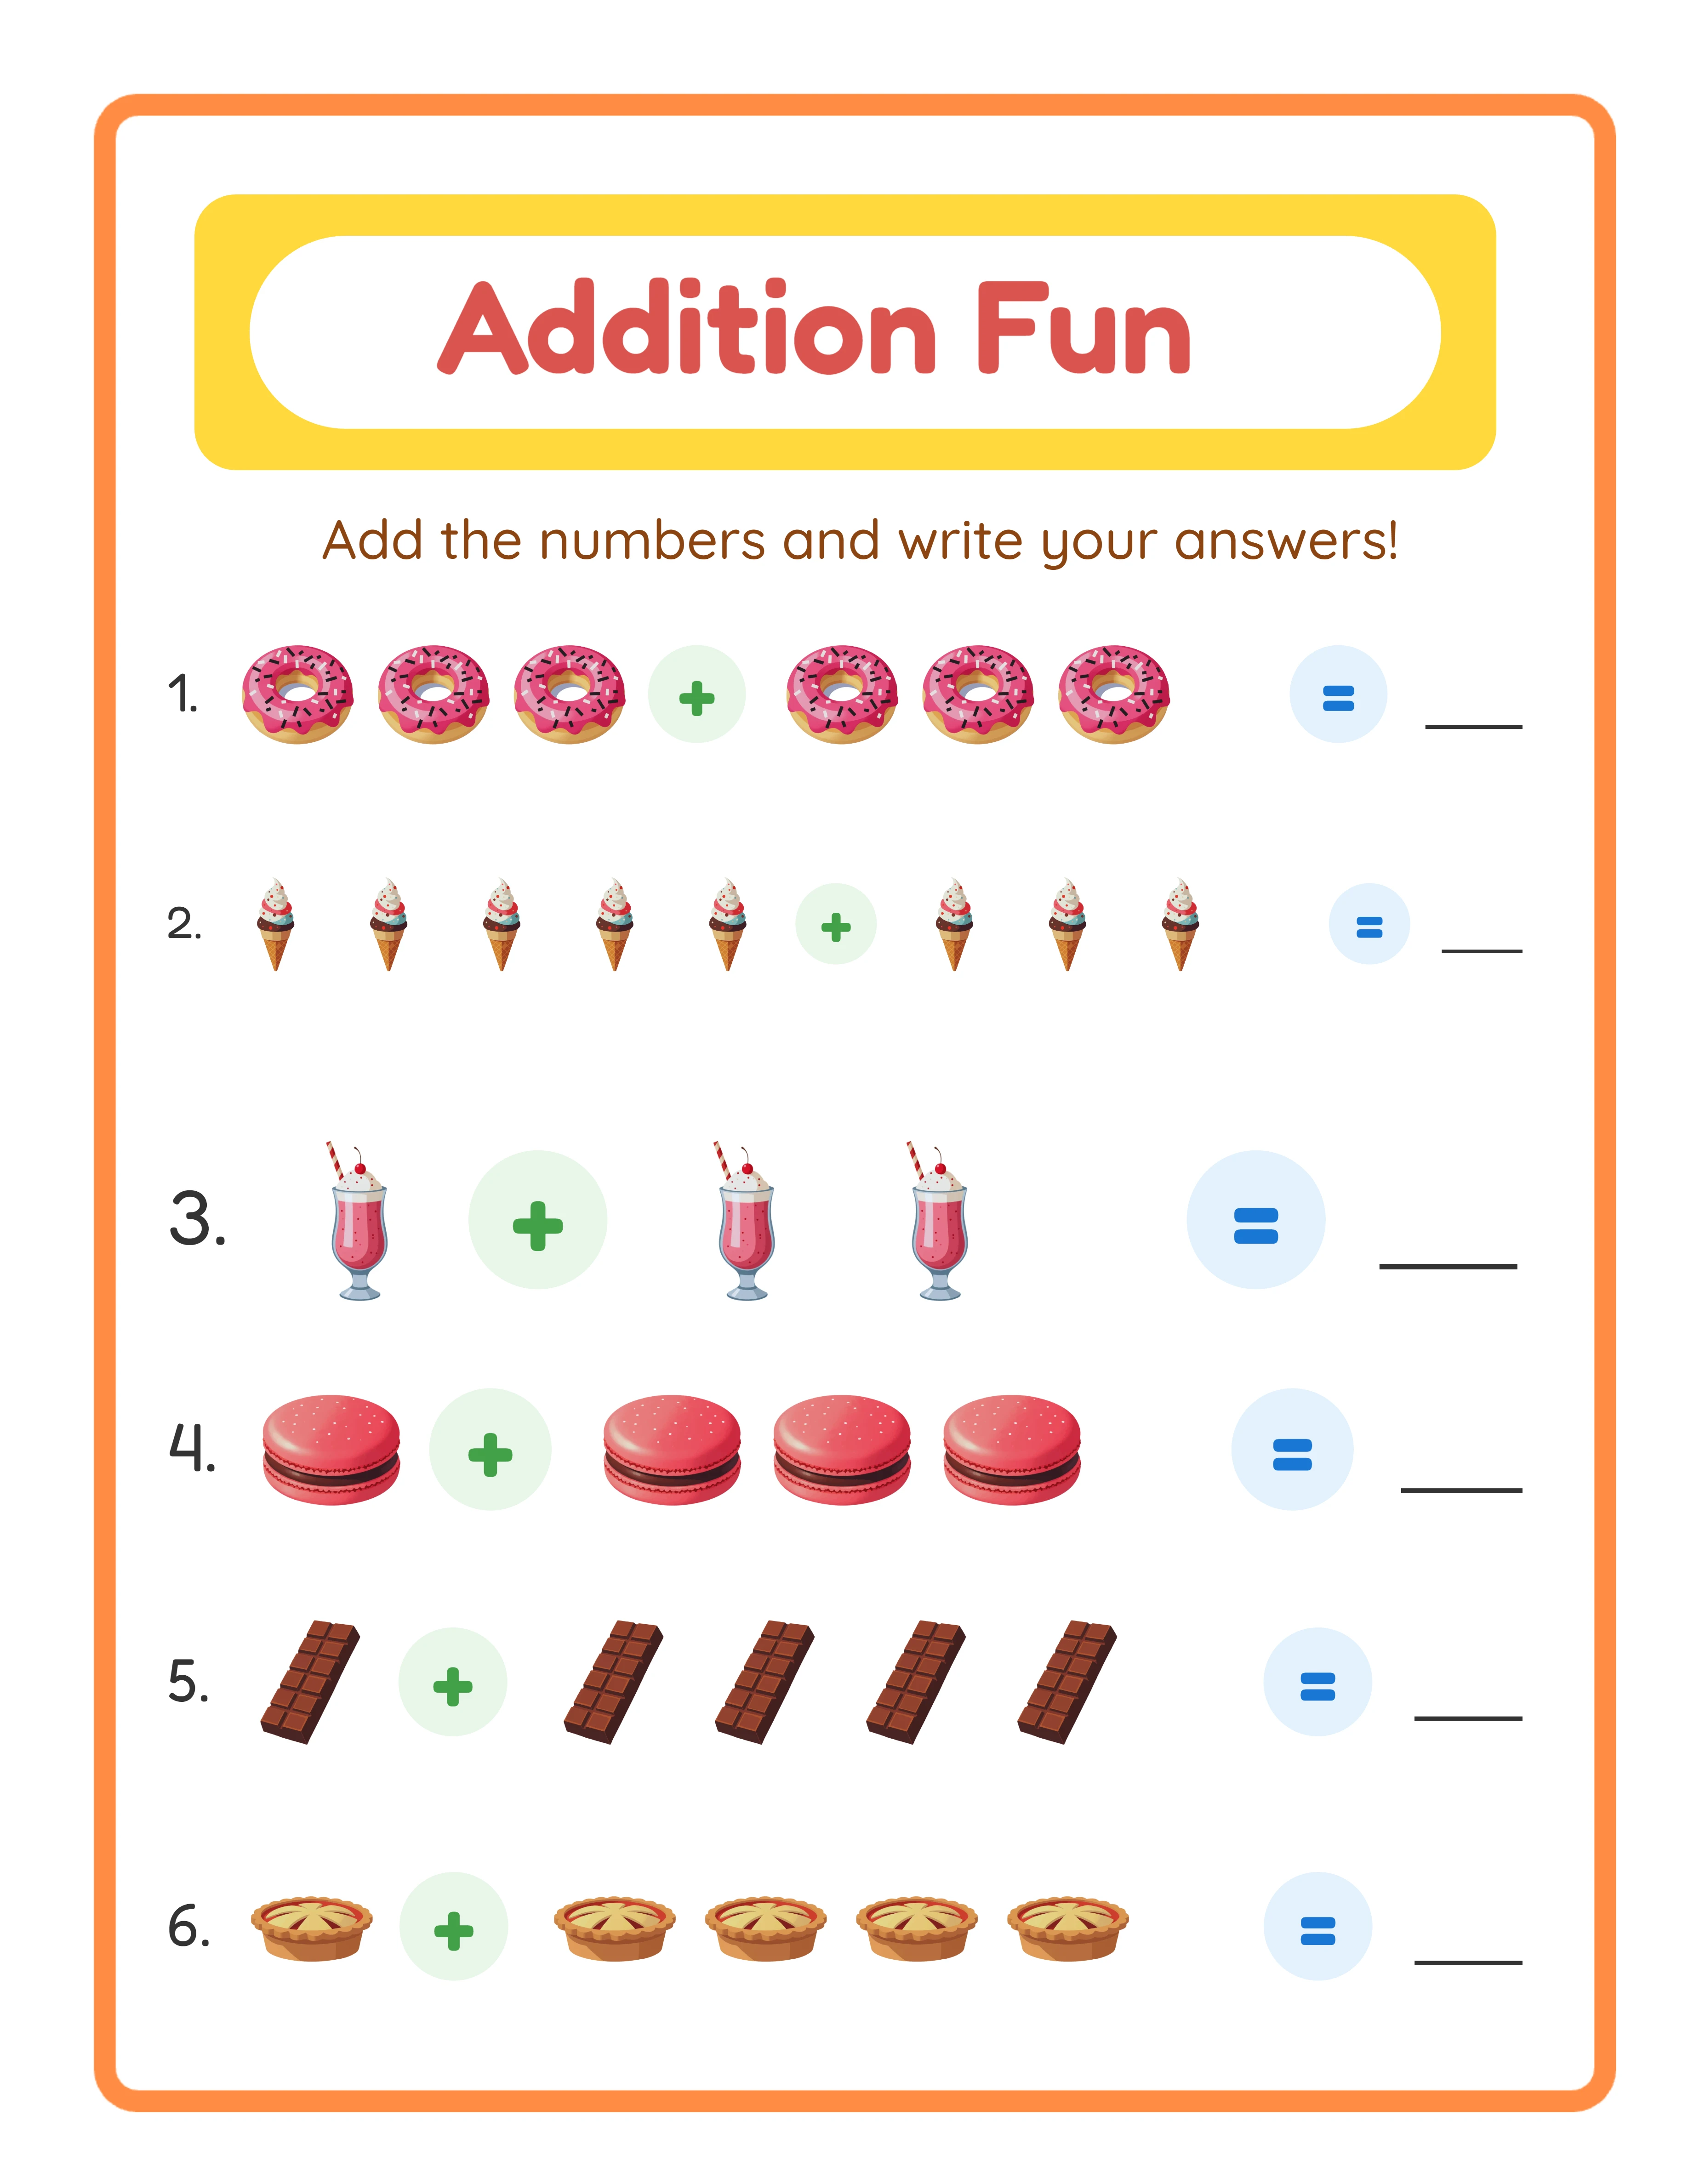
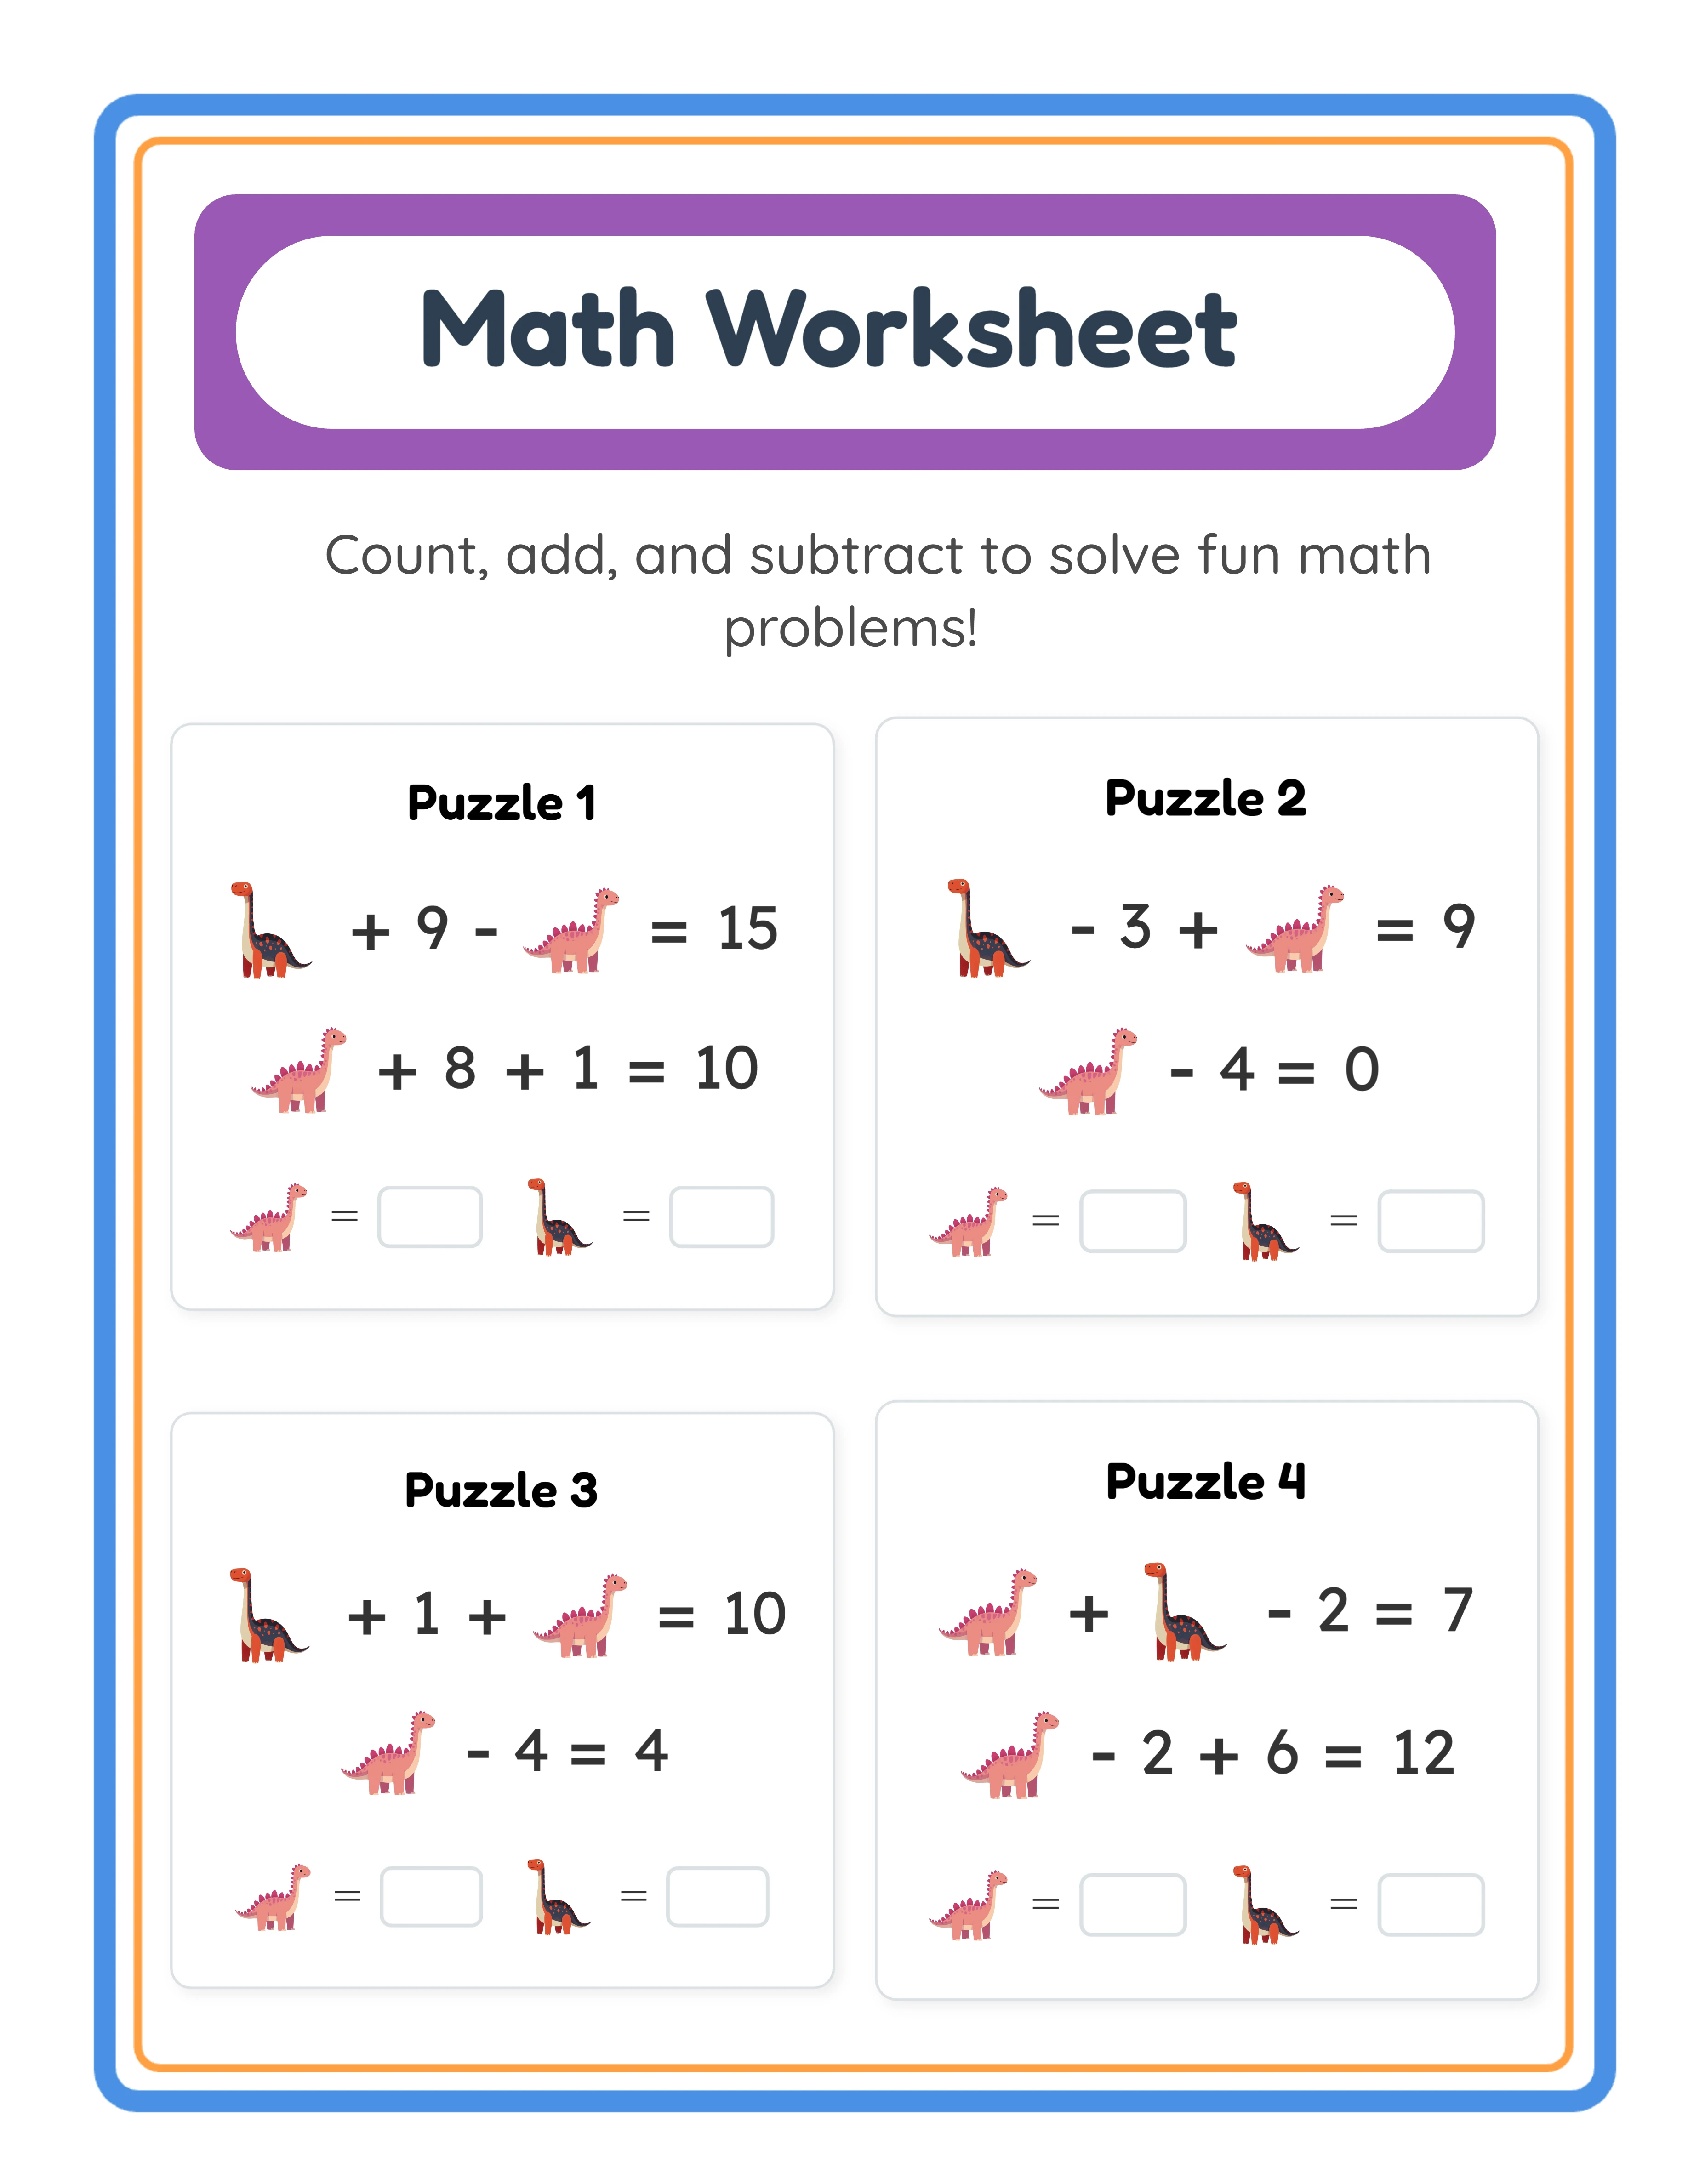
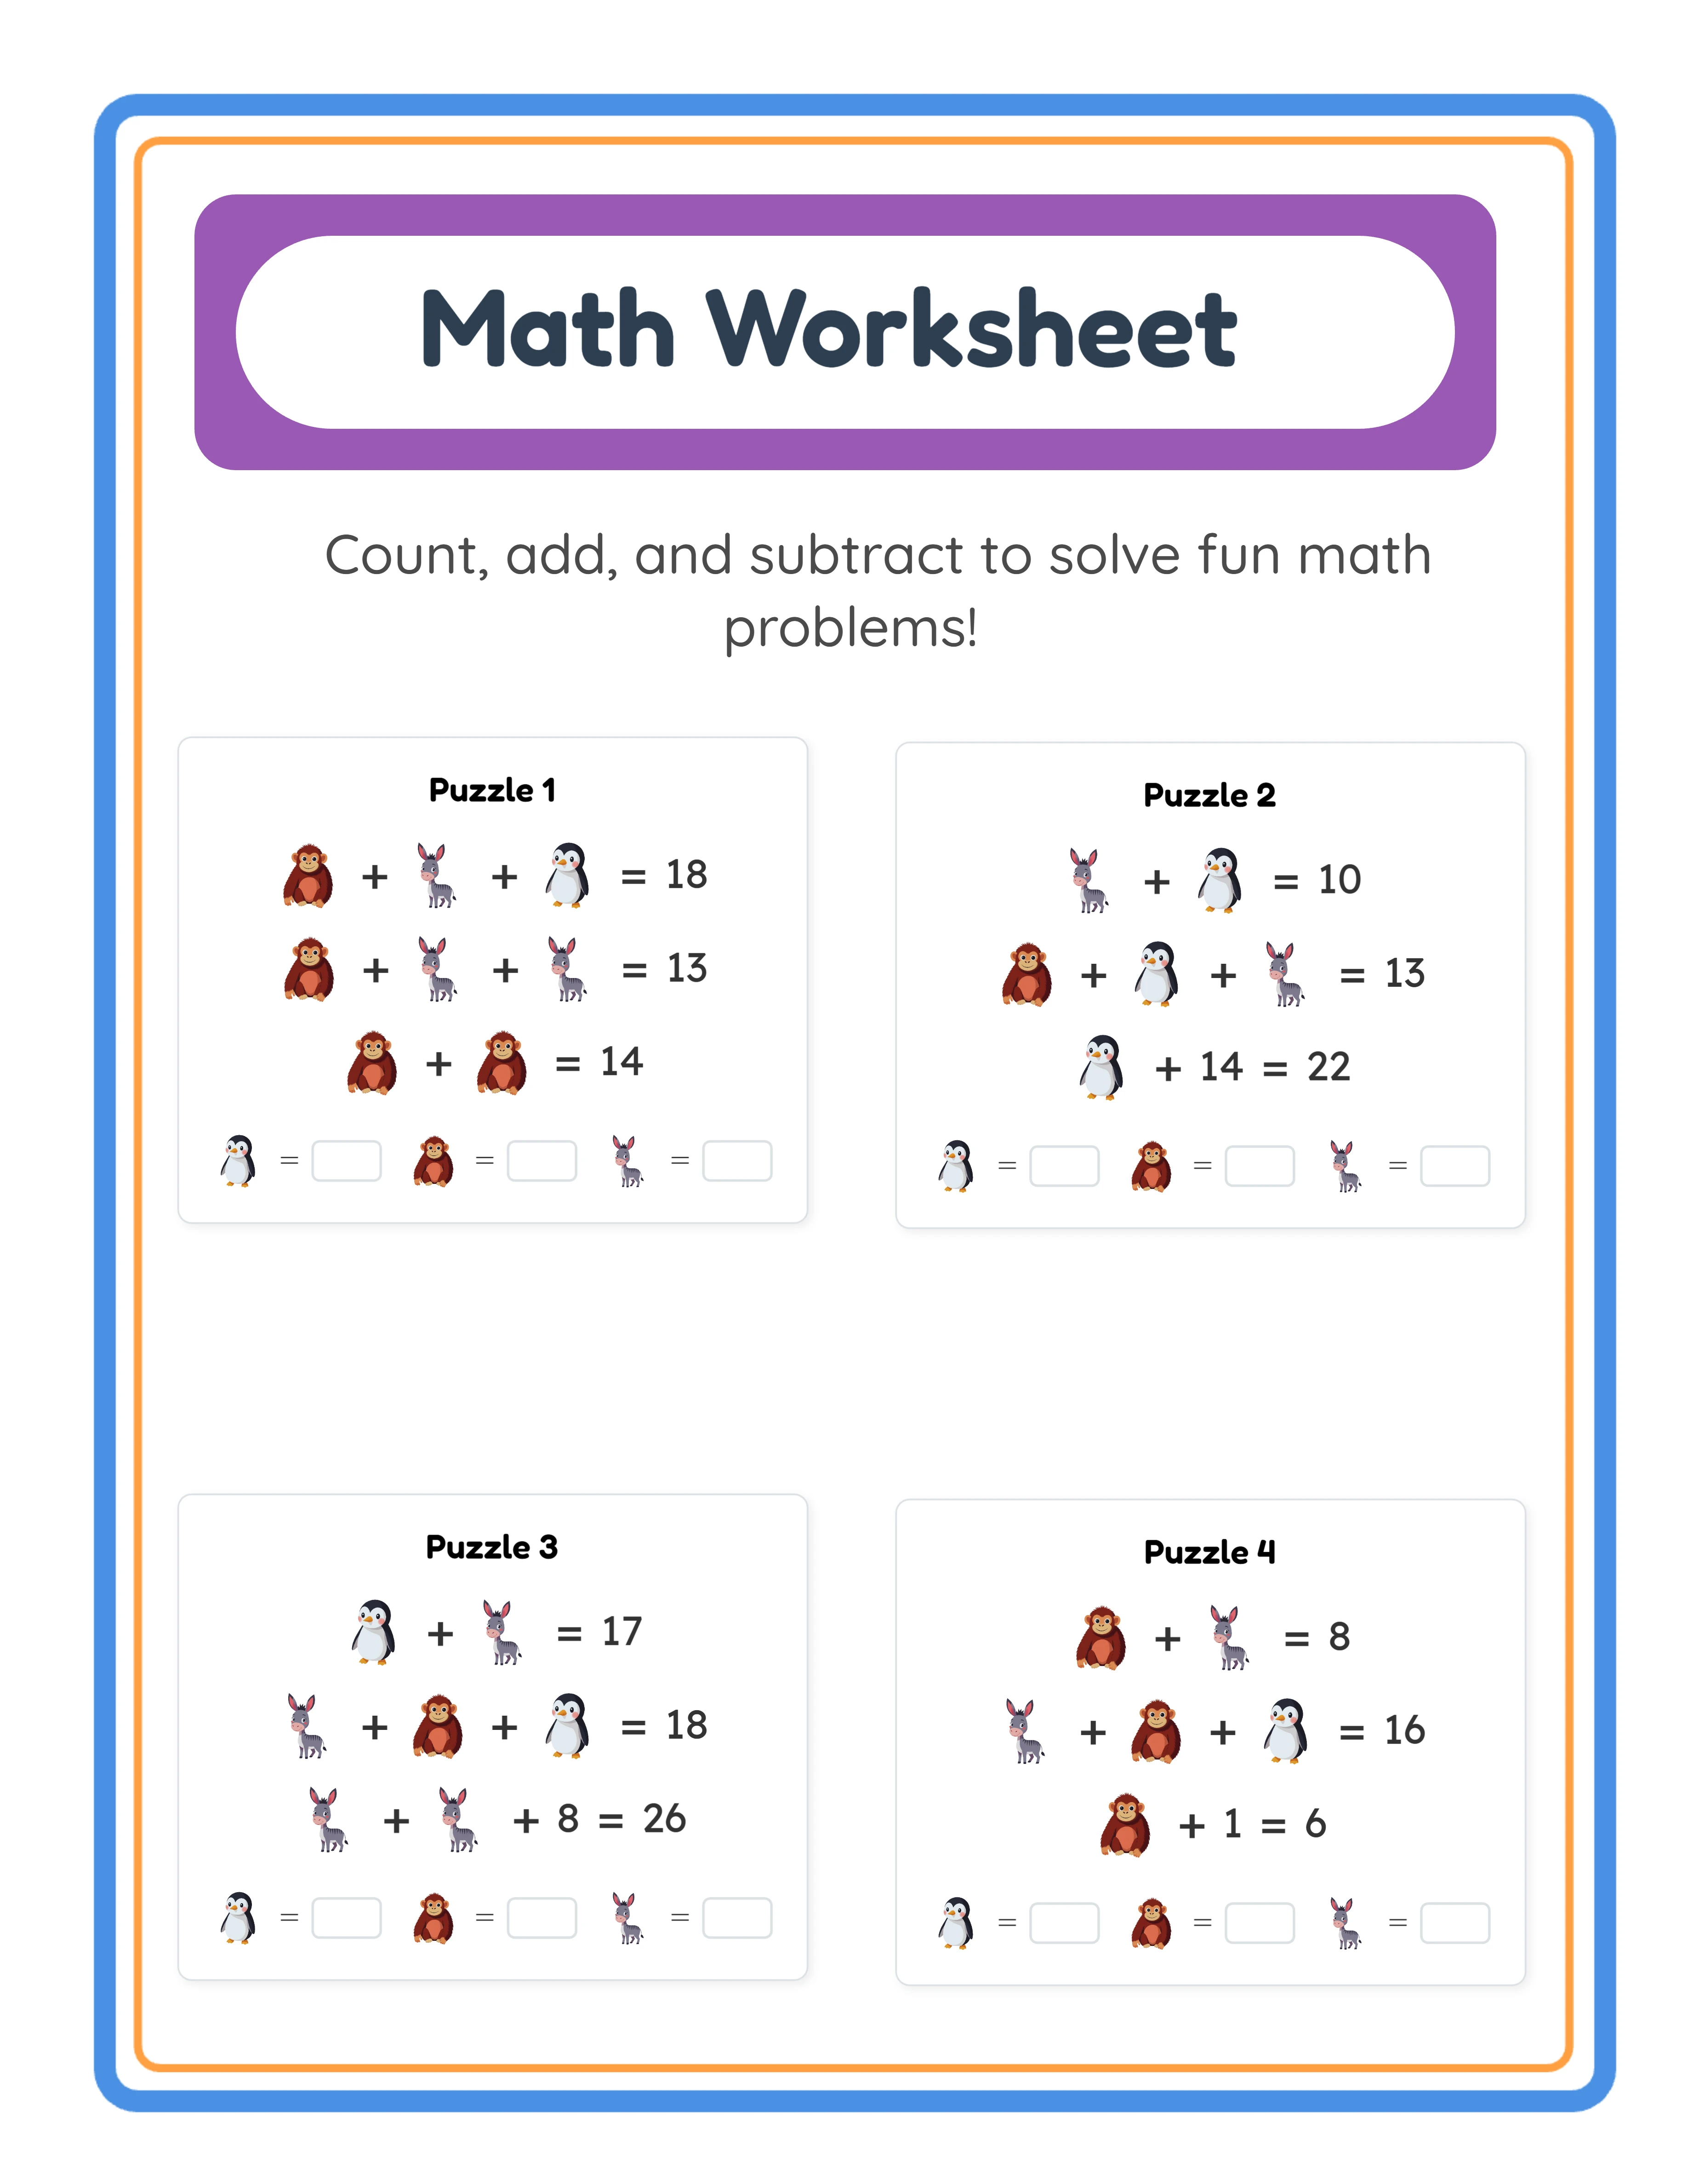
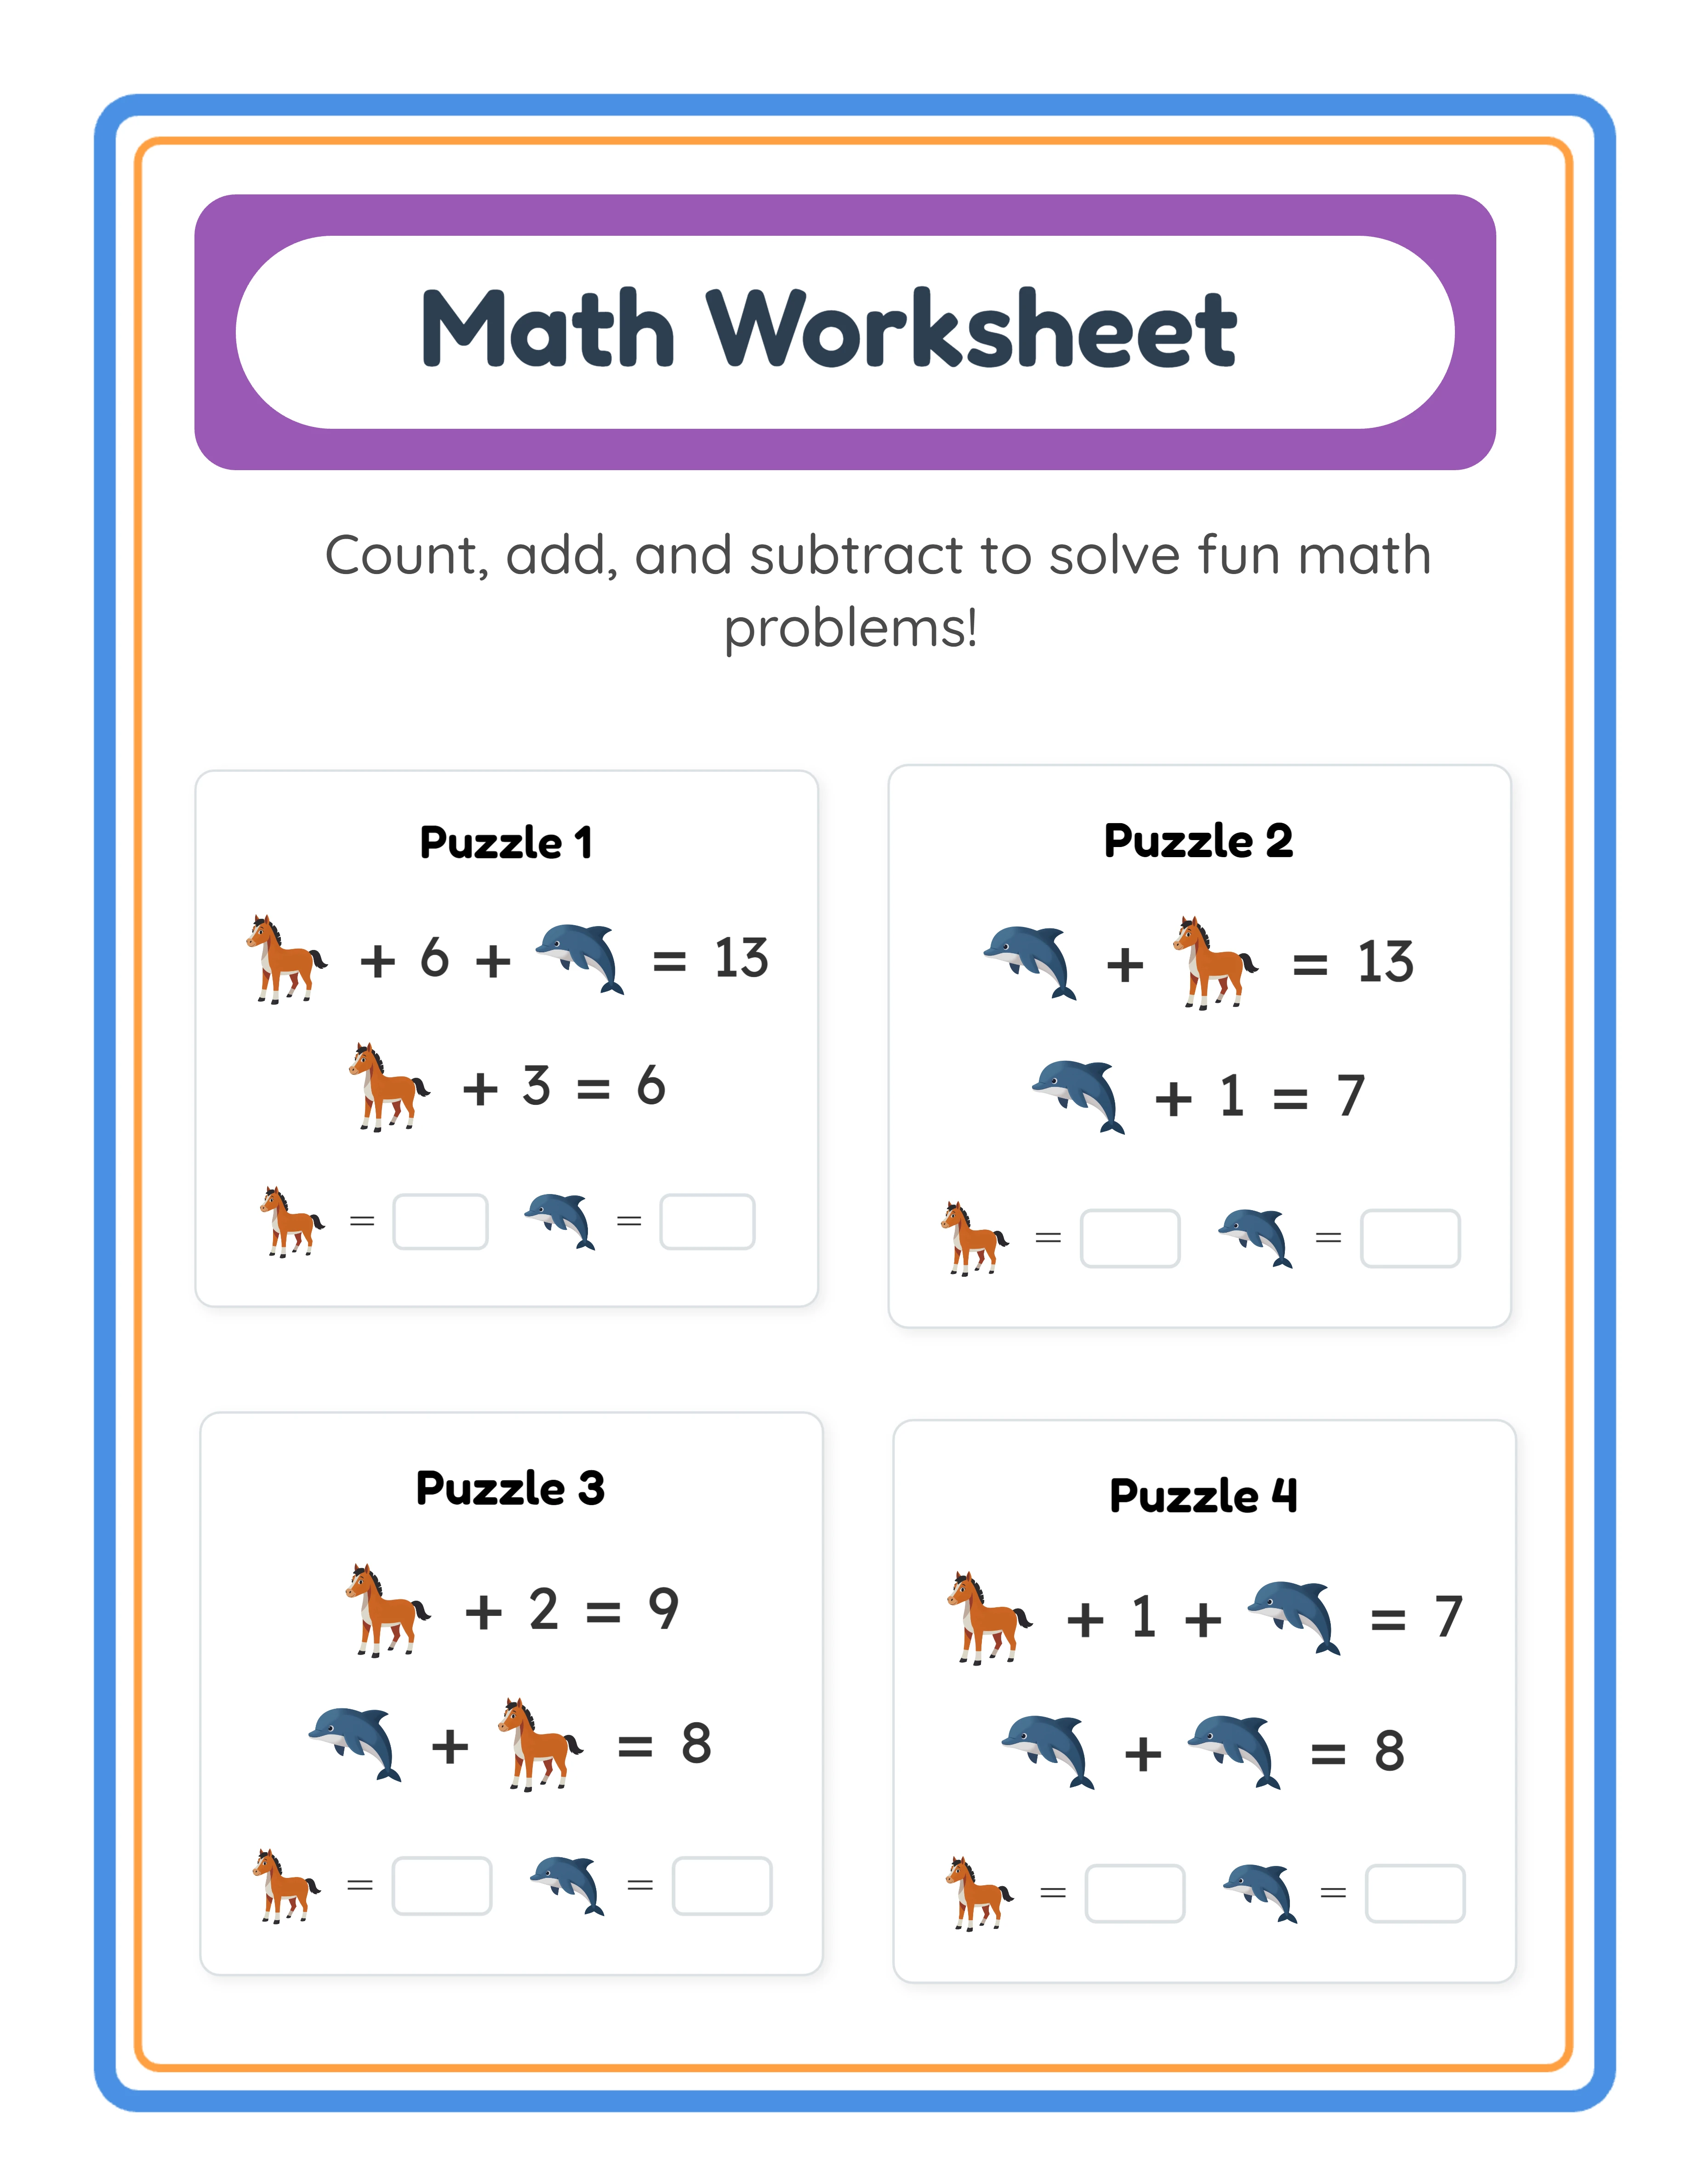
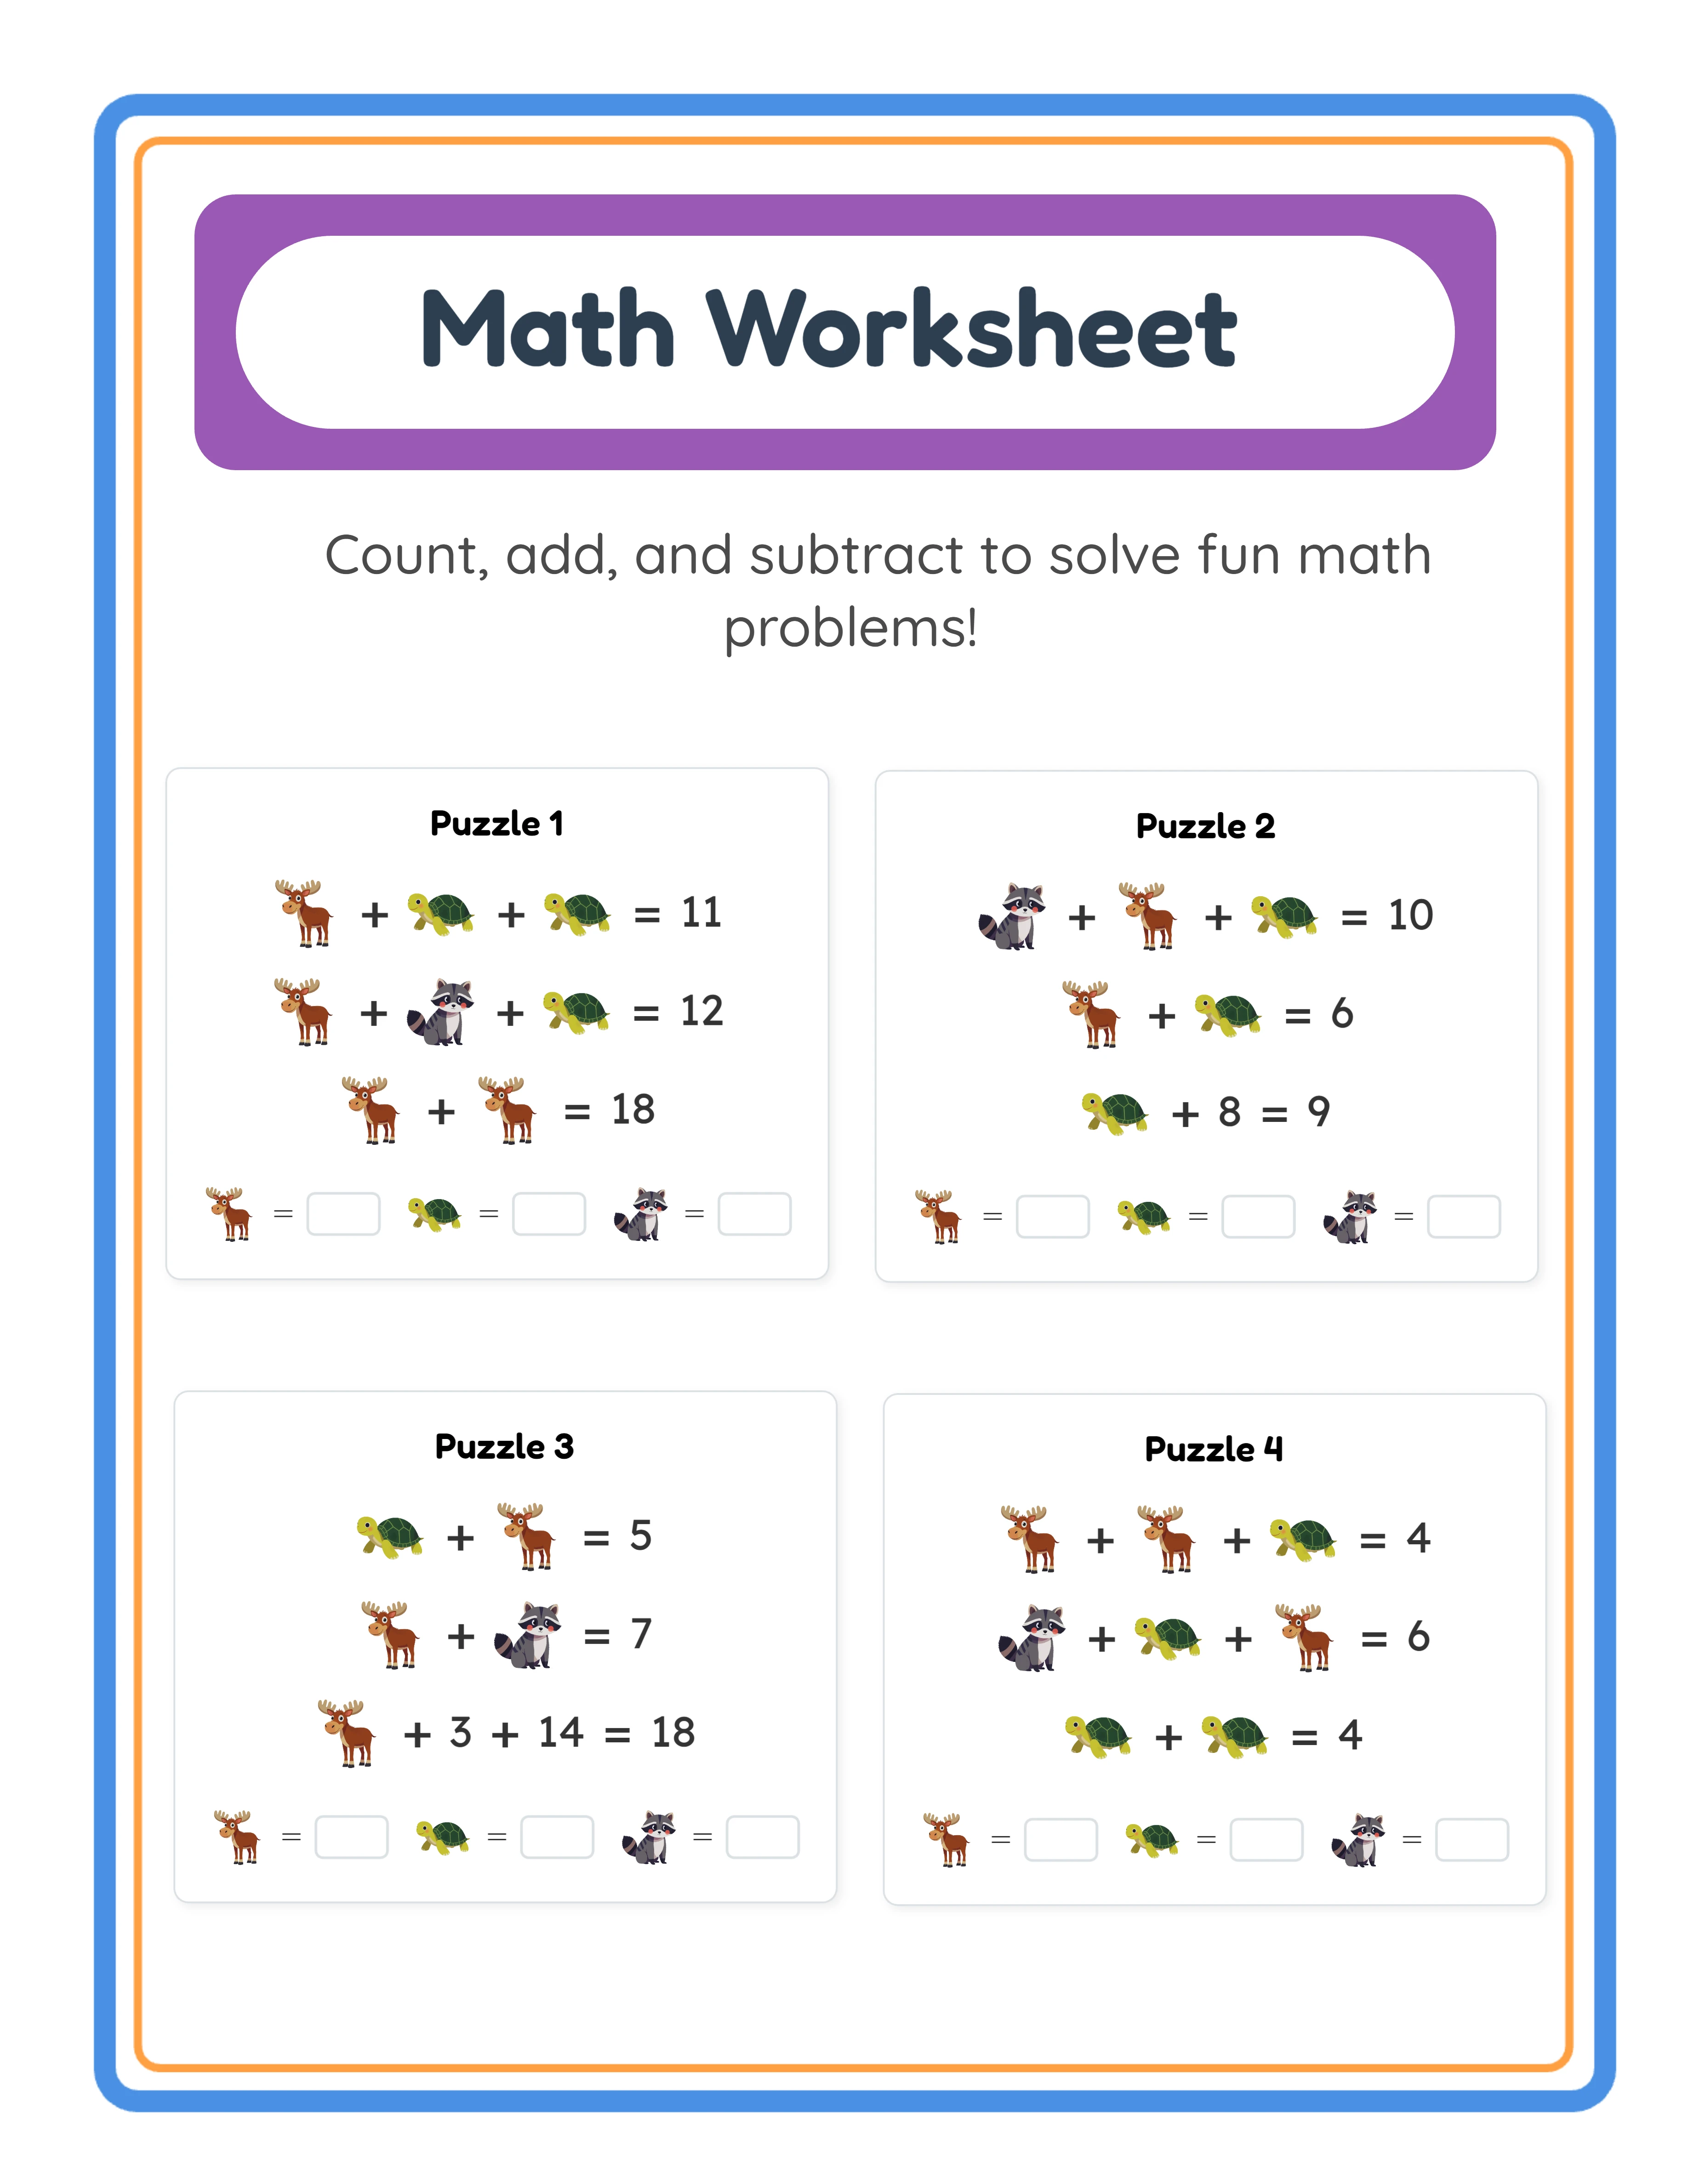
Math worksheets need clearly defined problem areas with adequate answer space. For single-digit addition and subtraction targeting grades K through 2, each problem cell should be at least 0.8 by 0.8 inches to accommodate a child's handwriting. A standard layout fits a 5-column by 4-row grid of 20 problems on an 8.5 by 11 page with comfortable spacing between cells. For multi-digit operations targeting grades 3 and up, problems need vertical alignment space — each problem area should be at least 1.2 inches tall to allow stacking of carry/borrow notations. Reduce to 3 or 4 columns to maintain adequate width.
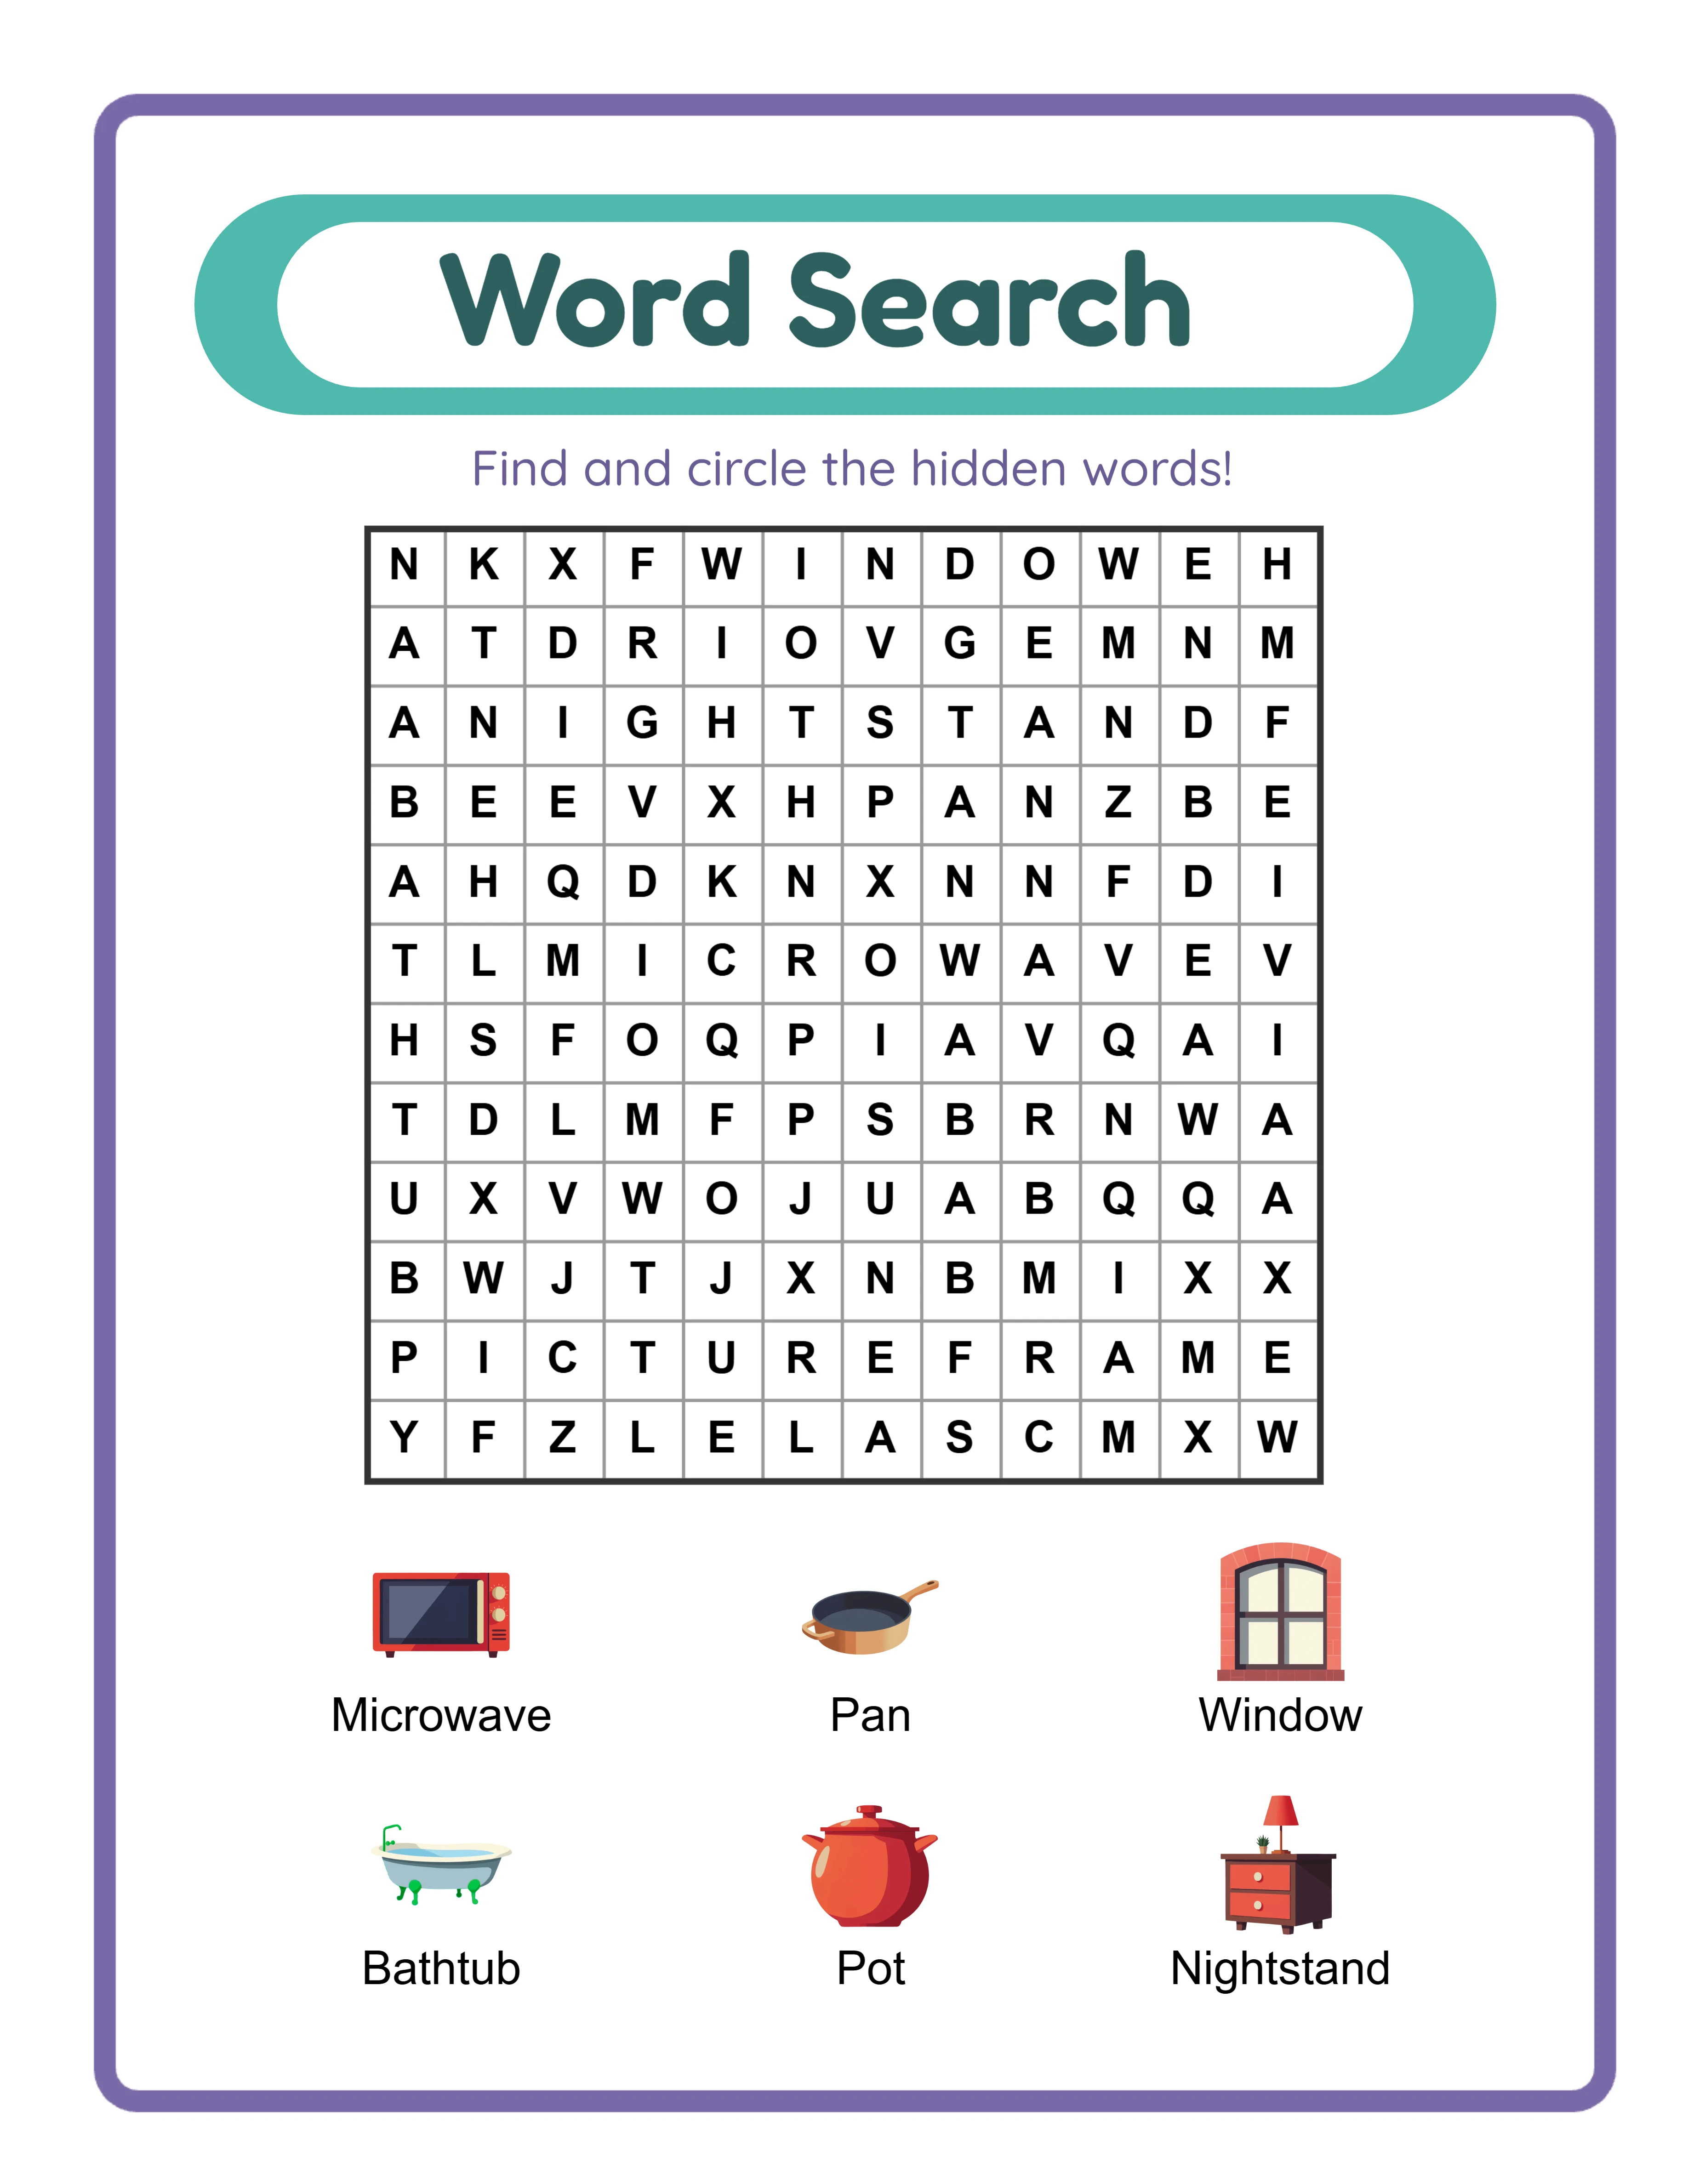
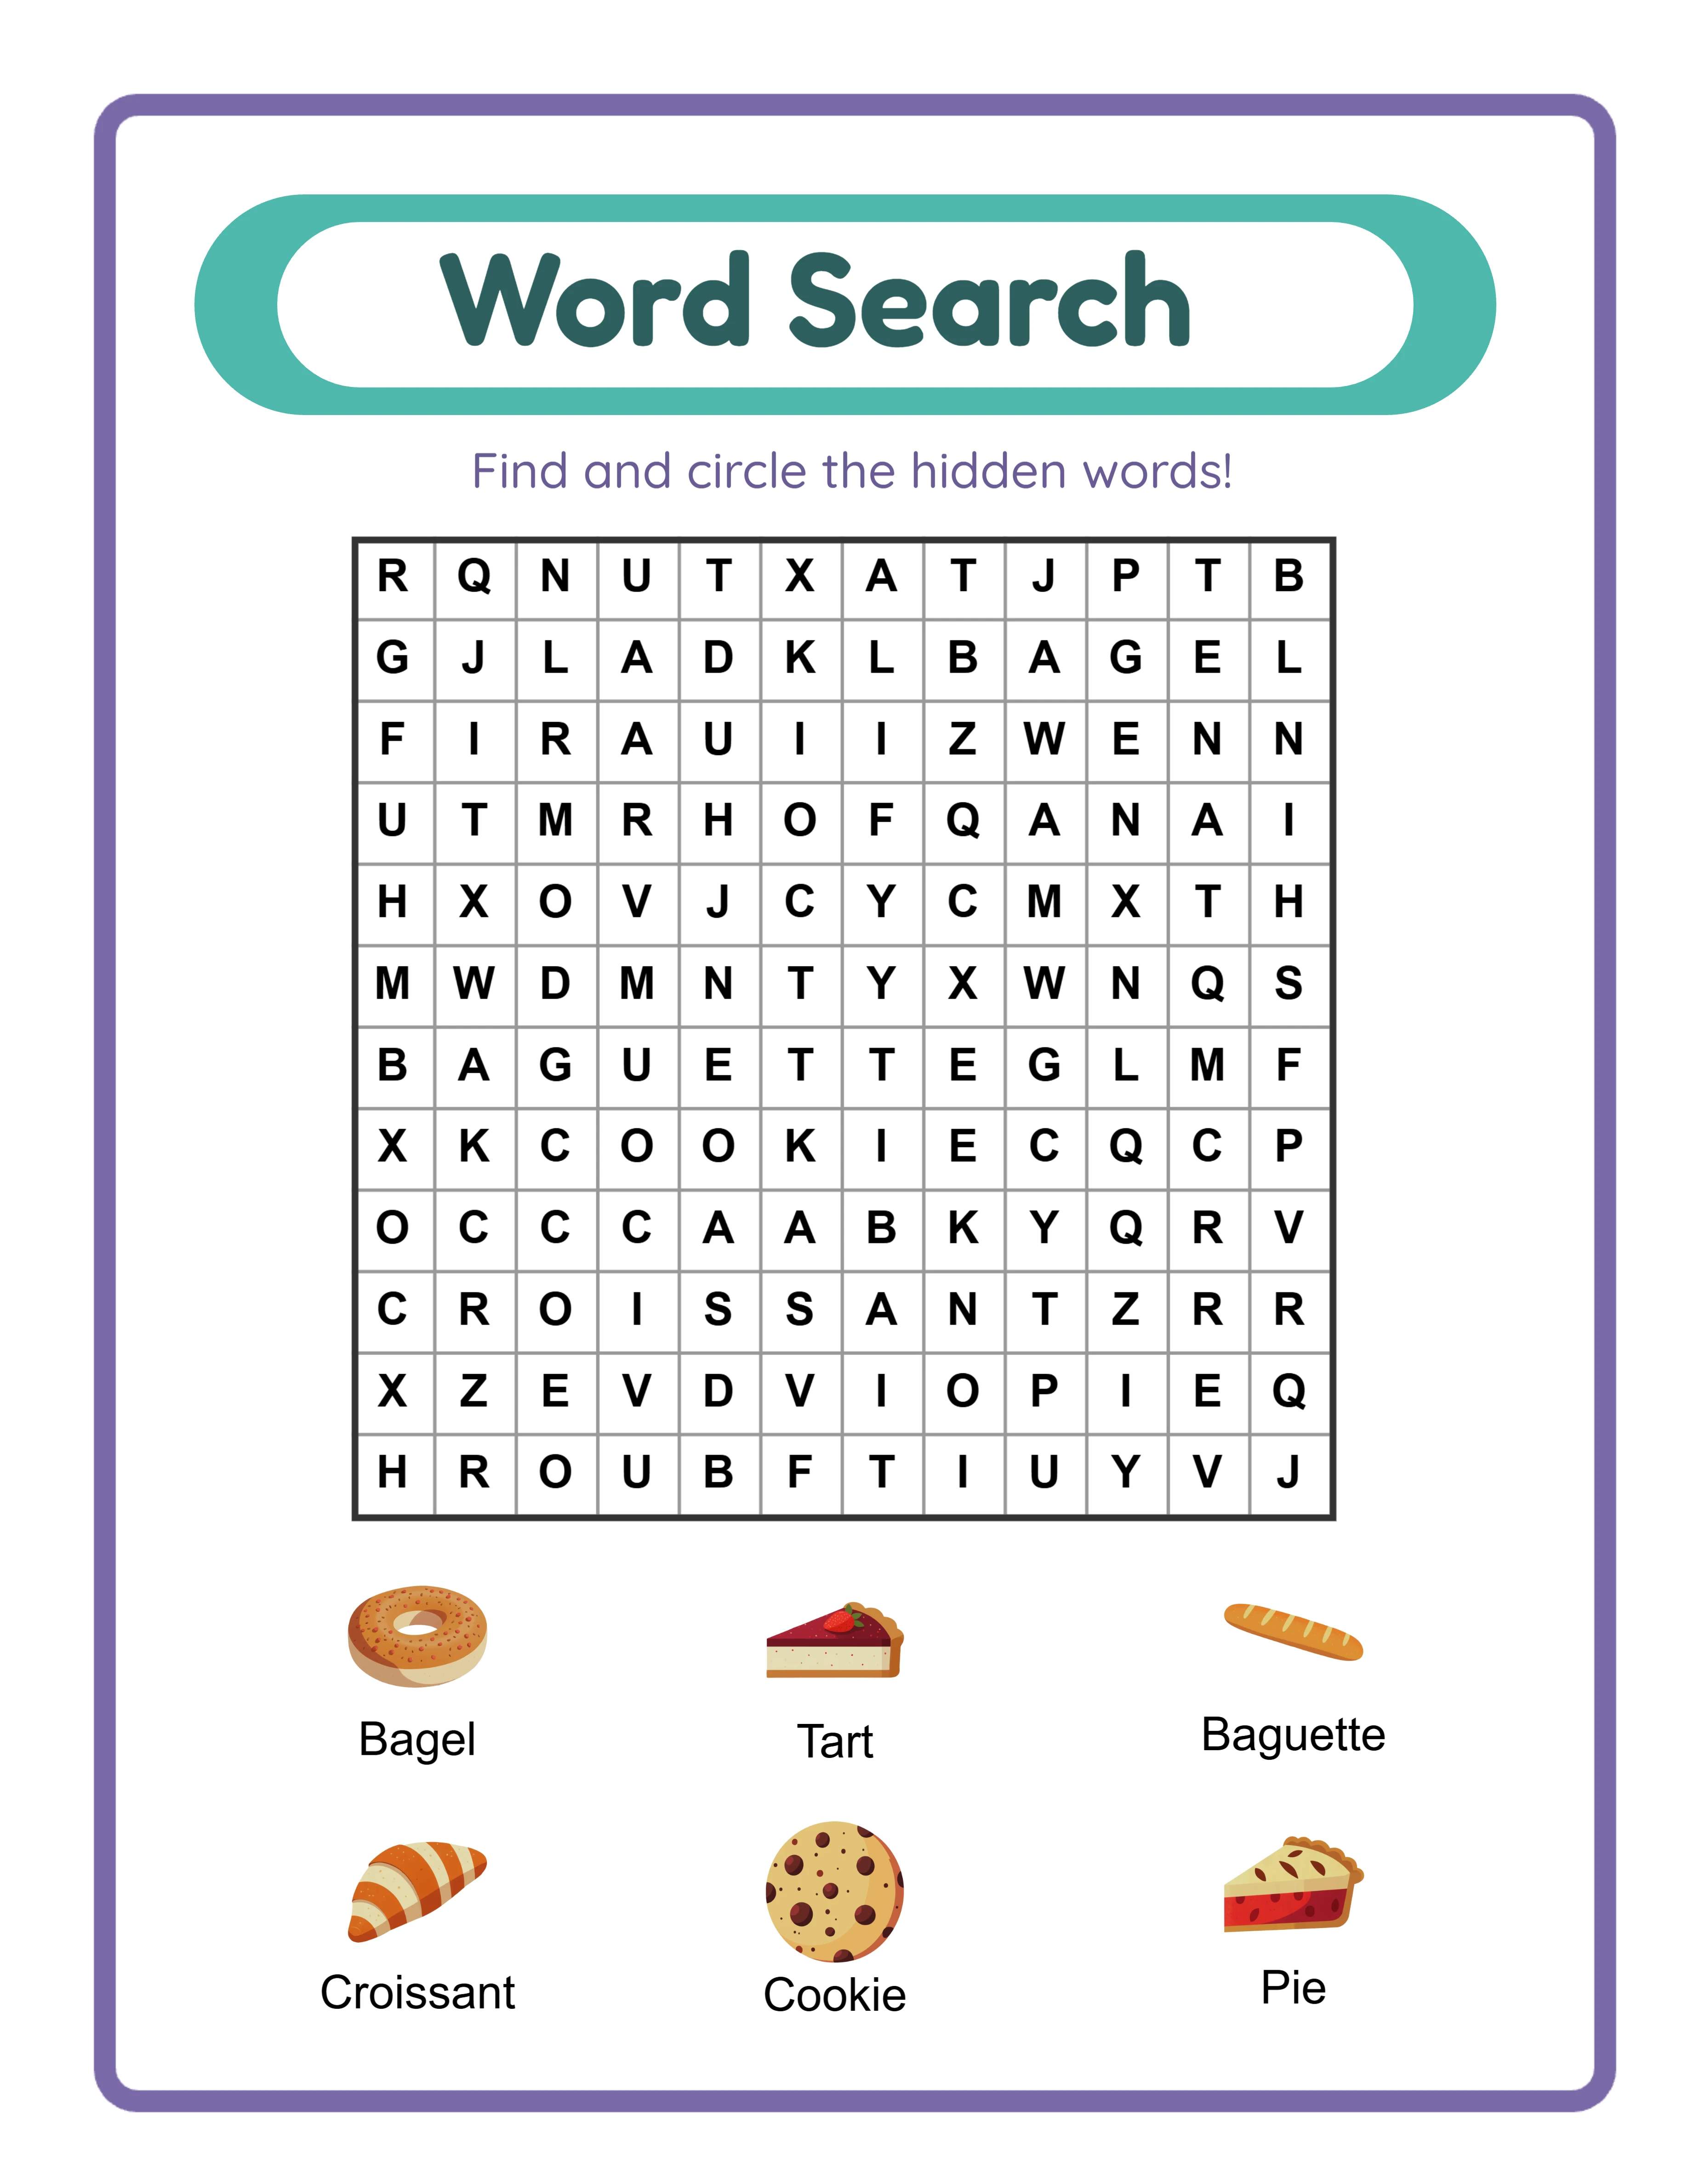
Word search grids require consistent letter spacing. Each cell in the grid should be at least 0.3 inches square for standard adult puzzles, or 0.4 inches or larger for kids and large-print editions. A 15 by 15 grid at 0.3 inches per cell occupies 4.5 by 4.5 inches, leaving room for the title, word list, and theme label on the same page. For 20 by 20 grids, you need nearly the full content width — this is where 8.5 by 11 trim becomes essential.
Coloring and drawing pages should use the maximum content area with minimal non-activity elements. Place the illustration or drawing prompt within the full content boundary, with only a small header for page number and section identifier. Users expect coloring pages to fill the page — small illustrations centered on a page of white space look unprofessional and waste the buyer's investment.
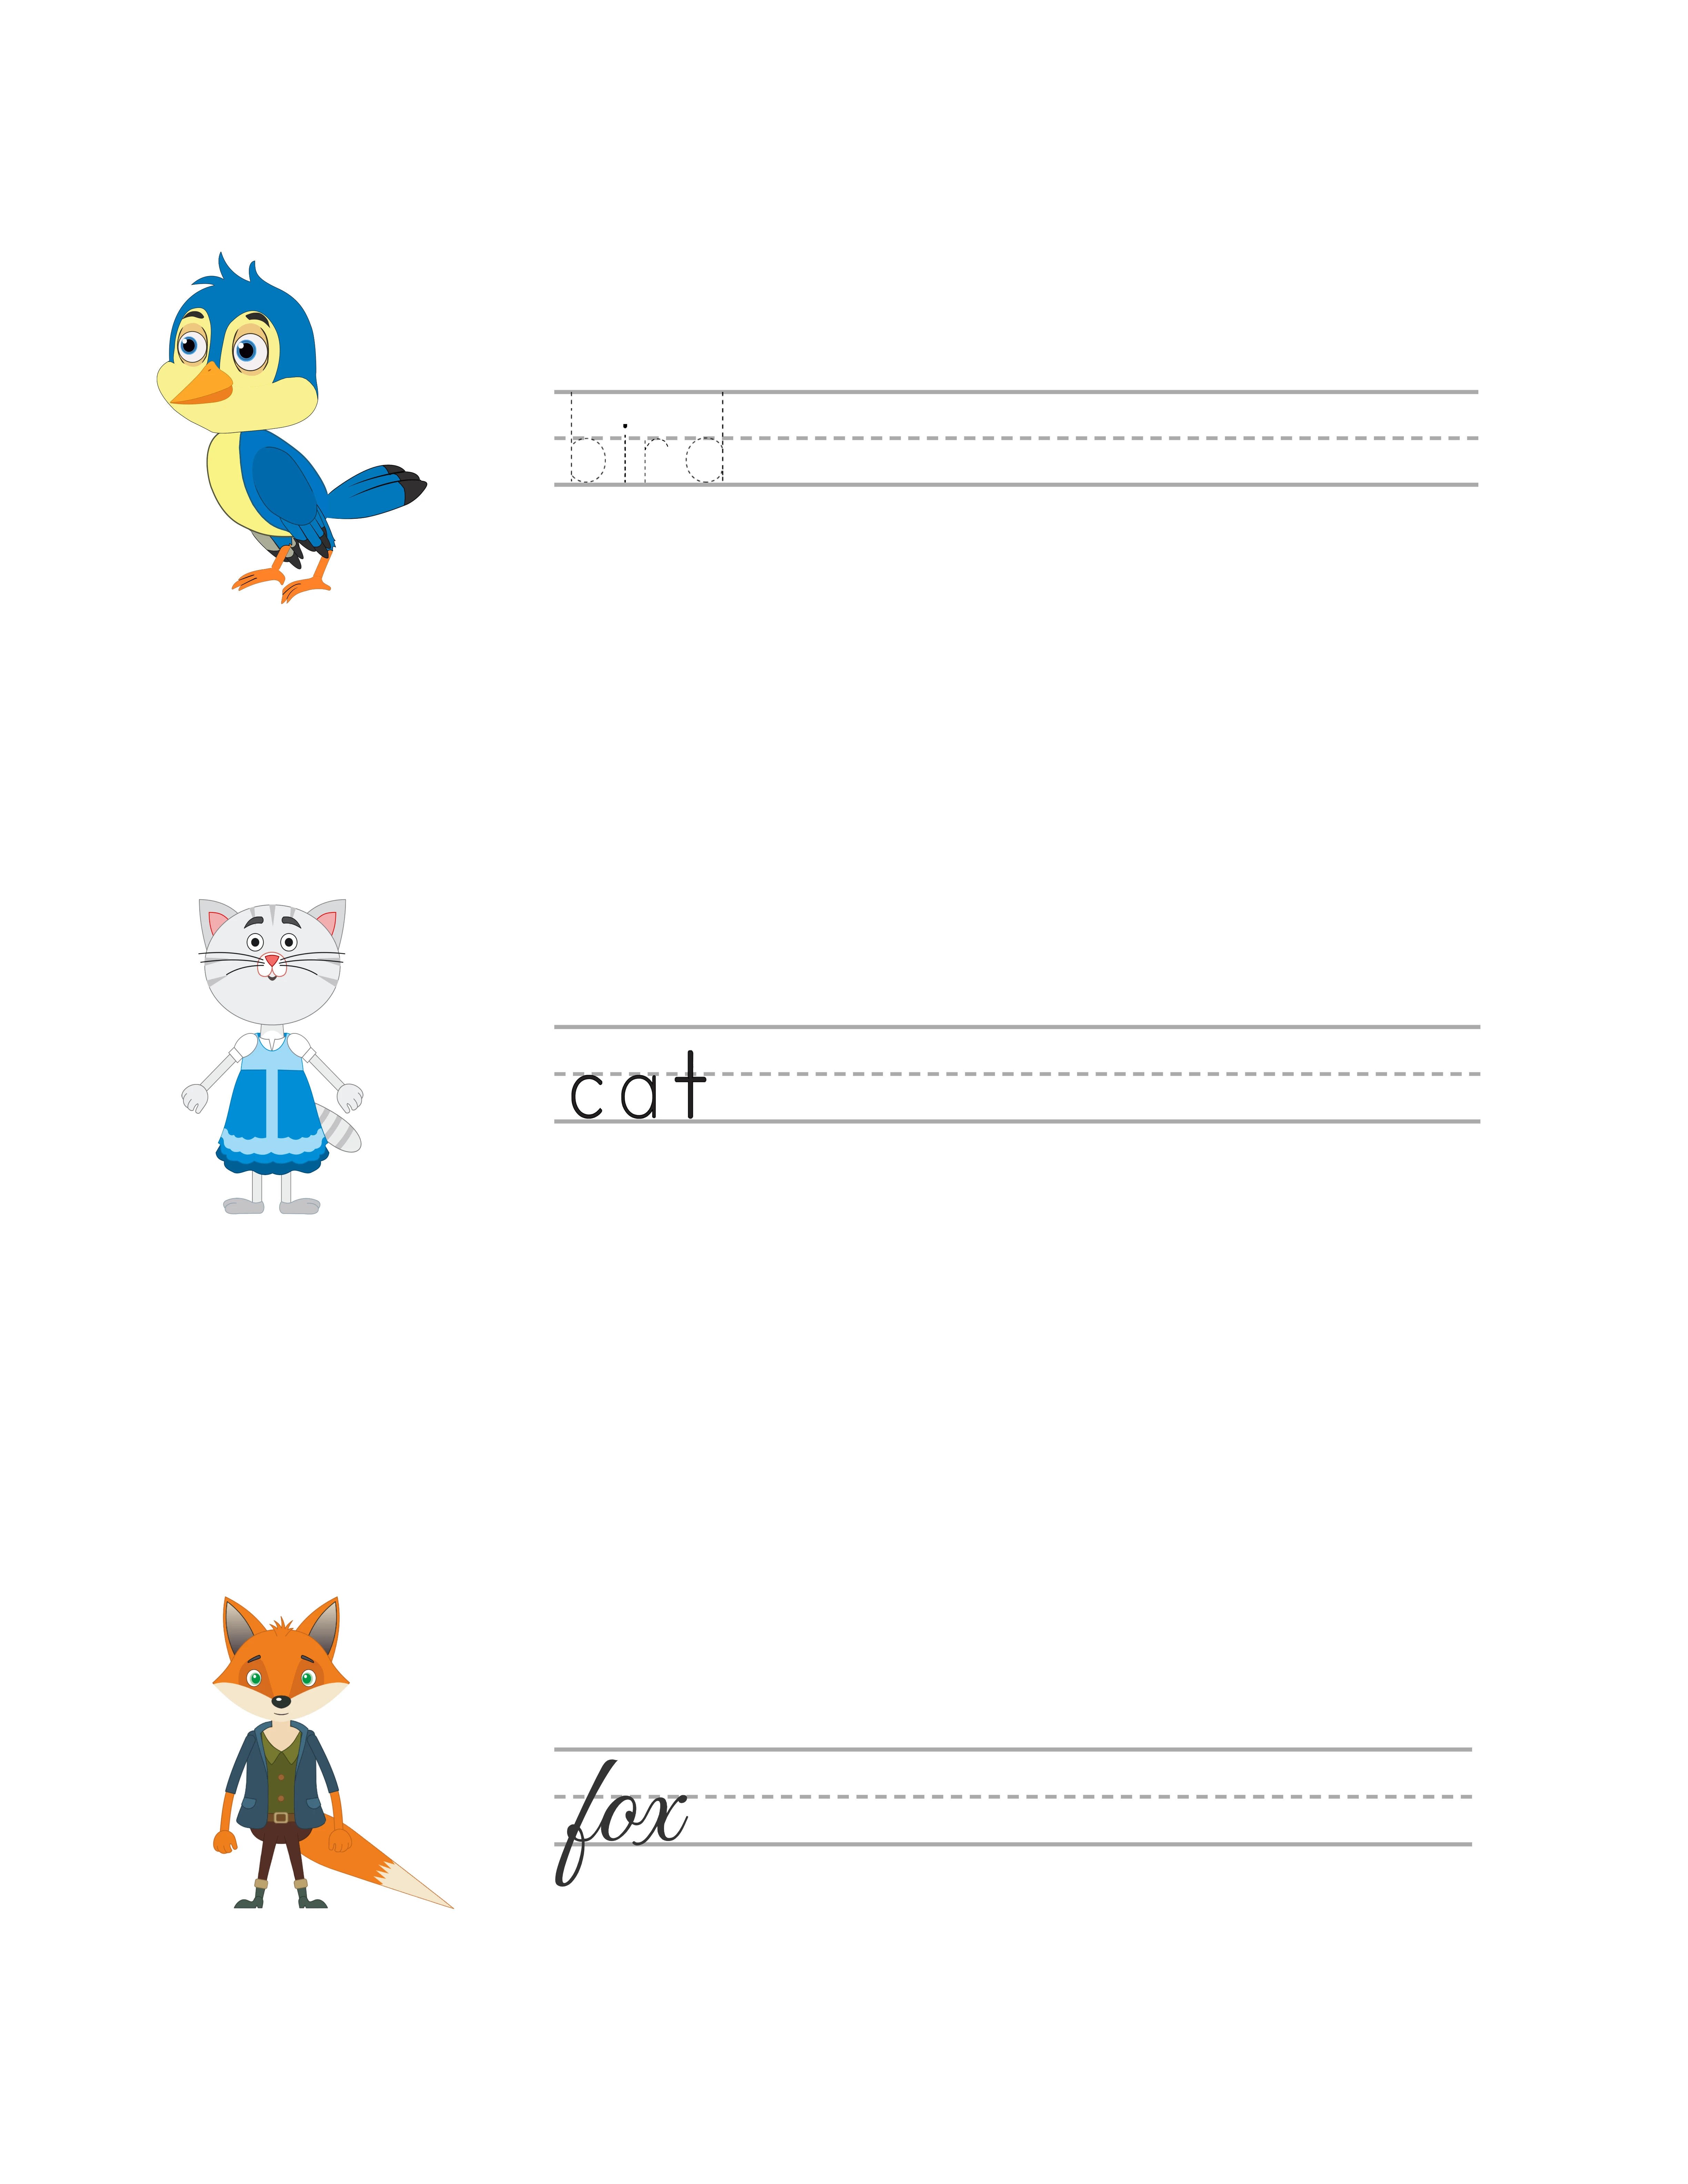
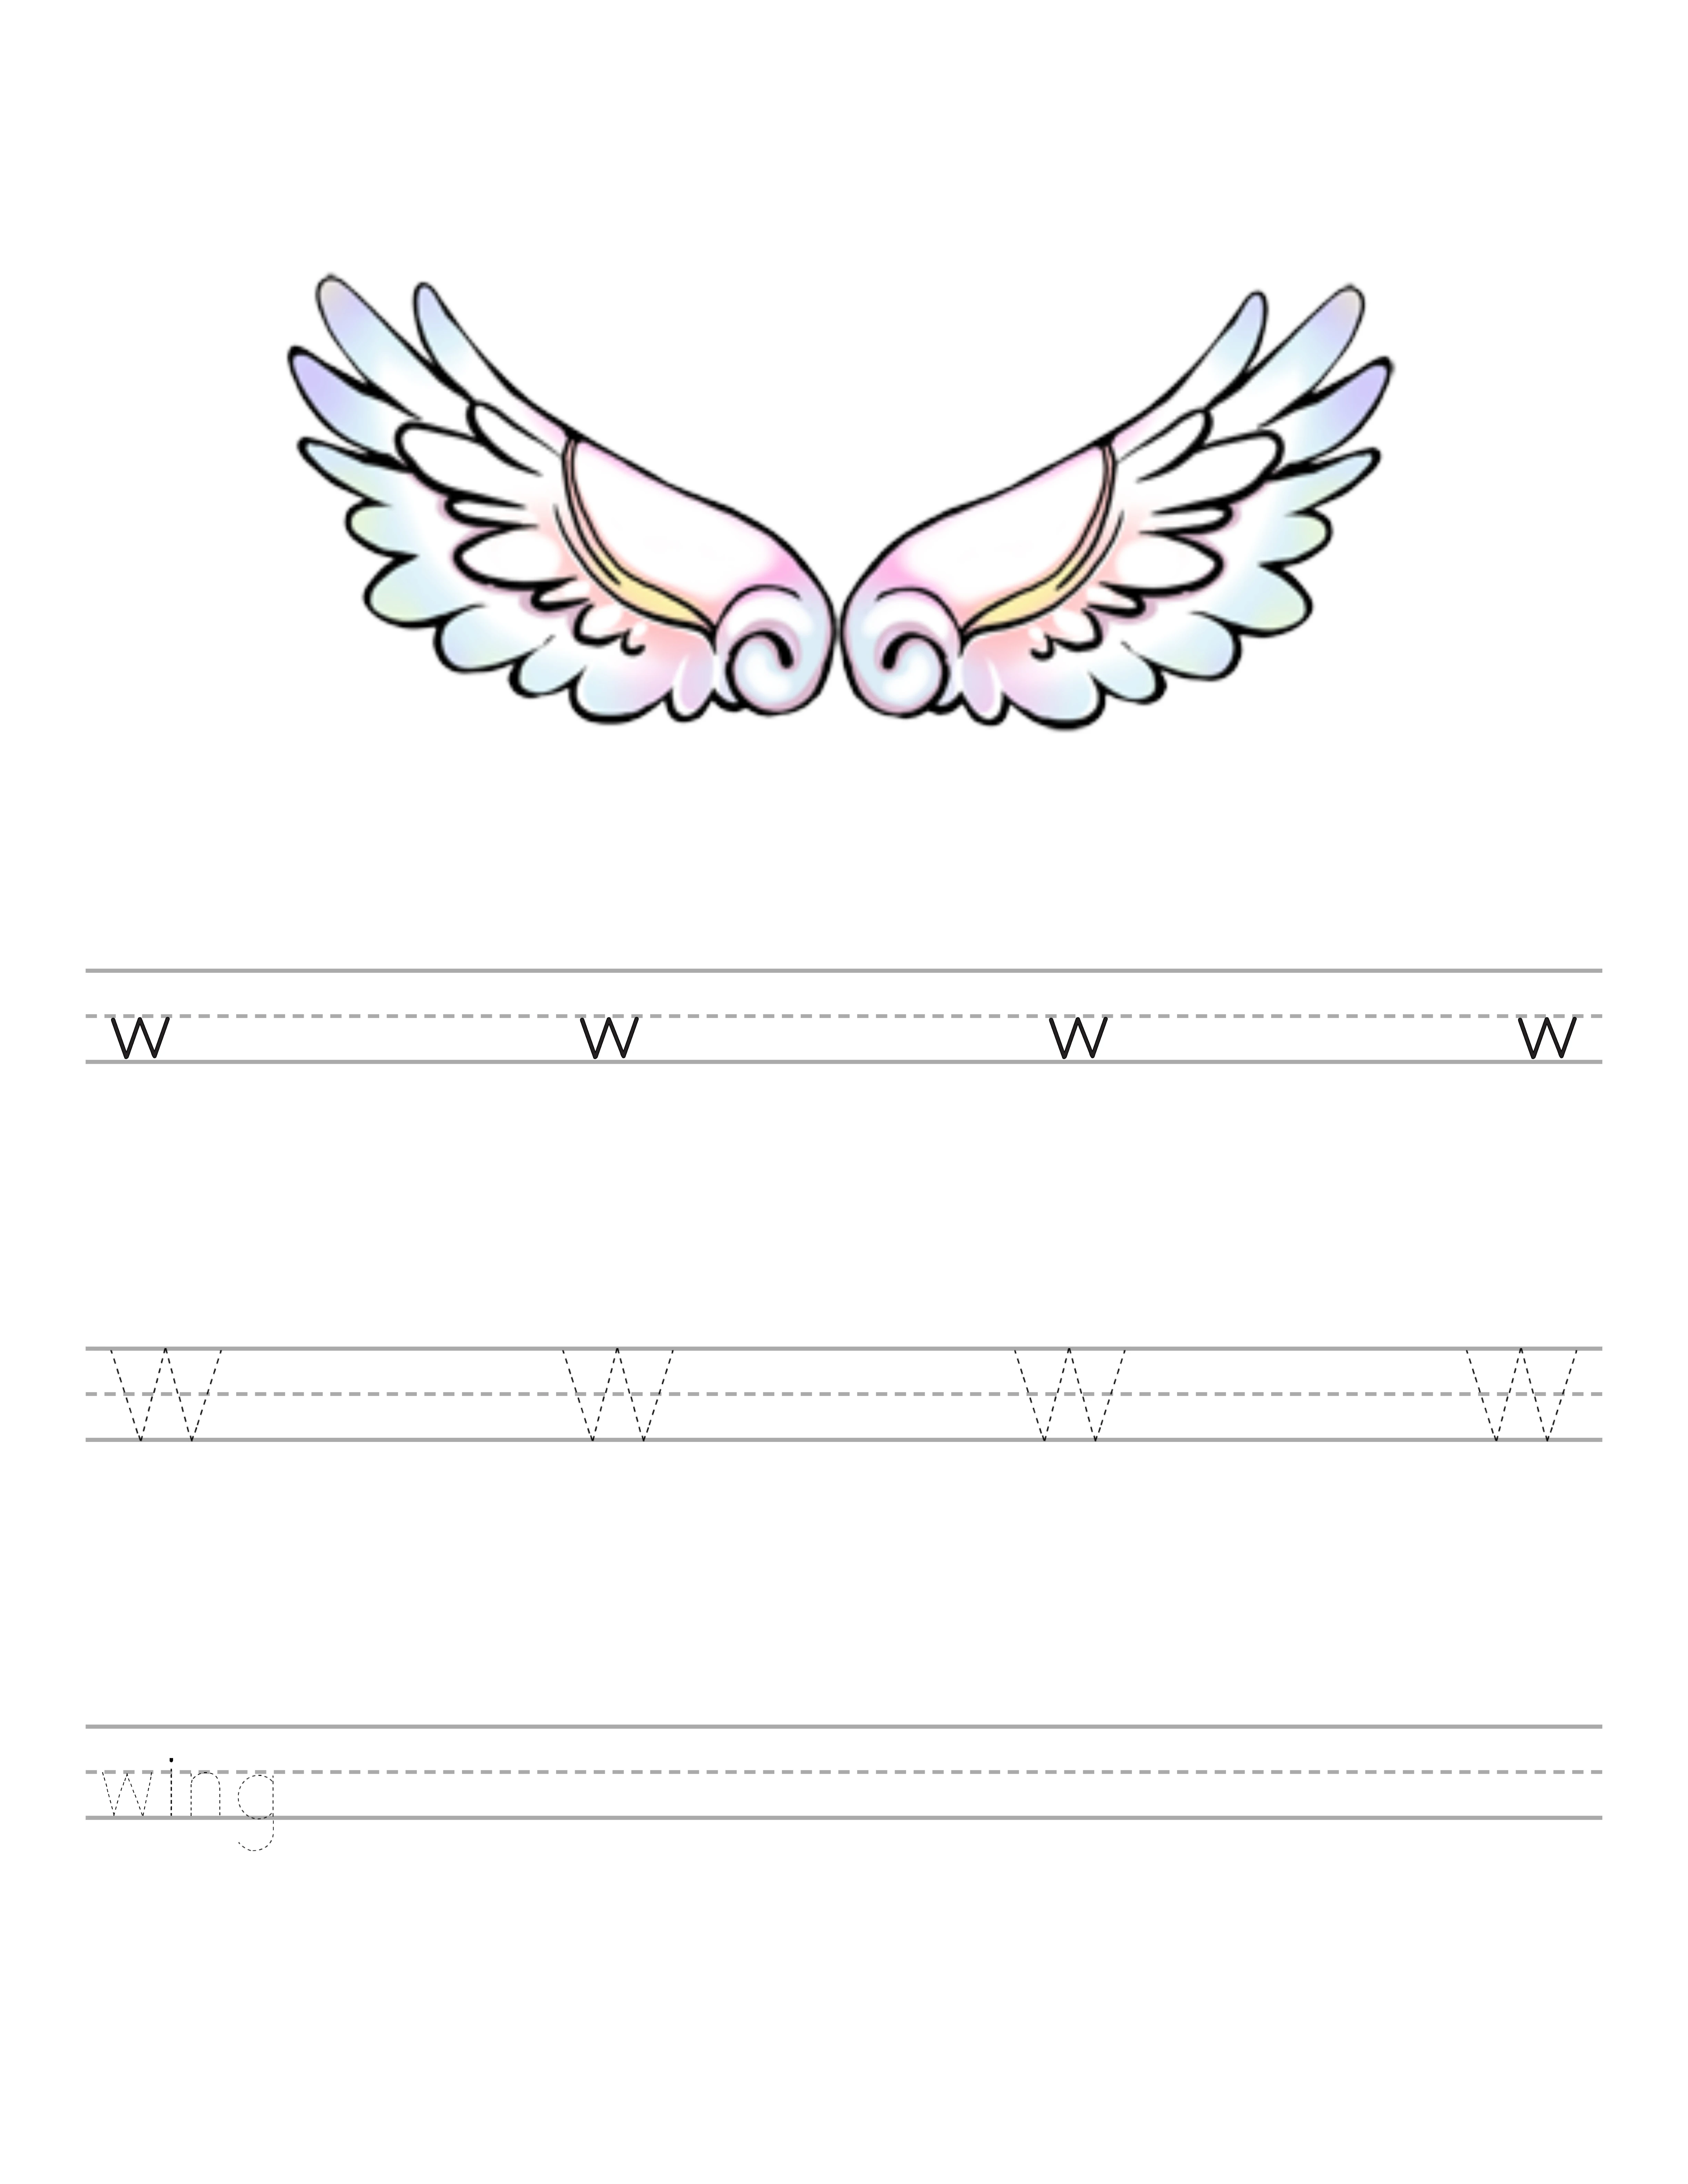
Handwriting and tracing worksheets need carefully measured ruled lines. For preschool and kindergarten, use a baseline-to-baseline spacing of 0.5 inches with a dashed midline. For grades 1 and 2, use 0.375 inch spacing. For grade 3 and up, standard 0.3 inch ruled lines work well. Include a model character or word at the top of each line for tracing worksheets.
Page headers and footers should be minimal but functional. Include the page number centered or outside-aligned in the footer. Include the section name or difficulty level in a small header. Keep headers and footers within 0.3 inches of height to preserve maximum content area for the actual activities.
4
Handle Bleed and No-Bleed Settings
Bleed determines whether your content extends to the very edge of the printed page or stops within a white border. This setting affects your manuscript dimensions and is one of the most common sources of KDP upload errors.
Most worksheet and activity books should use the no-bleed setting. No-bleed means your content stays within the margins and white space surrounds every page. This is the correct choice for math worksheets, puzzle grids, handwriting practice, and any activity type where the content is self-contained within borders or frames. No-bleed is simpler to set up and leaves no room for trimming errors to affect your content.
Bleed is required when design elements intentionally extend to the edge of the page with no white border. Coloring books with border-to-border illustrations, activity pages with full-page background patterns, and decorative pages where the design fills the entire surface need bleed. When bleed is enabled, KDP requires an additional 0.125 inches on each edge of the page — your manuscript dimensions increase by 0.25 inches in both width and height. For an 8.5 by 11 inch trim with bleed, your manuscript pages must be 8.75 by 11.25 inches.
The bleed area is the zone that gets trimmed off during book manufacturing. Content in this zone may or may not appear in the final product depending on trimming precision. Never place important content — text, answer spaces, puzzle grids, or instructions — in the bleed zone. Only extend background colors, patterns, or decorative illustration elements into the bleed area.
If your book has a mix of bleed and no-bleed pages (for example, coloring pages with full-bleed illustrations alternating with puzzle pages that have white borders), set the entire manuscript to bleed and ensure that your no-bleed pages have content positioned within the standard margin boundaries. You cannot mix bleed settings within a single manuscript — it is all bleed or all no-bleed.
A common mistake is setting bleed but not extending content to the trim edge. This creates an uneven white border that looks like a printing error rather than a design choice. If you enable bleed, ensure every page has content extending fully into the bleed zone on all edges where you want edge-to-edge printing.
5
Export Print-Ready PDFs at 300 DPI
KDP requires PDF files for both the interior manuscript and the cover. The PDF must meet specific technical standards for print reproduction, and failing any of these standards triggers upload errors or produces poor print quality.
Resolution must be at least 300 DPI (dots per inch) for all images and graphical elements. This is a hard requirement for professional print quality. Screen resolution is typically 72 or 96 DPI, so images that look sharp on your monitor will appear blurry and pixelated in print if not created or exported at 300 DPI. When using worksheet generators, export at the maximum resolution available. When placing images, verify their actual DPI at their placed size — a 300 DPI image at its original size becomes 150 DPI if you scale it to twice its width.
Fonts must be embedded in the PDF. If fonts are not embedded, KDP either rejects the file or substitutes default fonts that destroy your layout. Most PDF export tools have an "embed all fonts" option — enable it. When exporting from design software, look for a Print or Press Quality export preset that handles font embedding automatically. If you use custom or uncommon fonts, verify after export by opening the PDF and checking that text appears correctly.
Color mode should be grayscale or CMYK for black-and-white interiors. RGB color mode is for screens, not print. If you export in RGB, colors may shift unpredictably when KDP converts for printing. For black-and-white worksheet books, export in grayscale — this also produces smaller file sizes. For books with color elements, use CMYK color mode. KDP accepts RGB files but converts them to CMYK internally, which can cause color shifts.
PDF file size has a practical limit of 650 MB for the interior file and 40 MB for the cover. Worksheet books rarely approach these limits, but books with many high-resolution images can get large. If your file is too large, check for unnecessarily high-resolution decorative elements or images with resolution far beyond 300 DPI.
Flatten all transparency before export. Transparency effects (drop shadows, semi-transparent overlays, blend modes) can cause rendering issues in print. Your PDF export settings should include a transparency flattening option — use it. A flattened PDF contains only solid elements that print predictably.
After export, open your PDF and review every page at 100 percent zoom. Check that text is sharp, images are clear, margins are consistent, and no content extends beyond your intended boundaries. This review catches issues that are much harder to fix after upload.
6
Design KDP-Compliant Covers
KDP covers have precise dimensional requirements calculated from your book's trim size, page count, and paper type. An incorrectly sized cover is the single most common reason for KDP manuscript rejection.
The cover is submitted as a single PDF containing the back cover, spine, and front cover in one continuous image. The total width equals: back cover width plus spine width plus front cover width plus 0.25 inches (for 0.125-inch bleed on each side). The total height equals the trim height plus 0.25 inches (for 0.125-inch bleed on top and bottom). Cover bleed is always required regardless of your interior bleed setting.
Spine width depends on page count and paper type. For white paper (standard for most worksheet books), the formula is: page count multiplied by 0.002252 inches. A 60-page book has a spine width of approximately 0.135 inches. A 100-page book has approximately 0.225 inches. A 150-page book has approximately 0.338 inches. For cream paper, multiply by 0.0025 instead. KDP provides a cover calculator tool that computes exact dimensions — use it rather than calculating manually to avoid rounding errors.
For an 8.5 by 11 inch book with 80 pages on white paper: spine width equals 80 times 0.002252, which is approximately 0.18 inches. Total cover width equals 8.5 plus 0.18 plus 8.5 plus 0.25, which is 17.43 inches. Total cover height equals 11 plus 0.25, which is 11.25 inches. Your cover PDF must be exactly these dimensions.
Safe zones on the cover are critical. Keep all essential text and design elements at least 0.25 inches away from the trim edges and at least 0.0625 inches from the spine fold on both sides. The spine area itself is unreliable for text on books under 100 pages because the narrow spine makes text alignment unpredictable during manufacturing. For books under 79 pages, KDP does not allow spine text at all.
The back cover must leave a clear barcode zone in the lower right area — a rectangle approximately 2 inches wide by 1.2 inches tall. KDP places the ISBN barcode here during printing. Any design elements beneath the barcode will be hidden. Plan your back cover layout with this zone reserved.
Export the cover at 300 DPI in CMYK color mode (covers are always printed in color even for black-and-white interior books). Embed all fonts. The cover PDF should be a single page, not multiple pages.
7
Assemble the Complete Manuscript
A complete KDP manuscript is a single PDF file containing every page of your book in the correct order. KDP prints exactly what you submit — there is no automated page insertion, numbering, or formatting. Every element must be present in your PDF.
The manuscript structure for a worksheet book follows this standard order: title page (page 1), copyright page (page 2), table of contents or how-to-use page (page 3), optional introduction or instructions (page 4), activity pages organized by section (the bulk of the book), solutions or answer key section (near the end), and back matter including an about-the-author page and a list of your other titles (final pages).
The title page should include the book title, subtitle, and author or publisher name. Keep it clean and professional — this is the first page a buyer sees when they use Amazon's Look Inside preview. The copyright page includes the copyright notice, year, publisher name, and a statement about reproduction rights. If your book uses images from generators under a commercial license, this is where you note that.
The table of contents is essential for books organized into sections. For a math workbook with Addition, Subtraction, and Mixed sections, list each section with its starting page number. For a puzzle book with Easy, Medium, and Hard sections, list difficulty levels with page numbers. Activity book buyers use the table of contents to navigate directly to their desired section rather than flipping through pages.
Page count requirements for KDP paperbacks are a minimum of 24 pages and a maximum of 828 pages. Most worksheet books fall between 40 and 150 pages. Page count must be even — if your content comes to an odd number, add a blank page at the end. KDP counts every page in the PDF including blank pages, front matter, and back matter.
Page numbering should start after the front matter. The title page, copyright page, and table of contents are typically unnumbered or numbered with lowercase Roman numerals. Activity pages start with Arabic numeral 1. Place page numbers consistently — centered at the bottom is the most common placement for activity books. Match solution page references to the actual page numbers in your final PDF.
Before export, verify your manuscript by scrolling through the entire PDF page by page. Confirm that page numbers are sequential and correct, solutions reference the right pages, section headers appear where expected, and no blank pages appear unintentionally in the middle of content sections.
8
Upload and Troubleshoot KDP Formatting Issues
The KDP upload process validates your manuscript against technical specifications and flags errors before publication. Understanding the most common errors saves significant time during the upload and review cycle.
The most frequent rejection reason is incorrect cover dimensions. Even a fraction of an inch off triggers a rejection. Always use KDP's cover calculator to generate exact dimensions for your specific page count and paper type. If you change your page count after creating the cover, you must recalculate and resize the cover because the spine width changes.
Low-resolution images cause quality warnings. KDP flags any image below 300 DPI at its printed size. If you receive this warning, identify the low-resolution images in your manuscript, replace them with higher-resolution versions, and re-export. Do not ignore resolution warnings — low-DPI images are visibly blurry in print and generate buyer complaints and returns.
Margin violations occur when content extends into the minimum margin zone. KDP's automated check highlights pages where text or images are too close to the edge. If you set generous margins as recommended in this guide, you should never encounter this error. If you do, check for elements that accidentally shifted during layout — a slightly rotated text box or an image placed a few pixels outside the content boundary.
Font embedding failures show as missing or substituted text in the KDP previewer. If your uploaded manuscript shows different fonts than your source file, re-export with the embed-all-fonts option enabled. Some design tools require you to outline or rasterize fonts as an alternative to embedding — this converts text to vector shapes that do not require font files.
After uploading, always use the KDP Online Previewer to review your manuscript page by page. The previewer shows exactly how your book will look in print. Check the first and last pages, all section transitions, pages with images, and the solutions section. Pay special attention to pages near the front and back of the book where binding curve is most pronounced.
Order a proof copy before approving for publication. The proof is a physical print of your actual book at cost price (typically 2 to 5 dollars plus shipping). No amount of digital preview substitutes for holding the printed book, opening it flat, and physically testing the activities. Write in the answer spaces. Circle words in the word search grids. Solve a math problem in the designated area. If anything feels cramped, hard to reach, or poorly aligned, fix it before publishing. A proof copy investment of a few dollars prevents negative reviews that permanently damage your book's reputation.