.webp)
.webp)
Tutorial
1
Open the Picture Sort Maker
Navigate to the Picture Sort Maker page and click the launch button to open the generator in your browser. The tool loads instantly with a settings sidebar on the left and a dual-tab canvas on the right — one tab for the worksheet, one for the answer key. No account creation, no software download, no installation required.
The dual-tab canvas is the core of the Picture Sort generator. The worksheet tab shows the two-category sorting layout that solvers will use, while the answer key tab shows the solution with images sorted into their correct groups. Both tabs generate simultaneously when you click Generate, so you never need to create answer keys manually.
Take a moment to explore the sidebar panels. The Sorting Categories panel controls your selection mode and category setup. The Image Library panel provides access to themed collections. The Page Setup panel handles layout and decoration options. These three panels contain everything you need to configure a complete sorting worksheet.
2
Choose Your Selection Mode
The Picture Sort Maker offers two distinct selection modes, and choosing the right one determines your production workflow.
Theme mode is designed for rapid bulk production. Select a theme for the left category and a different theme for the right category, and the app auto-populates four to six random images per theme from the image library. This creates worksheets with eight to twelve images total. Because image selection is randomized, clicking Generate again with the same themes produces a different worksheet with different images. This makes it fast to create bundles of fifteen to twenty unique sorting worksheets from a single theme pairing.
Manual mode is designed for content-aligned precision. You hand-select individual images from any theme and assign each one to the left or right category. This gives you complete control over exactly which images appear on the worksheet. Use manual mode when the specific images matter — for example, selecting only specific animals for a habitat sorting activity, or only specific foods for a nutrition classification lesson.
Theme mode is your volume tool. Manual mode is your precision tool. Most successful sorting worksheet sellers use both: theme mode to fill bundles quickly and manual mode to create premium, content library-specific products that command higher prices.
3
Configure Image Count and Category Balance
The total image count is your primary difficulty lever. Set the total number of sorting images from four to twelve, with each category holding between two and ten images.
For preschool sorting worksheets (ages three to five), use four to six total images with obvious category differences. Two animals and two foods, or three vehicles and three fruits — simple binary classification with minimal cognitive load. The cutout grid uses three columns at these lower counts, giving each image plenty of space.
For kindergarten sorting worksheets (ages five to six), use six to eight total images. The categories can share more visual similarity, and solvers handle more items to classify. Three farm animals and three wild animals is a good kindergarten-level challenge.
For elementary sorting worksheets (ages six to eight), use ten to twelve total images. The cutout grid adjusts to four columns at higher counts, maintaining clean visual spacing. More images mean more classification decisions, which increases both difficulty and content density.
In theme mode, the app automatically pulls four to six images per theme. In manual mode, you control exactly how many images go into each category. Uneven splits (three in one category, seven in the other) create additional challenge because solvers cannot rely on equal distribution as a sorting shortcut.
4
Select Images from the Library or Upload Custom
The Image Library panel gives you access to one hundred and four themed collections with over three thousand one hundred illustrations. Categories span animals, food, vehicles, nature, holidays, professions, sports, and dozens more.
In theme mode, selecting a theme for each category is all you need — the app handles image selection automatically. Browse themes using the dropdown menu or search by keyword to find the right pairing.
In manual mode, browse or search for individual images and click to add them to your worksheet. As you select each image, assign it to the left or right category. This is where manual mode shines: you can mix images from different themes to create cross-category sorting activities that would be impossible in theme mode.
You can also upload custom PNG, JPG, or GIF images to create personalized sorting worksheets. Custom uploads work in manual mode, where you assign each uploaded image to a category. This is valuable for creating sorting worksheets with store photos, brand-specific illustrations, or custom artwork that no competitor can replicate.
The image library is language-sensitive. Category labels use localized image names, so switching the app language changes the text on your worksheet. A cat image appears as "Cat" in English, "Katze" in German, and "Chat" in French. This makes multilingual product creation effortless.
5
Set Page Layout and Decorations
In the Page Setup section, select your page size. Options include Letter Portrait, Letter Landscape, A4 Portrait, A4 Landscape, Square (twelve hundred by twelve hundred pixels), and custom dimensions. Letter is standard for North American buyers. A4 is standard for European and international markets. Creating both versions doubles your market reach with minimal additional effort.
Background and border themes work independently, each with its own opacity slider ranging from zero to one in increments of zero point zero five. Apply a subtle background pattern at fifteen to twenty-five percent opacity for visual warmth without distracting from the sorting content. Layer a decorative border at eighty to one hundred percent opacity for a polished frame. Consistent background and border combinations across a bundle create a cohesive product look that buyers associate with quality.
Check the "Include Name/Date Fields" checkbox to add name and date lines to the worksheet. Buyers strongly prefer worksheets with these fields for structured tracking. Always include them in products targeting practical use.
Customize text with seven font options including Lexend Deca, Baloo 2, Nunito, Quicksand, Fredoka, Arial, and Verdana. Add a text outline from zero to ten for additional styling. These options let you add custom titles, instructions, or branding to your sorting worksheets.
6
Generate the Sorting Worksheet
Click Generate to create the two-part sorting layout. The generator arranges your content into two distinct sections.
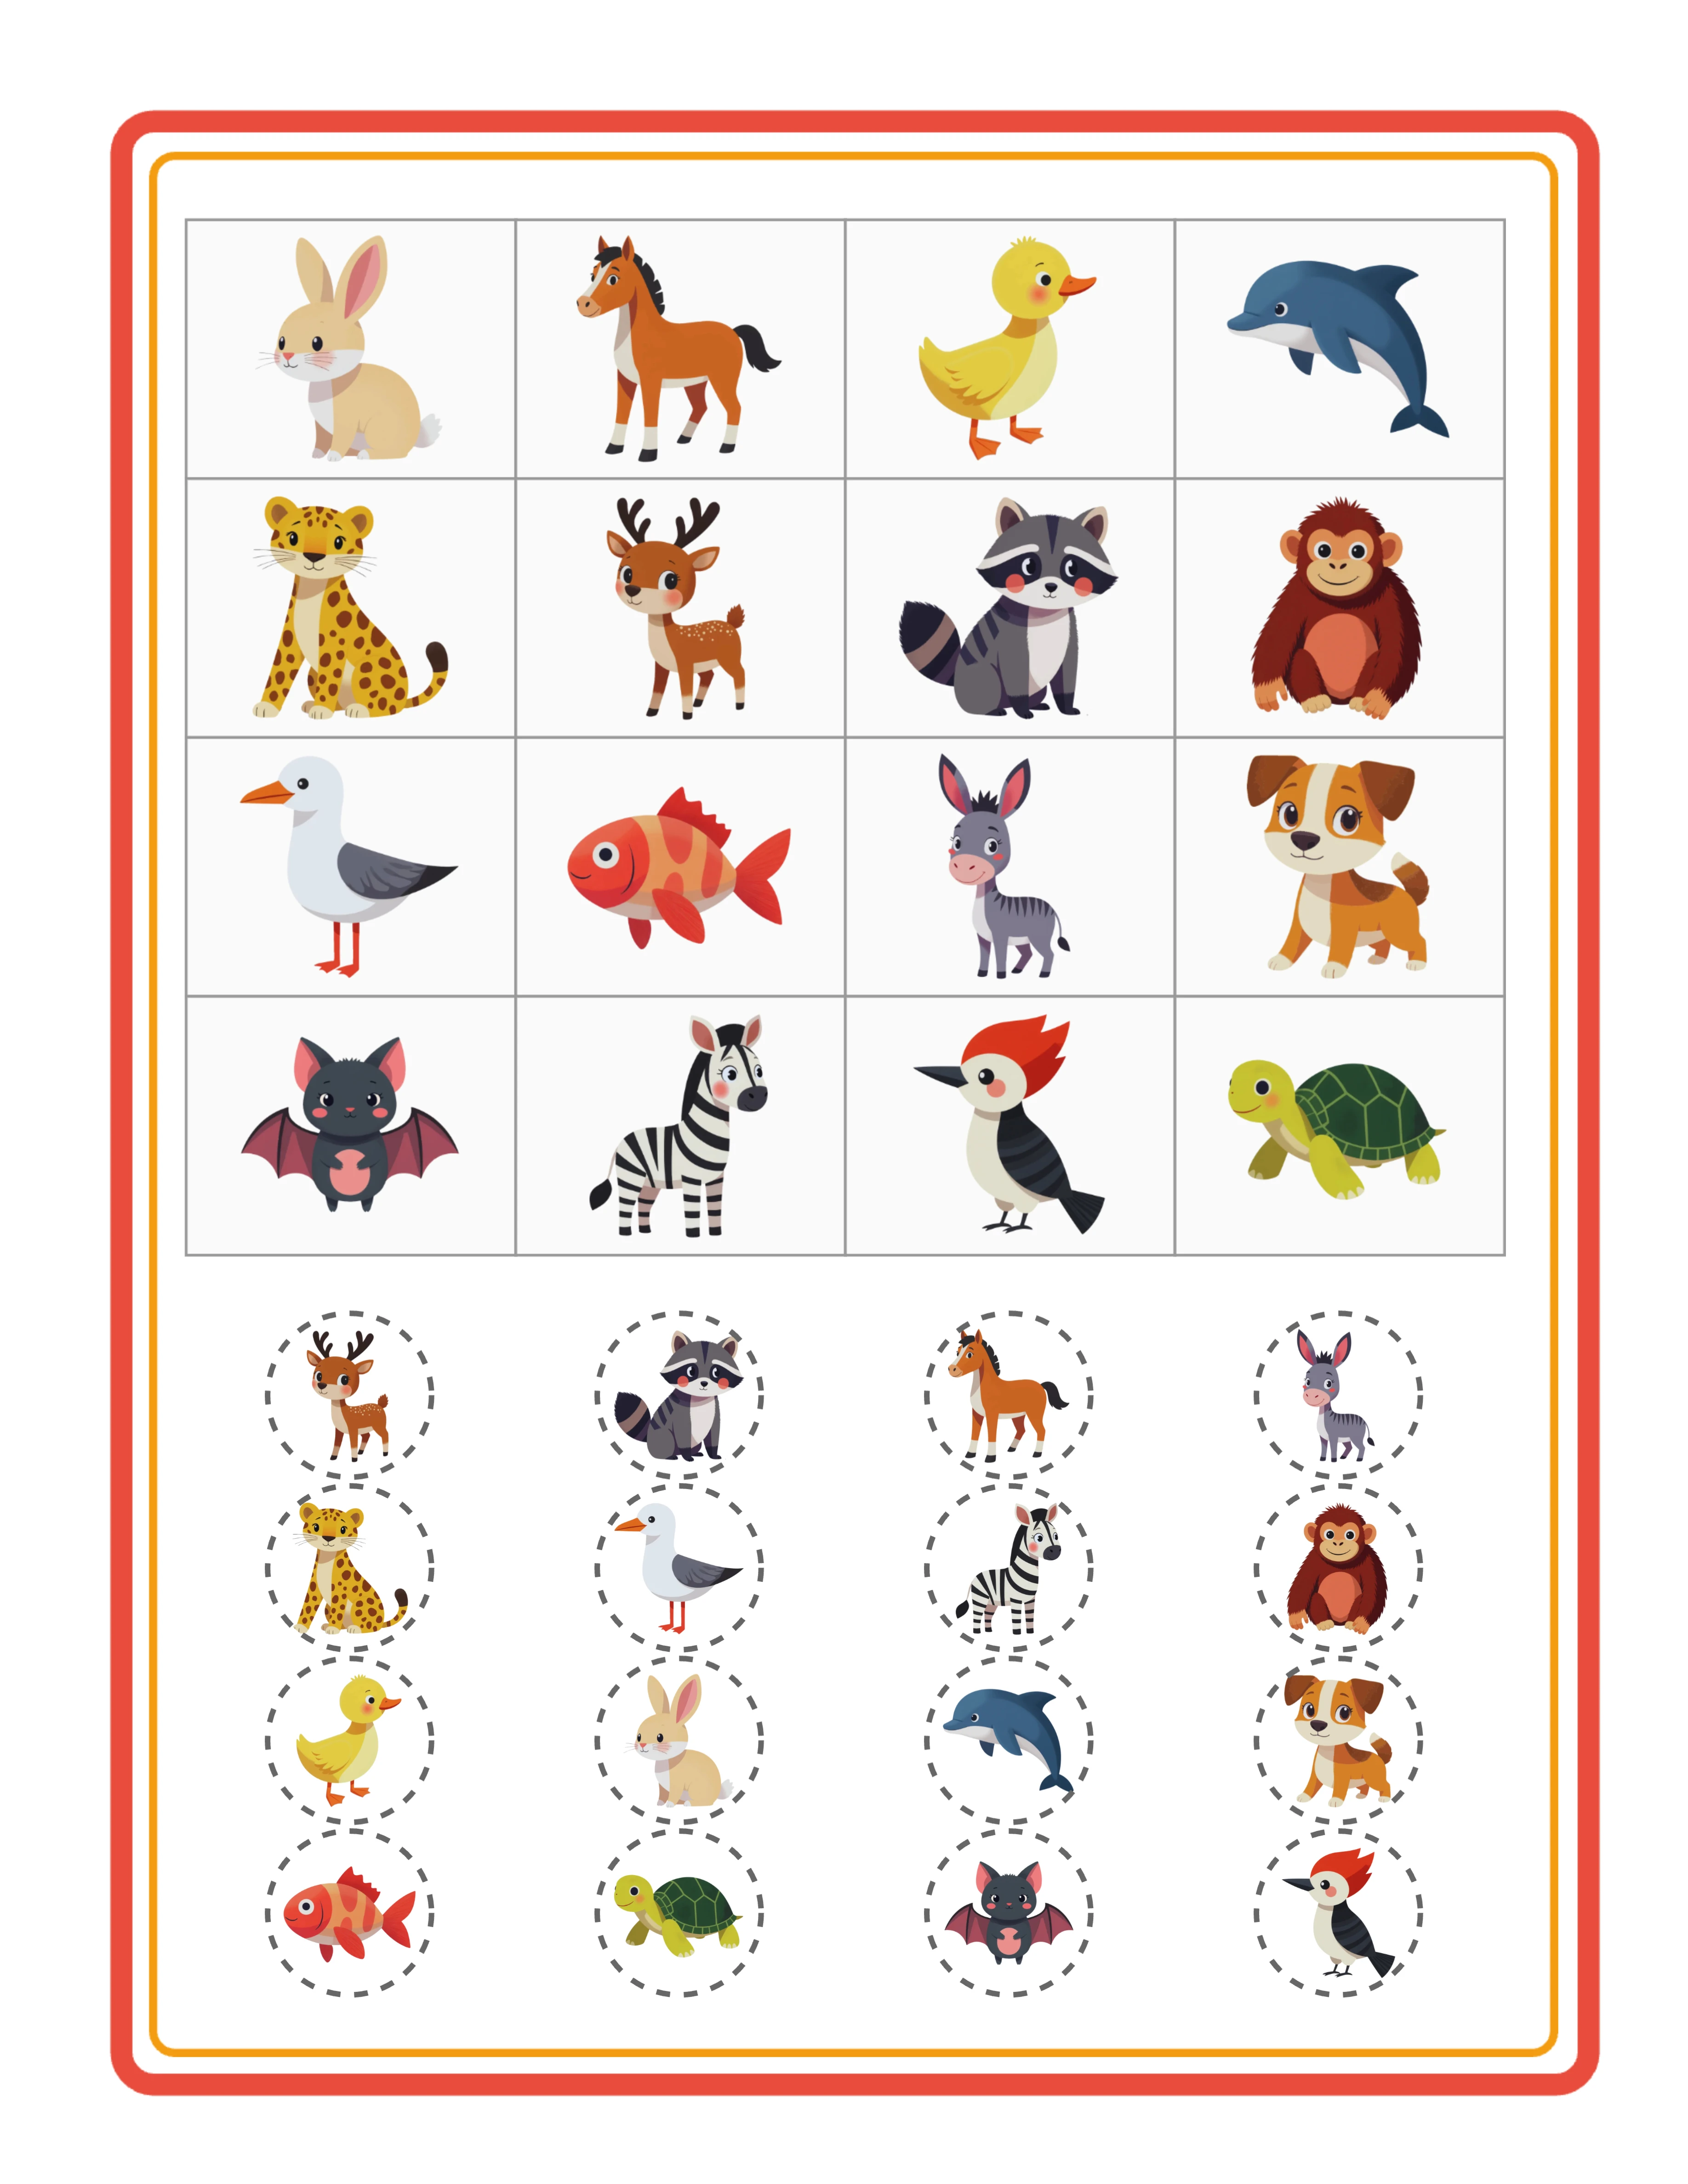
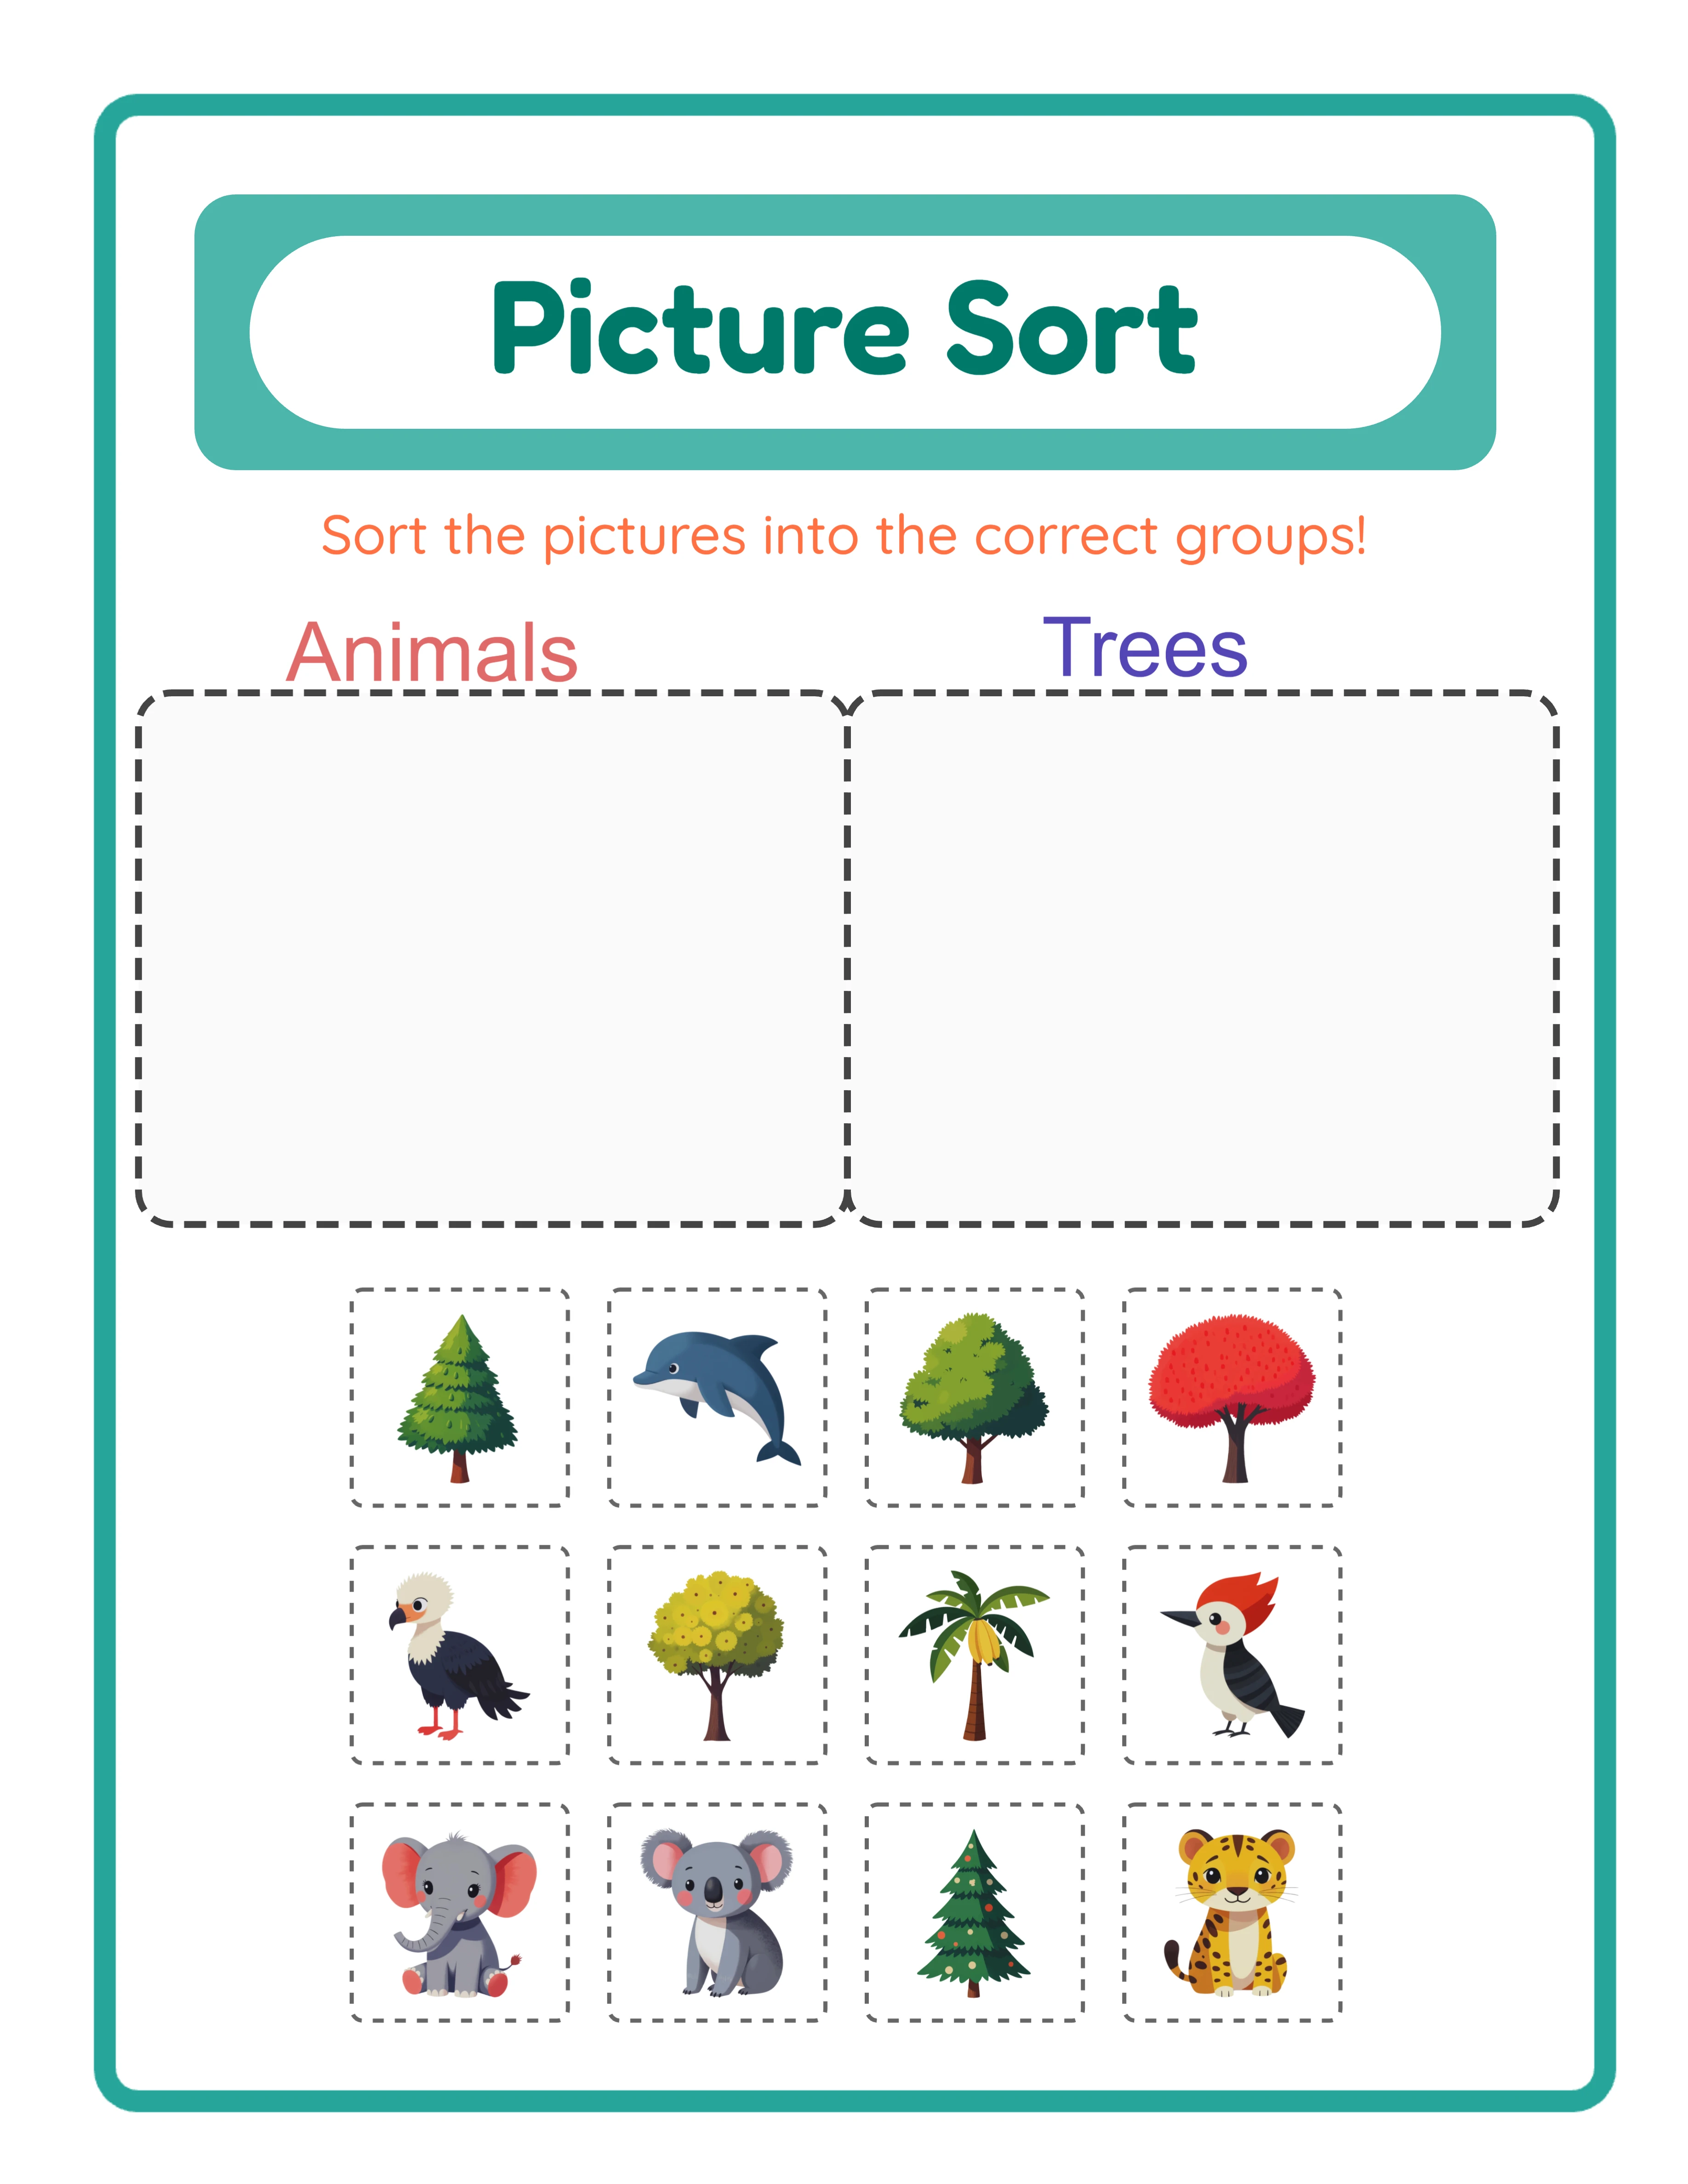
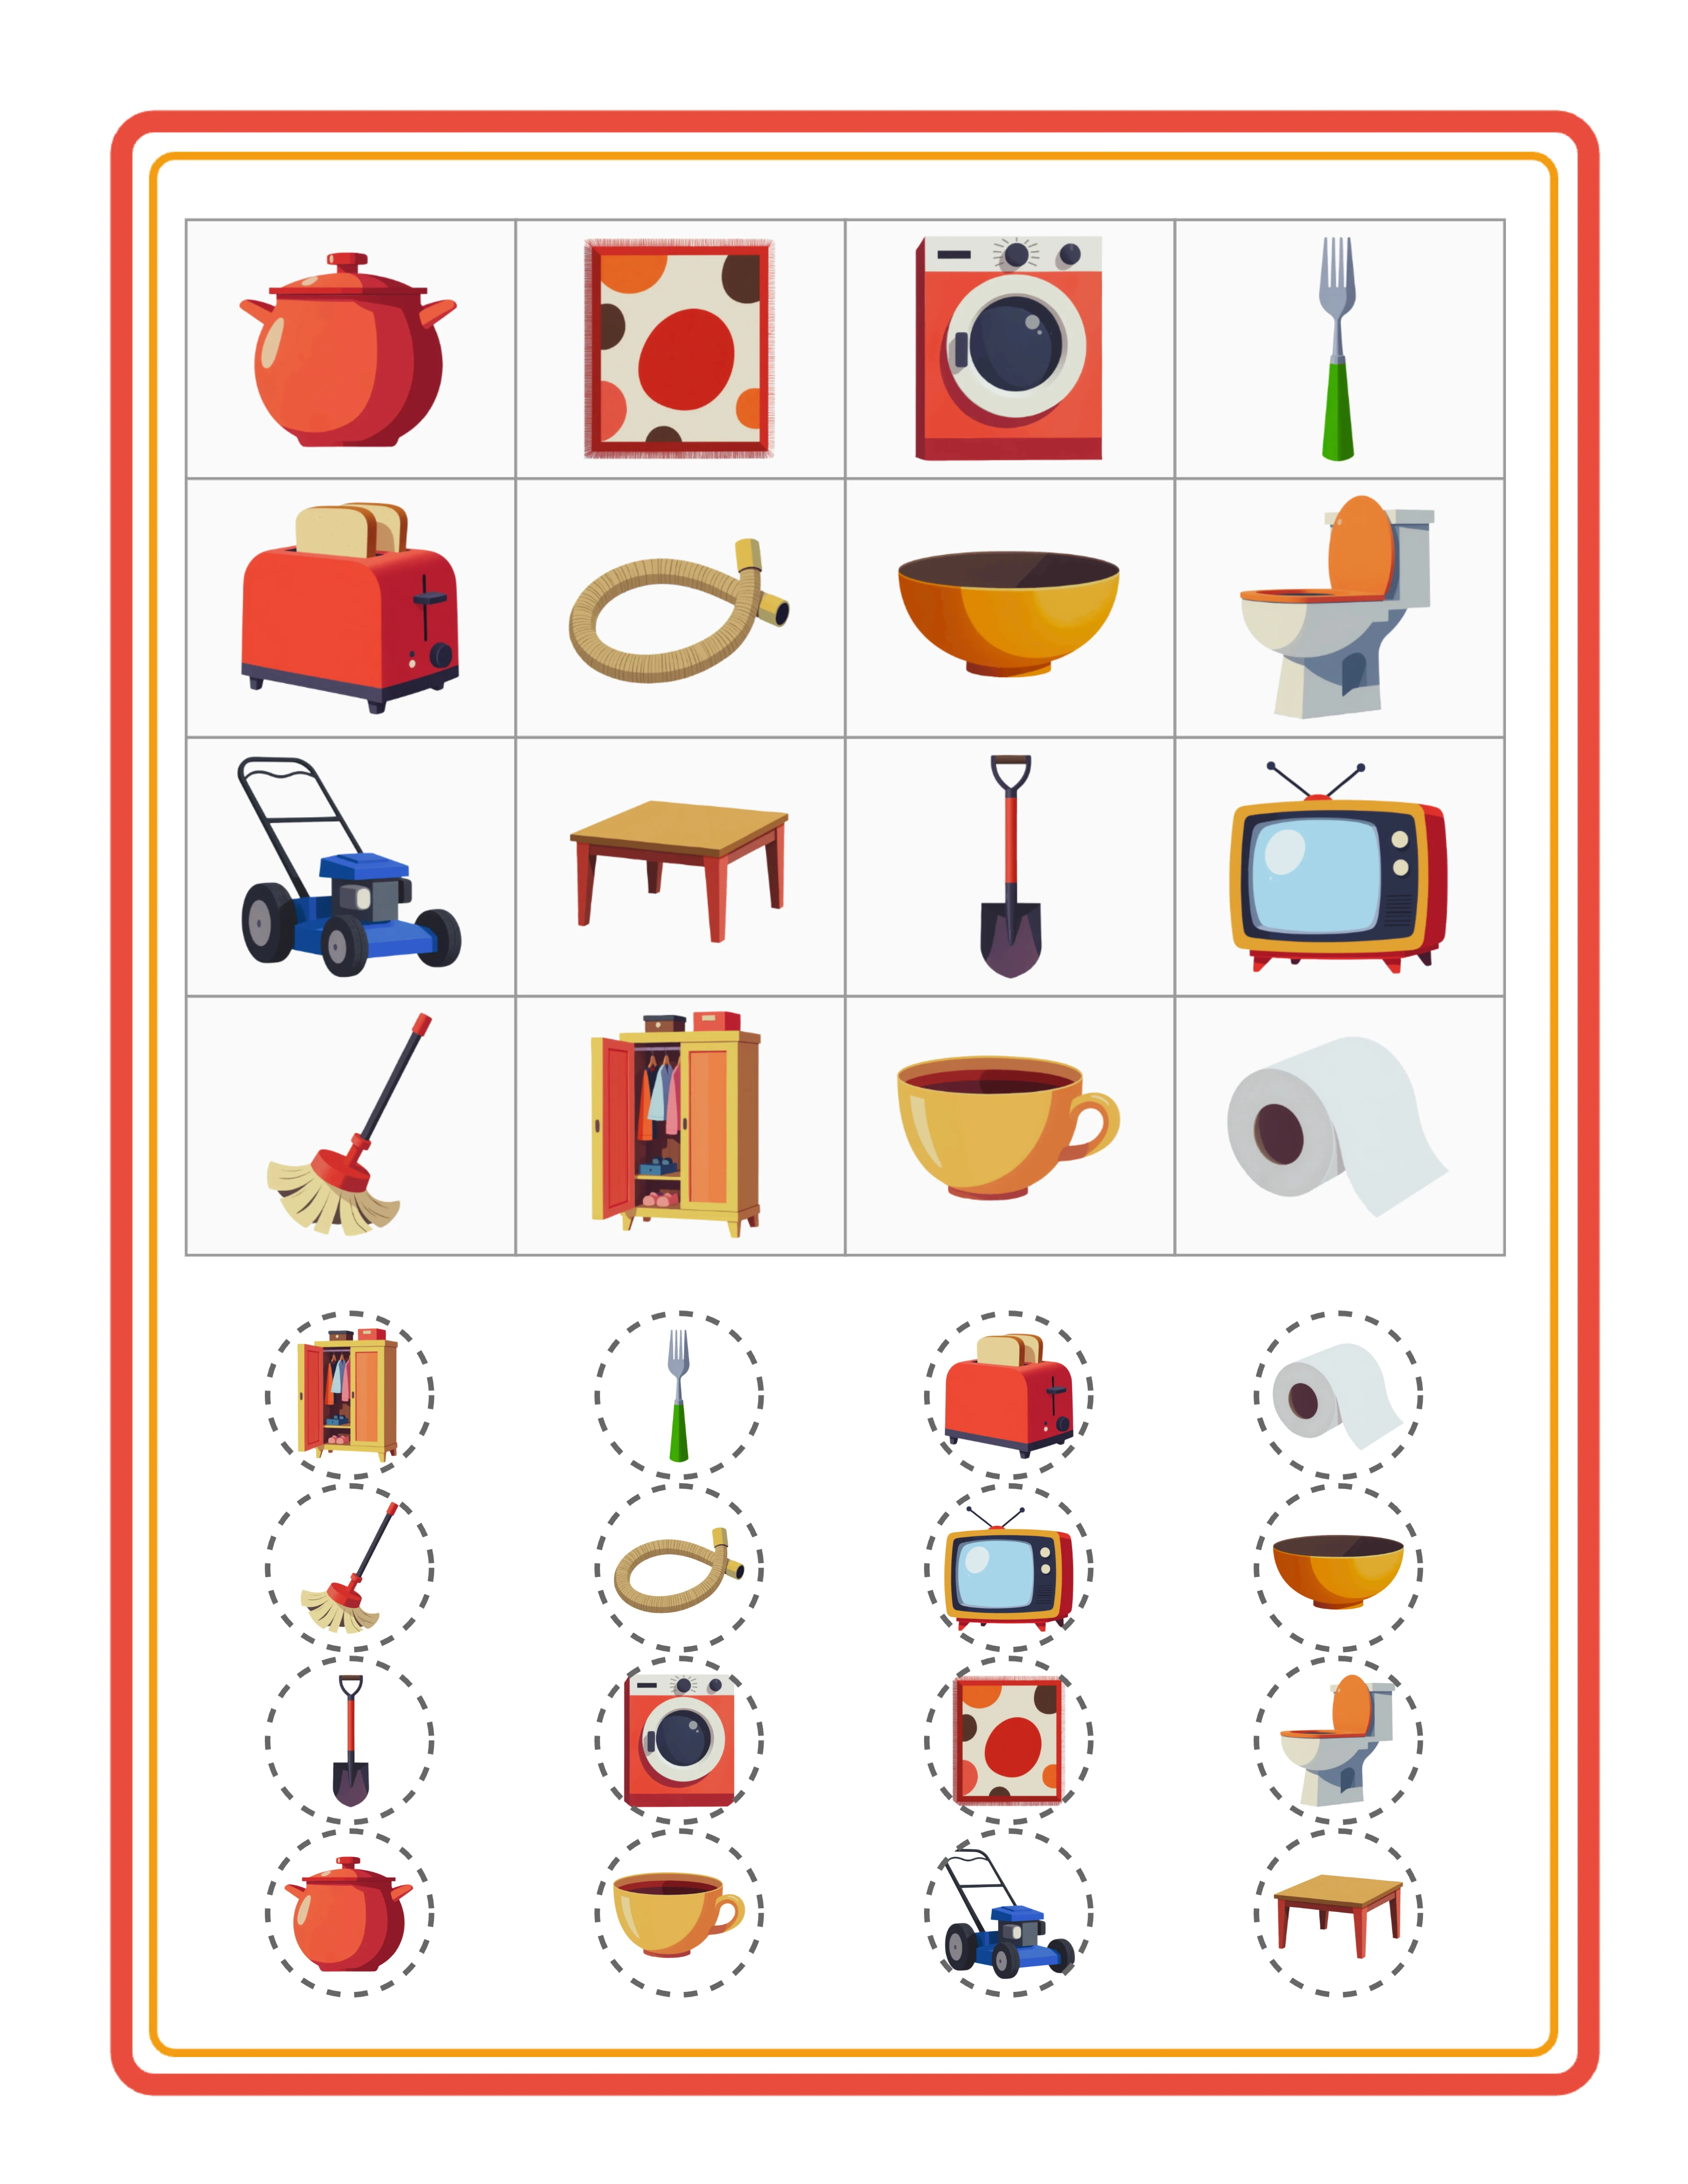
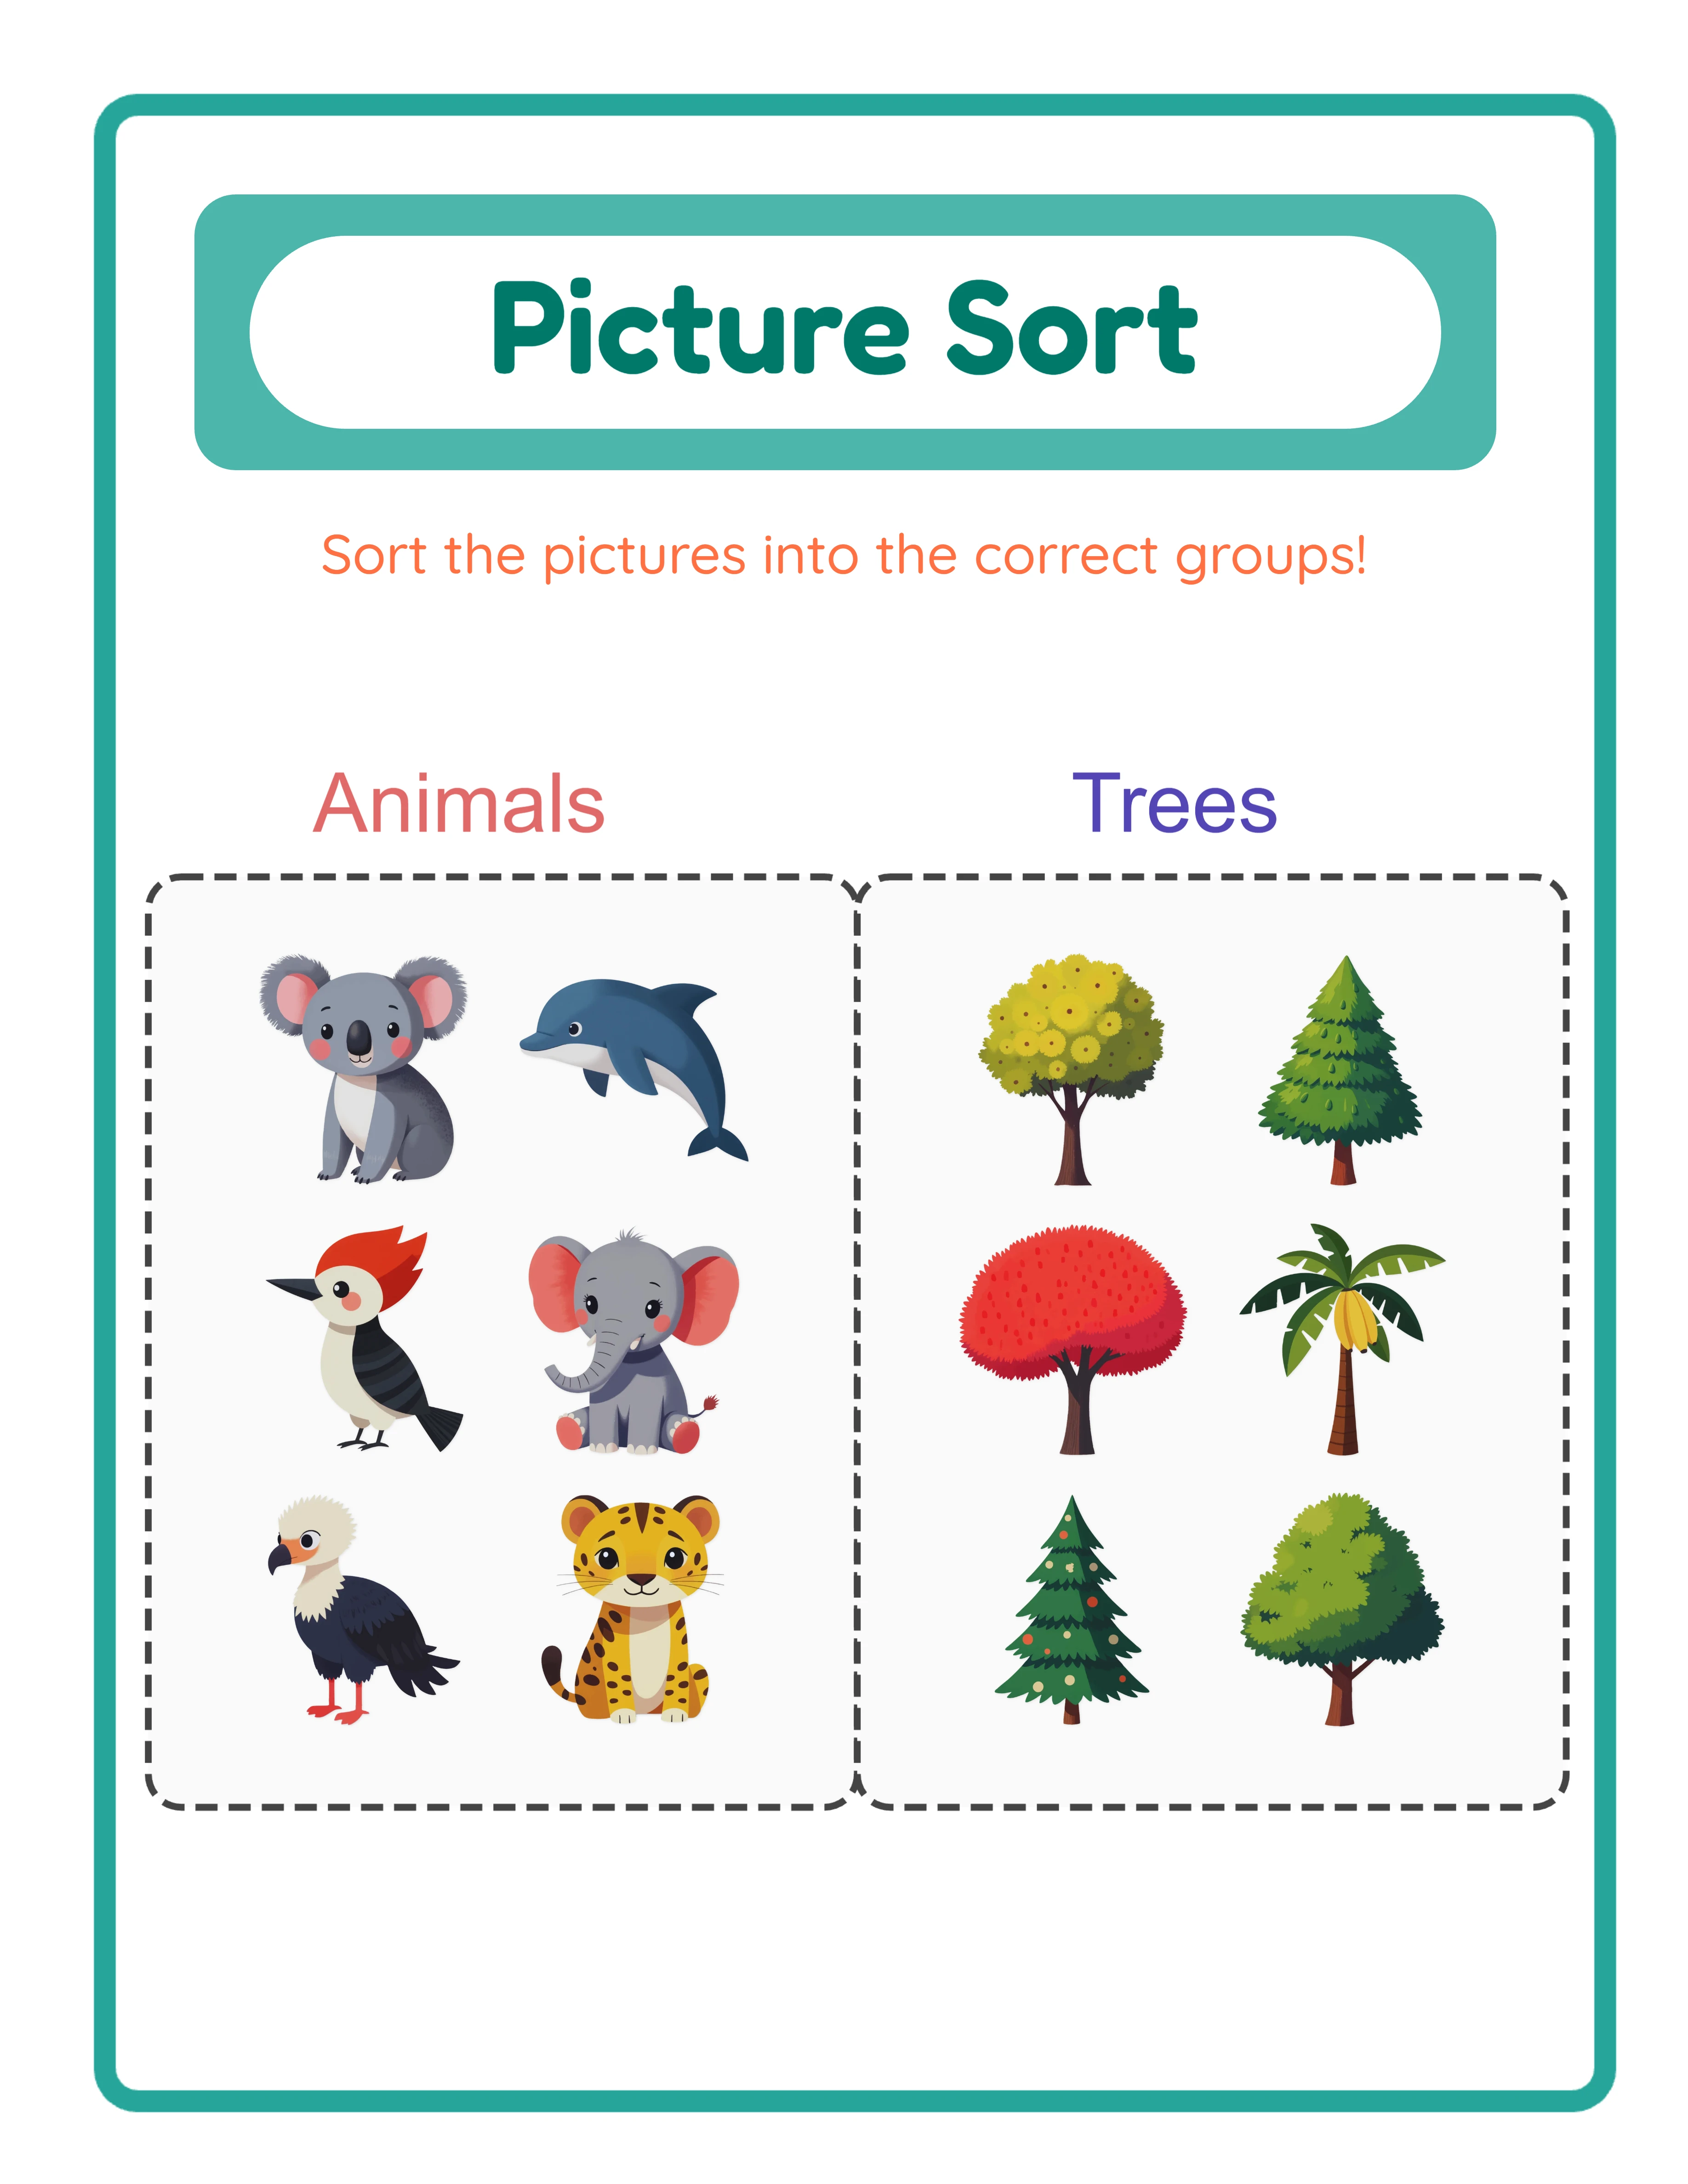
At the top, two side-by-side dashed-border category frames serve as sorting destinations. Each frame has a light background fill and a category label identifying what belongs inside. Solvers will place their cut-out images into the correct frame during the sorting activity.
Below the category frames, a shuffled cutout grid displays all selected images in randomized order. Images appear in white cells with dashed borders and rounded corners, arranged in three to four columns based on total image count. Each image fills eighty-five percent of its cell, leaving visible borders for cutting. The shuffling ensures solvers must actively classify each image rather than copy a positional pattern.
A styled header renders automatically at the top of the page with a mint green background, teal title in Fredoka Bold font, and orange description in Quicksand font. The header text translates automatically into all eleven supported languages.
A teal outer border frames the entire page, giving the worksheet a polished, professional appearance. Examine the preview carefully: check that images are clearly visible in the cutout grid, category labels are readable, and the overall layout looks balanced. If anything needs adjustment, modify your settings and regenerate instantly.
7
Review the Auto-Generated Answer Key
Click the Answer Key tab to see the auto-generated solution. The answer key displays two category boxes, one per category and equal in width, with images sorted into their correct group. Images in the answer key are rendered at six times the size of the cutout grid cells, making them large and easy to read for quick verification.
Each category box uses a maximum of two columns with a light fill, dashed stroke, and rounded border radius. The layout makes it immediately clear which images belong in each category. Switch between the Worksheet and Answer Key tabs to compare and verify the sorting solution matches your intent.
The answer key generates simultaneously with the worksheet — no manual creation step, no separate design process, no possibility of mismatched answers. This simultaneous generation is a significant time saver. Creating answer keys manually for sorting worksheets is tedious and error-prone, especially for large bundles. The auto-generated answer key eliminates this entire step.
For product listings, the answer key is a selling point. Products that include answer keys consistently outsell worksheets-only listings because buyers want self-checking materials. Always mention "includes answer key" in your listing titles and descriptions.
8
Download All Four Files
The Picture Sort Maker produces four files per session: worksheet JPEG, worksheet PDF, answer key JPEG, and answer key PDF. Each tab has its own pair of download buttons. All files render at three hundred DPI for print-ready output.
Toggle grayscale before downloading for ink-friendly versions ideal for bulk printing and Amazon KDP interiors. Grayscale sorting worksheets maintain visual clarity while reducing printing costs for sellers and keeping KDP printing expenses low.
For marketplace listings, export both the PDF (as your deliverable product) and a JPEG (for listing preview images). Buyers want to see exactly what they are purchasing before they buy. Show both the worksheet and the answer key in your listing images.
To build a complete product bundle, switch themes, adjust image counts, or toggle between theme and manual modes and regenerate. Each generation produces a fresh set of four files. Ten generation sessions give you forty production-ready files — a complete sorting worksheet bundle ready for listing.
Important: the free trial with watermark produces fully functional exports with a visible watermark overlay. This lets you evaluate print quality, verify formatting, and create test prints before purchasing a commercial license. The commercial license removes the watermark from all exports, producing clean files ready for sale.
.webp)
.webp)


.webp)