Tutorial
1
Choose an Email Service Provider Suited for Digital Product Sellers
Your email service provider is the operational foundation of your entire email marketing system. The wrong choice creates friction at every step — clunky automation builders, limited segmentation options, poor deliverability, or pricing that becomes prohibitive as your list grows. The right choice makes every subsequent step in this guide easier to implement and more effective in practice. Evaluate providers based on the specific features that matter for printable product sellers rather than choosing based on general popularity or brand recognition.
The features that matter most for printable sellers differ from those that matter for bloggers, SaaS companies, or e-commerce stores selling physical products. Prioritize these capabilities in your evaluation: automation workflow builder (for welcome sequences and product launch sequences), subscriber tagging and segmentation (for sending targeted product recommendations), landing page builder (for creating opt-in pages for your lead magnets), digital file delivery (for automatically sending lead magnets to new subscribers), analytics dashboard (for tracking open rates, click rates, and revenue per email), and deliverability reputation (for ensuring your emails reach inboxes rather than spam folders).
Pricing structure is a critical evaluation factor because email marketing costs scale with your subscriber count. Some providers charge based on total subscribers across all lists, others charge per unique subscriber regardless of how many lists they appear on, and others charge based on emails sent rather than subscriber count. For printable sellers who typically send weekly or bi-weekly broadcasts, per-subscriber pricing usually works better than per-send pricing. Calculate your projected costs at 1,000 subscribers, 5,000 subscribers, and 10,000 subscribers to identify providers that remain affordable as your list grows. Some providers offer generous entry-level pricing that becomes expensive at scale, while others start higher but have more reasonable pricing tiers as you grow.
Test the automation builder specifically before committing to a provider. Create a simple test automation: when someone subscribes, send email 1 immediately, wait 2 days, send email 2, wait 2 days, check if they clicked a link in email 2, and branch the sequence based on that click. If this basic automation feels complicated or requires workarounds in the provider's builder, more complex sequences will be frustrating to build and maintain. The automation builder is the tool you will use most frequently, so its usability directly impacts how effectively you can implement the strategies in the rest of this guide.
Avoid selecting a provider based solely on a comparison blog post or recommendation. Most comparison articles are affiliate-driven and rank providers by commission rate rather than actual feature quality. Instead, sign up for trial accounts with two or three providers that match your feature requirements and test them hands-on. Send test emails to yourself, build a simple automation, create a landing page, and try the segmentation tools. Direct experience with the interface reveals usability issues that no review article can communicate.
2
Create a Lead Magnet That Attracts Your Target Buyer
A lead magnet is the incentive you offer in exchange for an email address. For printable sellers, the most effective lead magnets are sample products that demonstrate the quality and style of your paid catalog while being genuinely useful on their own. The lead magnet serves double duty: it grows your subscriber list and it pre-qualifies subscribers as people who are interested in exactly the type of products you sell. A subscriber who opts in for a sample math worksheet pack is demonstrably interested in math worksheets — making them a highly qualified prospect for your paid math products.
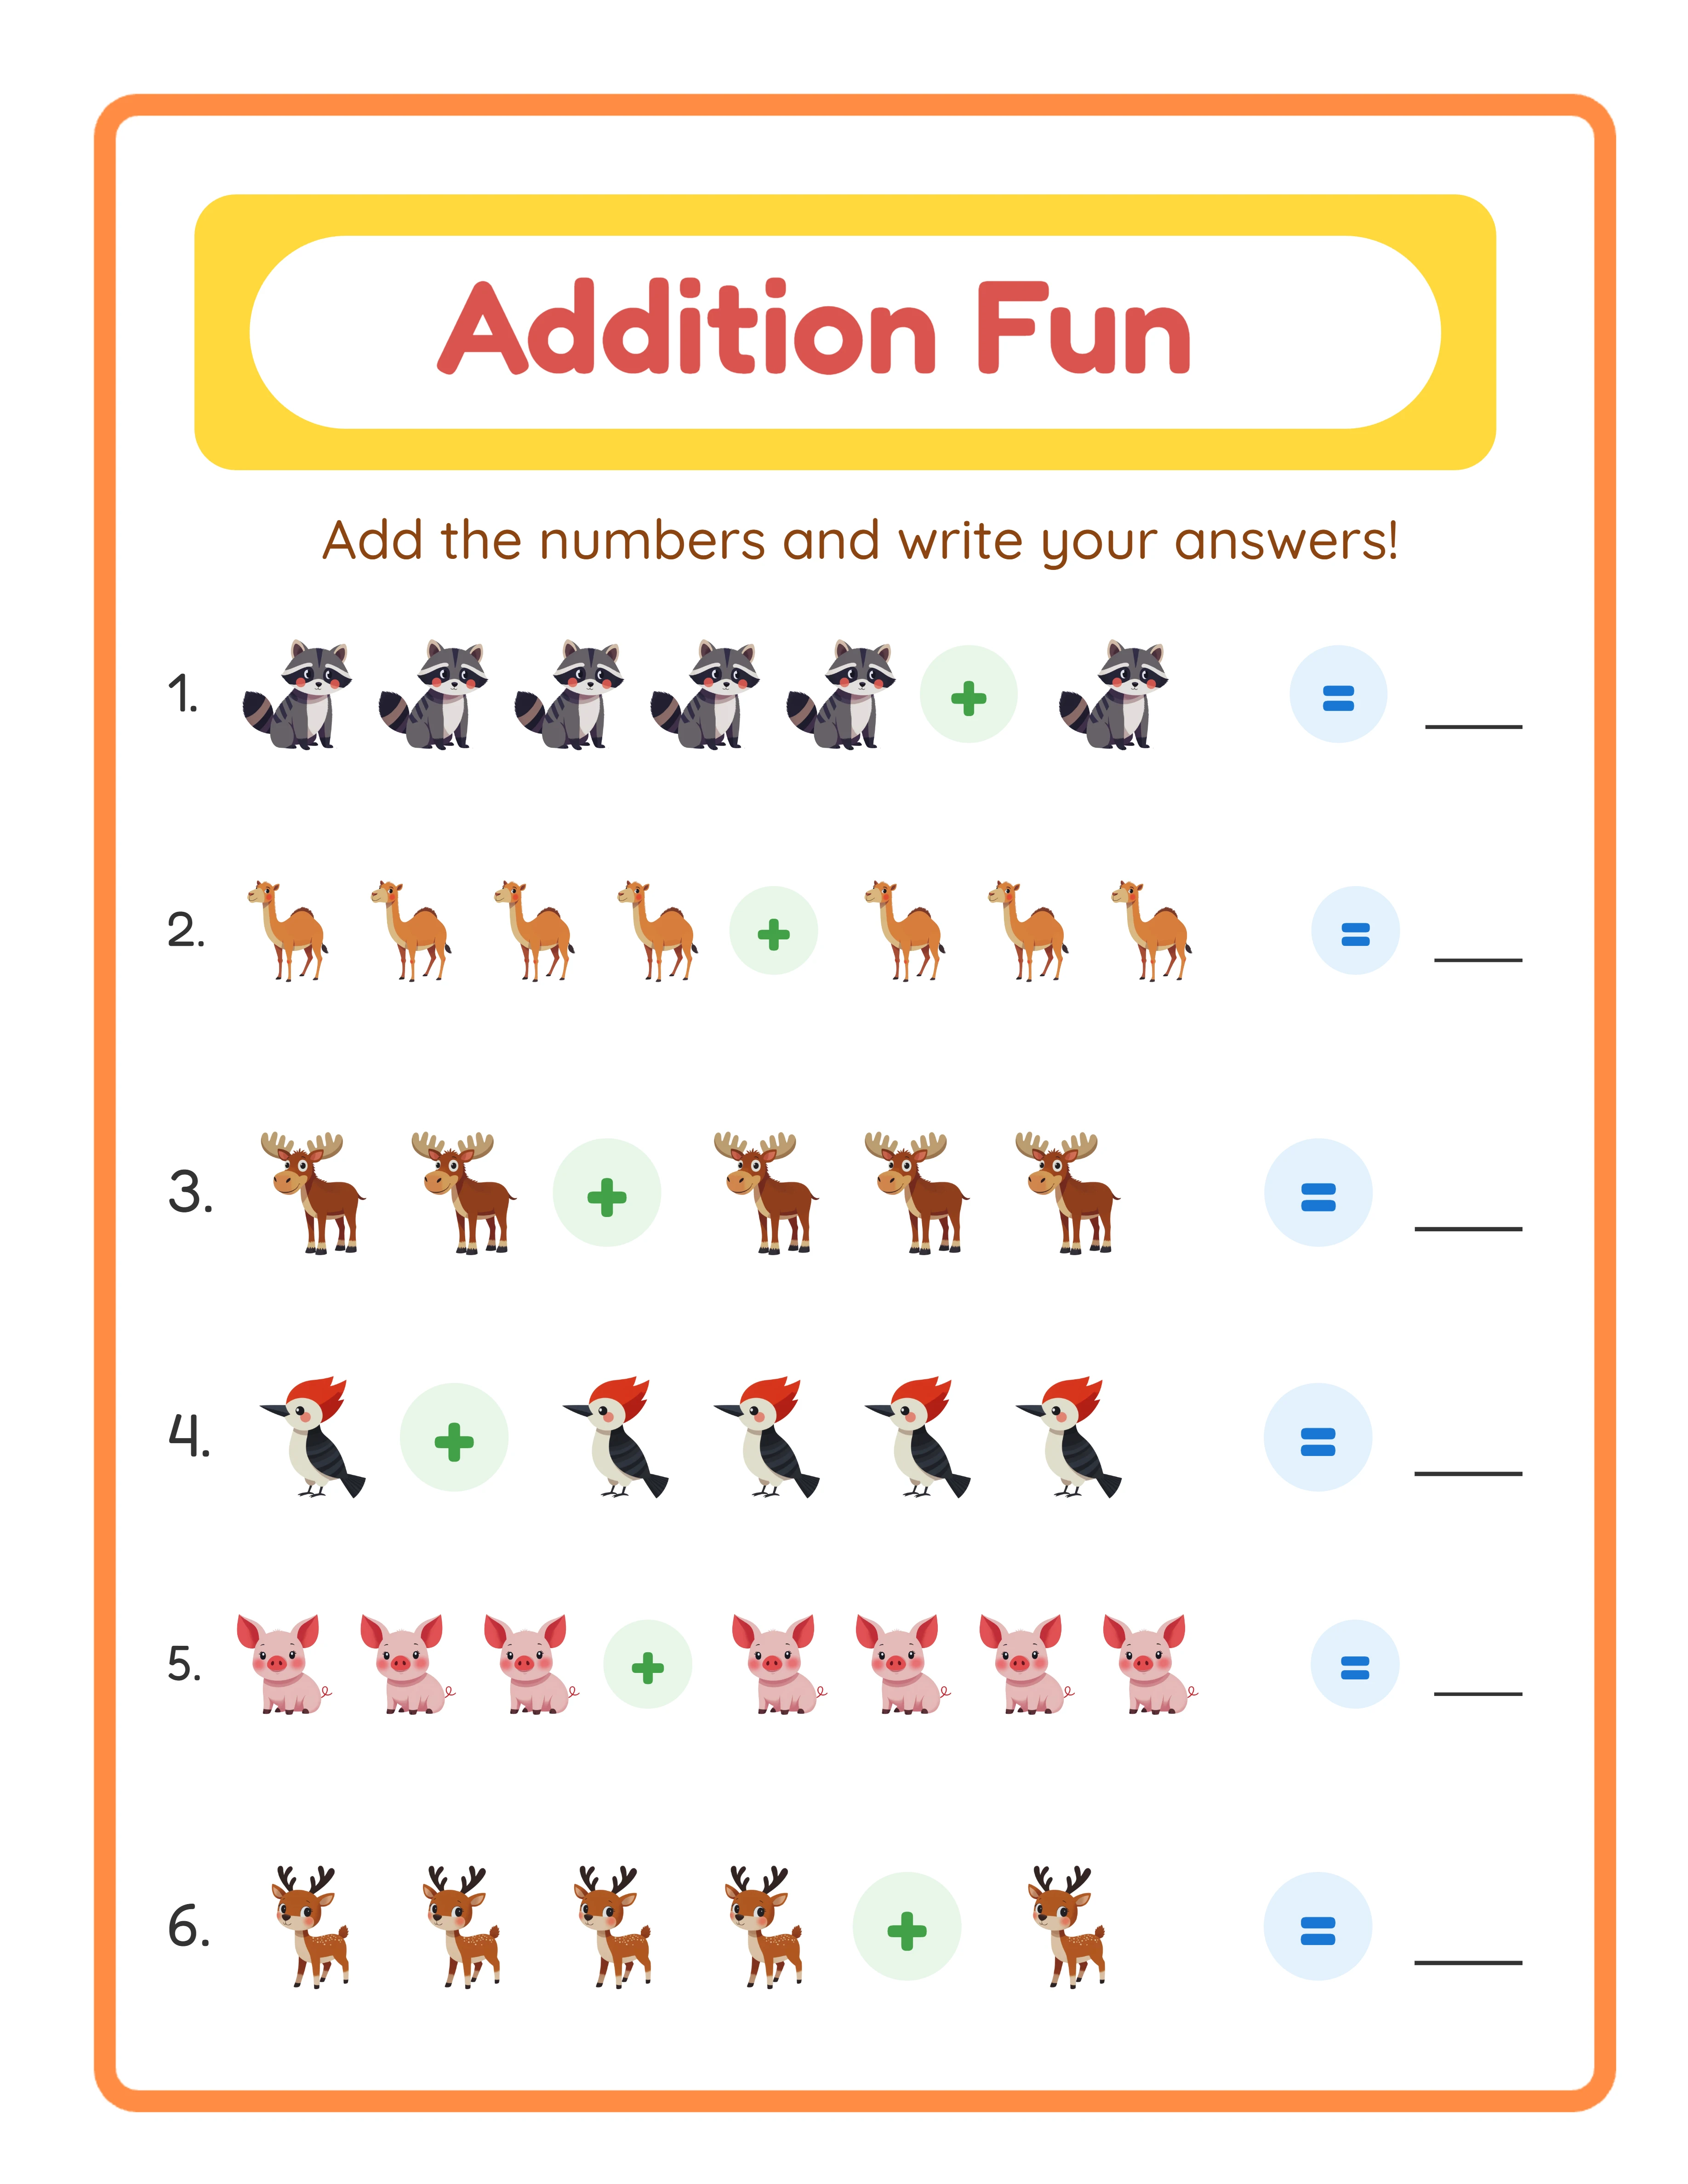
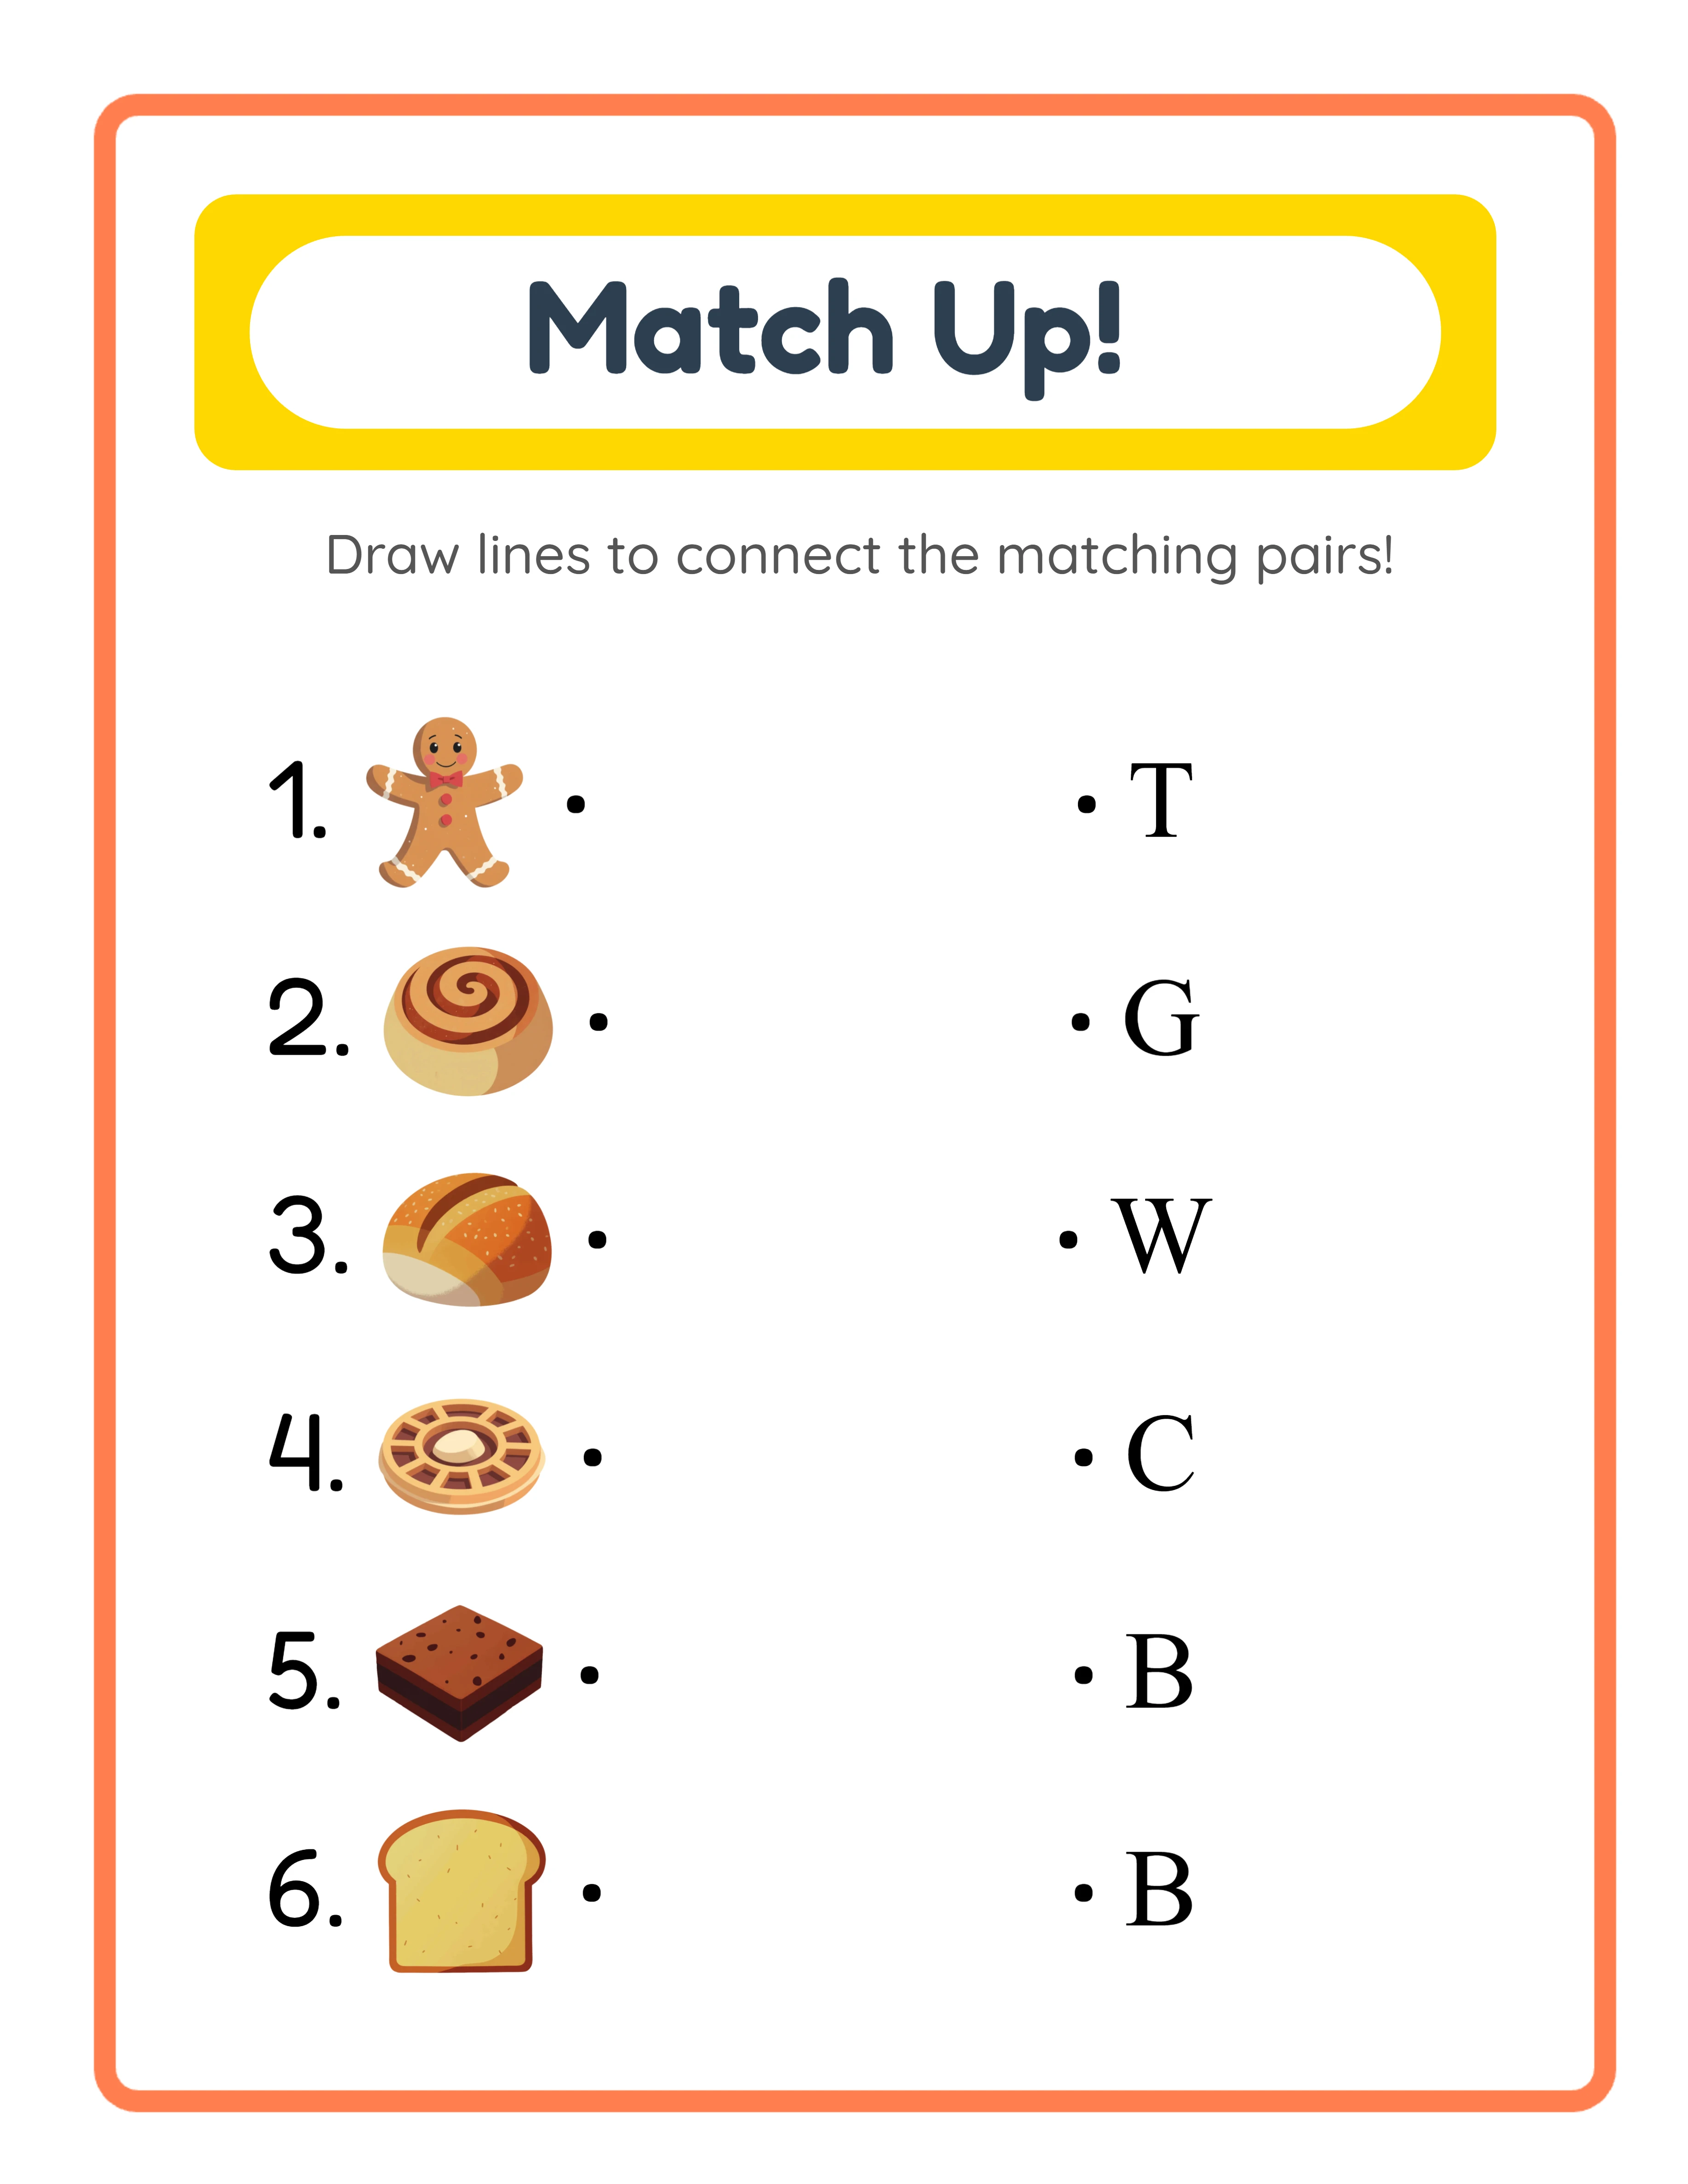
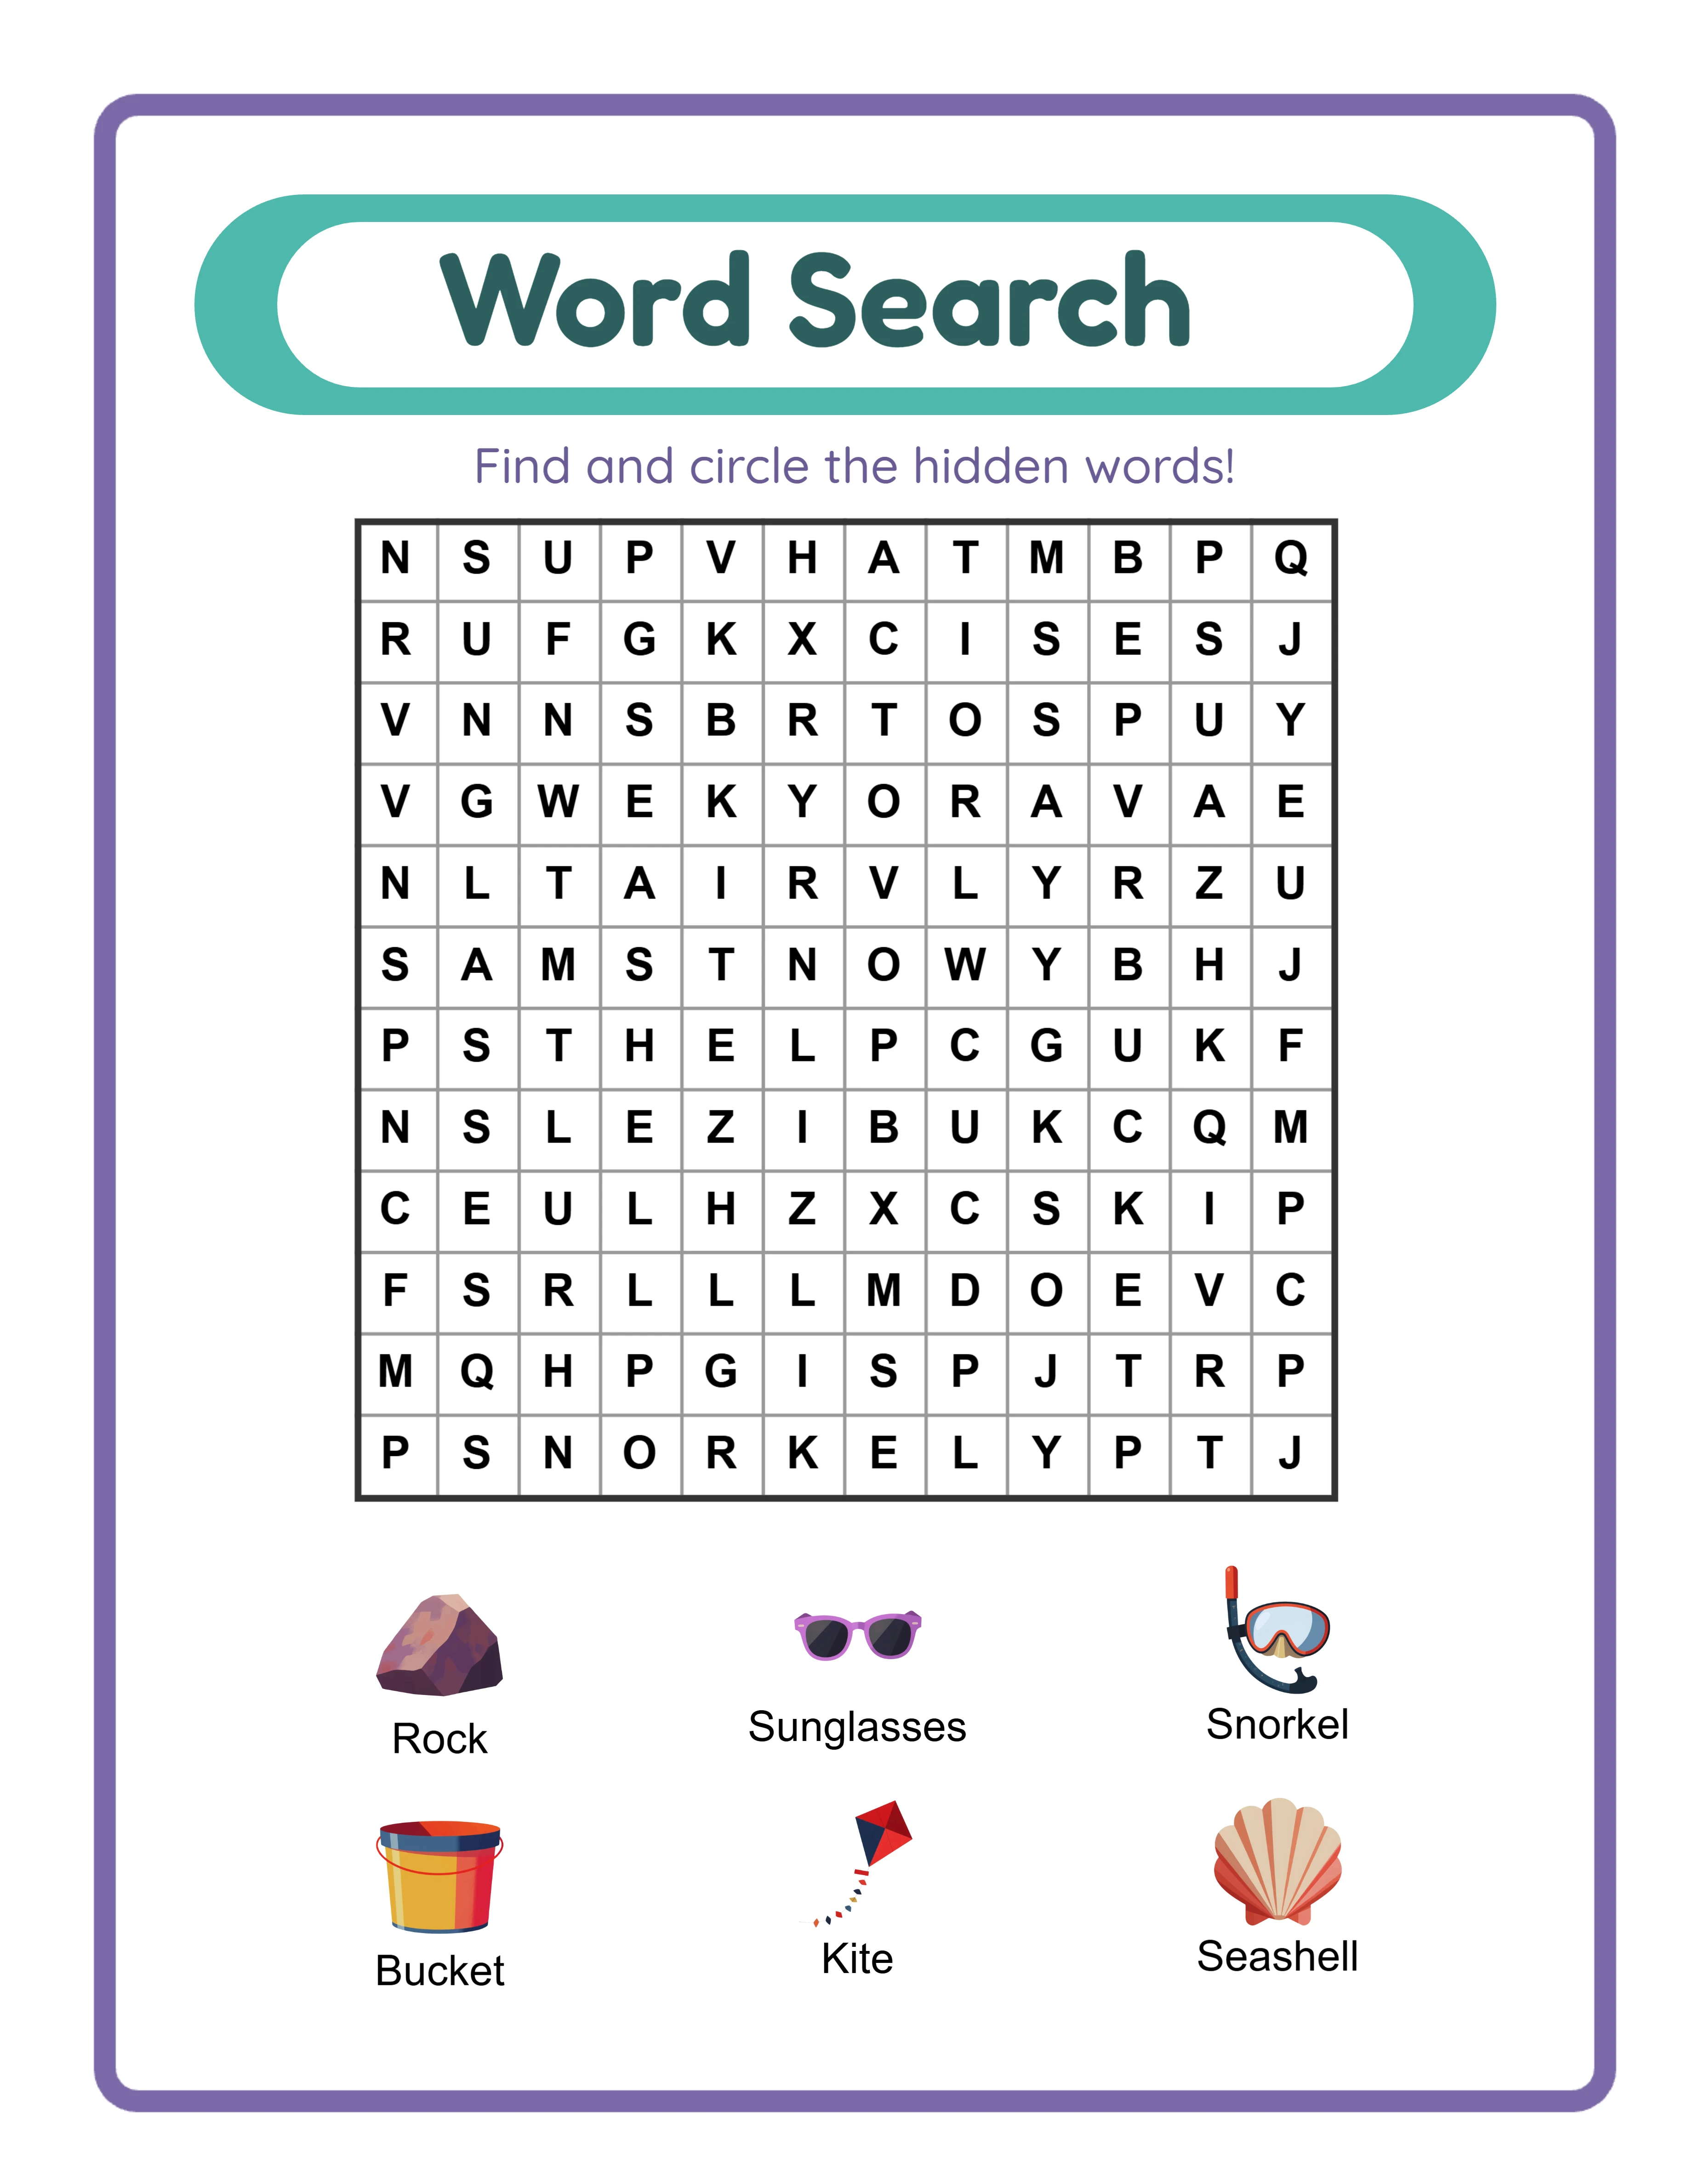
Design your lead magnet to directly relate to your top-performing product category. If your top sellers are addition worksheets, create a lead magnet that showcases addition content: a mini pack of 5 to 8 worksheets covering a specific theme or difficulty level. If word searches drive your sales, offer a themed word search sampler. The lead magnet should give subscribers a genuine taste of your product quality, formatting style, and educational approach. A subscriber who receives a high-quality lead magnet develops trust in your brand before you ever ask them to make a purchase.
Worksheet generators make lead magnet creation efficient and professional. You can create a polished sample pack in minutes by configuring a themed set of worksheets at a specific difficulty level. The lead magnet should demonstrate the same production quality as your paid products — consistent formatting, clear instructions, professional layout, and accurate content. A low-quality lead magnet damages trust rather than building it, so invest the same care in your lead magnet as you would in a product you are selling. You can try any worksheet generator as a free trial with watermark to evaluate the output quality before committing to a production workflow.
Make your lead magnet specific rather than comprehensive. A "Complete Math Worksheet Collection" sounds valuable but attracts a broad, unfocused audience. A "Kindergarten Animal Addition Practice Pack — 10 Pages with Answer Keys" attracts a specific buyer persona: buyers working with kindergarten solvers on early addition skills. This specificity means your follow-up emails about kindergarten math products are highly relevant to every subscriber, which drives higher open rates, click rates, and ultimately sales. Create multiple lead magnets for different audience segments rather than one generic lead magnet for everyone.
The delivery mechanism matters as much as the content. Configure your email service provider to automatically send the lead magnet file immediately after subscription confirmation. A subscriber who waits hours or days for their promised resource forms a negative first impression of your business. The delivery email should include the download link prominently, a brief welcome message, and a mention of what they can expect from your emails going forward. This first email sets the tone for the entire subscriber relationship — make it professional, prompt, and genuinely helpful.
3
Build a Landing Page That Converts Visitors to Subscribers
A landing page is a focused, single-purpose page designed to convert visitors into email subscribers. Unlike your shop page or social media profile, which offer multiple paths and distractions, a landing page presents one clear action: enter your email address to receive the lead magnet. This focus is what makes landing pages significantly more effective at capturing email addresses than embedding opt-in forms in multi-purpose pages where they compete with product listings, navigation menus, and other content for the visitor's attention.
The essential elements of a high-converting landing page for printable sellers are: a headline that states the specific benefit of the lead magnet ("Get 10 Kindergarten Addition Worksheets with Answer Keys"), a visual preview showing what the subscriber will receive (screenshot or mockup of the worksheets), three to five bullet points listing specific contents and benefits, a simple email opt-in form (name and email address fields only), and a brief statement about what to expect after subscribing ("You'll receive your worksheet pack immediately, plus weekly teaching tips and new product announcements"). Every element on the page should support the single goal of converting visitors to subscribers.
Remove anything from the landing page that does not directly support the opt-in conversion. Navigation menus, sidebar content, footer links to other pages, social media widgets, and product advertisements all give visitors reasons to leave the page without subscribing. The most effective landing pages are visually clean with a single column layout, prominent headline, preview image, brief benefits list, and opt-in form. Each additional element you add dilutes focus and typically reduces conversion rates rather than improving them.
Place your landing page link everywhere your target audience encounters your brand. Include it in your Etsy shop announcement section, your social media bios on every platform, your Pinterest profile and relevant pin descriptions, inside your digital product files as a branded footer or resource page, and in any blog posts or guest content you create. Every touchpoint between your brand and a potential buyer should include a path to your email list. A customer who finds your products through Etsy search today might not return tomorrow — but if they join your email list, you can reach them directly with every new product release.
Create a landing page variant for each distinct lead magnet you offer. If you have a math worksheet sampler and a word search sampler, each should have its own dedicated landing page with messaging tailored to that specific audience segment. The math page speaks to buyers looking for math practice resources. The word search page speaks to those seeking vocabulary and spelling activities. Tailored messaging converts at higher rates than generic messaging because it directly addresses the specific need that brought the visitor to the page.
4
Design a Welcome Email Sequence That Builds Trust and Showcases Products
The welcome sequence is the most important automated email series in your entire system. New subscribers are at peak engagement — they just opted in, they are interested in your content, and they are actively checking for your lead magnet delivery. Welcome emails consistently achieve 2 to 3 times higher open rates and click rates than regular broadcast emails. This high-engagement window is your opportunity to establish your brand, demonstrate value, build trust, and introduce your product catalog before the subscriber's attention naturally decreases over time.
Structure your welcome sequence as a 4 to 5 email series spaced 2 to 3 days apart. Email 1 (immediate): Deliver the lead magnet with a clear download link, briefly introduce yourself and your brand, and set expectations for future emails. Email 2 (day 2-3): Share a practical teaching tip or usage idea related to the lead magnet content — this demonstrates expertise and gives the subscriber immediate value beyond the download. Email 3 (day 5-6): Introduce your product catalog with a focus on items related to the lead magnet topic, including preview images and direct links to your listings. Email 4 (day 8-9): Share your brand story — why you create educational printables, your teaching philosophy, or what drives your product design decisions. Email 5 (day 11-12): Present your top-performing products or current featured collection with a special offer or bundle recommendation for new subscribers.
Each email in the sequence should provide standalone value even if the subscriber does not click through to your products. The teaching tip email should contain a genuinely useful idea they can implement immediately. The brand story email should be engaging and relatable, not a sales pitch disguised as personal narrative. Subscribers who receive consistent value from your emails develop trust and positive associations with your brand, which makes them receptive to product recommendations when you include them. Subscribers who receive nothing but promotional content quickly learn to ignore your emails or unsubscribe entirely.
Write your welcome sequence once, refine it based on performance data, and let it run automatically for every new subscriber. This is the core power of email automation for printable sellers: a sequence you spend 3 to 4 hours creating delivers personalized, perfectly timed emails to every subscriber who joins your list, whether that is 10 people this month or 1,000. The welcome sequence works while you focus on creating products, optimizing listings, or taking time off. Every new subscriber receives the same thoughtful introduction to your brand regardless of when they sign up.
Include clear calls to action in every email, but vary the type and prominence of the ask. The lead magnet delivery email has a primary call to action of downloading the resource. The teaching tip email might have a soft secondary link to a related product. The catalog introduction email has a primary product browsing call to action. Varying your calls to action prevents the sequence from feeling like a five-part sales pitch while still guiding subscribers toward your products naturally through a progression of trust-building and value delivery.
5
Develop a Content Strategy for Regular Email Broadcasts
Your welcome sequence handles the first two weeks of a subscriber's journey. After that, regular broadcast emails maintain the relationship, keep your brand visible, and drive ongoing sales from your subscriber base. The content strategy for these broadcasts determines whether subscribers remain engaged and responsive to your product announcements or gradually disengage and stop opening your emails. A deliberate content strategy prevents the common trap of sending sporadic, sales-heavy emails that train subscribers to ignore you.
Follow an 80/20 value-to-promotion ratio in your broadcast emails. Approximately 80% of your email content should provide genuine value to subscribers: teaching tips they can use immediately, seasonal activity ideas, store management suggestions, educational trend insights, behind-the-scenes looks at your creation process, or curated resource recommendations. The remaining 20% can be direct product promotion: new product announcements, featured collections, limited bundles, or catalog highlights. This ratio keeps subscribers engaged between purchases and ensures they continue opening your emails because they expect useful content, not just sales pitches.
Establish a consistent sending schedule and stick to it. For most printable sellers, weekly or bi-weekly emails strike the right balance between maintaining visibility and avoiding subscriber fatigue. Weekly emails work well if you consistently have new content to share (new products, seasonal tips, teaching ideas). Bi-weekly works better if your content creation pace is slower or your product release schedule is less frequent. Consistency matters more than frequency — subscribers who receive emails on a predictable schedule develop the habit of looking for and opening your content. Erratic sending (three emails one week, nothing for a month) destroys that habit and increases unsubscribe rates when you do eventually send.
Plan your broadcast content in monthly batches aligned with your product release calendar and seasonal teaching cycles. January broadcasts focus on new year organization and fresh store resources. Back-to-school season (July through September) features grade-specific content roundups and batchup tips. Holiday months highlight themed products and seasonal activities. Planning content in advance prevents last-minute scrambling and ensures your emails align with the products you are releasing and the resources your audience is actively seeking during each period.
Structure each broadcast email with a consistent format that subscribers learn to navigate quickly. A proven structure: personal greeting and one-paragraph hook, main value content (teaching tip, seasonal idea, or resource insight), product mention with context (how the product relates to the value content), and closing with a preview of what is coming next. This structure trains subscribers to read through the value content knowing there will be a relevant product mention — which is far more effective than structuring emails where they must wade through promotional content to find the valuable parts.
New product announcements deserve their own dedicated broadcast emails separate from value-content emails. When you release a new product or collection, send a focused announcement email with preview images, a description of what the product offers and who it serves, and a direct link to the listing. These announcement emails will have lower open rates than your value emails but higher click-through rates among those who do open them, because the subscribers who open a product announcement email are actively interested in purchasing. Track which product categories generate the highest announcement email engagement to guide your future product development priorities.
6
Segment Your Email List for Targeted Product Recommendations
Segmentation means dividing your subscriber list into groups based on shared characteristics so you can send targeted content to each group rather than sending every email to your entire list. For printable sellers, effective segmentation dramatically improves email performance because your subscribers have diverse needs: a kindergarten buyer and a third-grade homeschool parent are both interested in educational printables but want fundamentally different products. Sending kindergarten content to the third-grade parent wastes their attention, and vice versa. Segmentation ensures each subscriber receives content relevant to their specific needs.
Tag subscribers based on their entry point and demonstrated interests. When someone opts in through your kindergarten math lead magnet, tag them with "kindergarten" and "math." When someone clicks on a word search product link in your email, add a "word-search" interest tag. When someone purchases through a link in your email, tag them with the product category and grade level. Over time, each subscriber accumulates tags that paint a clear picture of their interests and needs. Most email service providers support automatic tagging based on actions like link clicks, purchases, and form submissions, so the tagging process happens without manual effort once you configure the rules.
Create segments that map to your product catalog structure. Useful segments for printable sellers include: grade level (preschool, kindergarten, first grade, second grade, third grade), subject interest (math, literacy, art, puzzles, patterns), buyer type (buyer, parent, homeschooler, tutor), and engagement level (highly active, moderately active, inactive). Grade level and subject interest segments drive the most direct revenue impact because they allow you to send product announcements only to subscribers who have demonstrated interest in that specific category.
Use segmentation to increase the relevance of every product announcement you send. When you release a new set of second-grade multiplication worksheets, send the announcement to subscribers tagged with "second grade" or "math" or "multiplication" rather than blasting your entire list. This targeted approach achieves two benefits simultaneously: subscribers who receive the email find it relevant and are more likely to click and purchase, while subscribers who would not have been interested are not fatigued by an irrelevant message. Higher relevance means higher open rates, higher click rates, fewer unsubscribes, and more sales per email sent.
Start with simple segmentation and add complexity as your list grows. A list of 200 subscribers does not need 15 distinct segments — two or three broad segments (grade level bands or subject areas) are sufficient. As your list grows past 1,000 subscribers and you have more behavioral data to work with, add more granular segments. The most common segmentation mistake is building an elaborate tagging system before you have enough subscribers to make segmentation statistically meaningful. A segment of 12 subscribers does not generate enough data to evaluate email performance, so keep segments broad enough to contain actionable audience sizes.
Re-engagement segments deserve special attention as your list ages. Create a segment for subscribers who have not opened any email in the past 60 to 90 days. Send this segment a specific re-engagement sequence: a "We miss you" email with your best recent content, followed by a direct question asking if they want to continue receiving emails. Subscribers who re-engage are moved back to your active segments. Those who do not respond after two re-engagement attempts should be removed from your list. Maintaining a list of engaged subscribers is more valuable than a large list of inactive addresses that drag down your deliverability metrics and cost you money at providers that charge by subscriber count.
7
Automate Email Sequences for New Products and Seasonal Campaigns
Email automation allows you to create sequences that send the right message at the right time based on subscriber behavior and calendar dates, without requiring you to manually send each email. For printable sellers who release products regularly and operate across seasonal cycles, automation transforms email marketing from a constant manual task into a system that works continuously in the background while you focus on product creation and business strategy.
Build a post-purchase follow-up sequence that triggers automatically when a subscriber purchases through one of your email links. Email 1 (immediate): Thank them for their purchase and provide any relevant usage tips for the product they bought. Email 2 (5-7 days later): Ask how they are using the product and whether it met their expectations — this builds relationship and can surface useful feedback. Email 3 (10-14 days later): Recommend related products based on their purchase (if they bought addition worksheets, recommend subtraction or multiplication). This sequence nurtures the post-purchase relationship and generates additional sales from customers who have already demonstrated willingness to buy your products.
Create seasonal campaign automations that activate on a predetermined schedule each year. Build a back-to-school sequence in advance: a series of 3 to 4 emails starting in mid-July that highlights grade-appropriate worksheet collections, batchup resources, and first-week activity packs. Build a holiday season sequence for October through December featuring themed products, gift bundle ideas for sellers, and seasonal activity collections. Build a new-year sequence for January featuring fresh organizational printables and resolution-themed activities. Each seasonal sequence is created once and automatically runs at the scheduled time every year, with only minor product link updates needed annually.
New product launch sequences work particularly well for printable sellers who release products on a regular schedule. When you create a new product, send it through a 3-email launch sequence spread over one week: Email 1 announces the new product with preview images and a direct purchase link. Email 2 (3 days later) highlights a specific feature or use case for the product, providing educational context that helps the subscriber envision using it. Email 3 (5-7 days later) is a final reminder for subscribers who opened but did not click, sometimes paired with a bundle suggestion that includes the new product. This sequence gives each new product multiple touchpoints without overwhelming subscribers with repetitive promotional messages.
Set up a browse abandonment or click-without-purchase automation if your email service provider supports it. When a subscriber clicks on a product link in your email but does not complete a purchase (tracked via your website analytics or link click data), send a follow-up email 24 to 48 hours later featuring the same product along with related alternatives. This automation targets subscribers at the moment of highest purchase intent and can recover sales that would otherwise be lost to distraction, indecision, or timing.
Document every automation you build in a simple reference sheet: the automation name, trigger condition, number of emails in the sequence, timing between emails, and the last date you reviewed and updated the content. Automations that run indefinitely without review can develop problems: product links break, descriptions become outdated, seasonal references become irrelevant, and messaging drifts out of alignment with your current brand voice. Schedule a quarterly review of all active automations to verify links work, content remains accurate, and performance metrics are acceptable.
8
Track Email Metrics and Optimize for Higher Engagement
Email marketing without performance tracking is guesswork. Your email service provider collects detailed data on every email you send: how many subscribers opened it, how many clicked a link, how many unsubscribed, how many marked it as spam, and which specific links received the most clicks. This data reveals what your audience responds to, what they ignore, and what actively drives them away. Tracking and acting on these metrics is what separates email marketing that generates consistent revenue from email marketing that slowly loses subscribers and effectiveness over time.
The four essential metrics for printable sellers to track are open rate, click-through rate, unsubscribe rate, and revenue per email. Open rate measures how many recipients opened the email, which primarily reflects the effectiveness of your subject line and sender reputation. Industry benchmarks for digital product emails range from 20% to 25% open rates. Click-through rate measures how many openers clicked a link, reflecting the relevance and persuasiveness of your email content. Healthy click-through rates for product emails range from 2% to 5%. Unsubscribe rate should stay below 0.5% per email — consistently higher rates indicate content misalignment with subscriber expectations. Revenue per email (total sales attributed to an email divided by the number sent) is the ultimate performance measure that connects your email effort directly to business results.
A/B testing is the systematic method for improving email performance based on data rather than intuition. Test one variable at a time: send the same email to two equal segments of your list with one difference between them. Subject line A/B tests reveal which language patterns drive higher open rates ("New Kindergarten Math Pack" versus "10 Addition Worksheets Your Solvers Will Love"). Send time tests show when your audience is most likely to open and engage. Content format tests compare long-form educational emails against short product-focused emails. Each test produces a clear winner that you apply to future emails, compounding small improvements into significant performance gains over months of consistent testing.
Monitor your metrics at both the individual email level and the trend level. A single email with a low open rate might simply have had a weak subject line. But a declining trend in open rates over three months indicates a systemic problem: your content is not meeting subscriber expectations, your sending frequency is too high, or your deliverability has degraded. Similarly, one email with a high unsubscribe rate might have been sent to the wrong segment, but a rising unsubscribe trend suggests fundamental content or frequency issues that need strategic correction.
List hygiene directly impacts deliverability and engagement metrics. Subscribers who have not opened any email in 90 days drag down your open rate calculations and signal to email providers that your content is unwanted, which can reduce inbox placement for your engaged subscribers too. After running a re-engagement sequence for inactive subscribers (as described in the segmentation step), remove those who remain unresponsive. A list of 1,500 engaged subscribers consistently outperforms a list of 5,000 where 70% never open your emails — both in terms of actual sales and in terms of the deliverability reputation that determines whether your emails reach inboxes at all.
Conduct a monthly email performance review where you examine the previous month's data holistically. Identify your highest-performing email (by open rate and by click rate), your lowest-performing email, and any emails with above-average unsubscribe rates. Note what the top performer did differently: was it the subject line, the content type, the send time, or the audience segment? Apply those patterns to future emails. Note what the underperformer lacked and avoid repeating those patterns. This monthly review cycle creates a continuous improvement loop that steadily raises the baseline performance of every email you send.